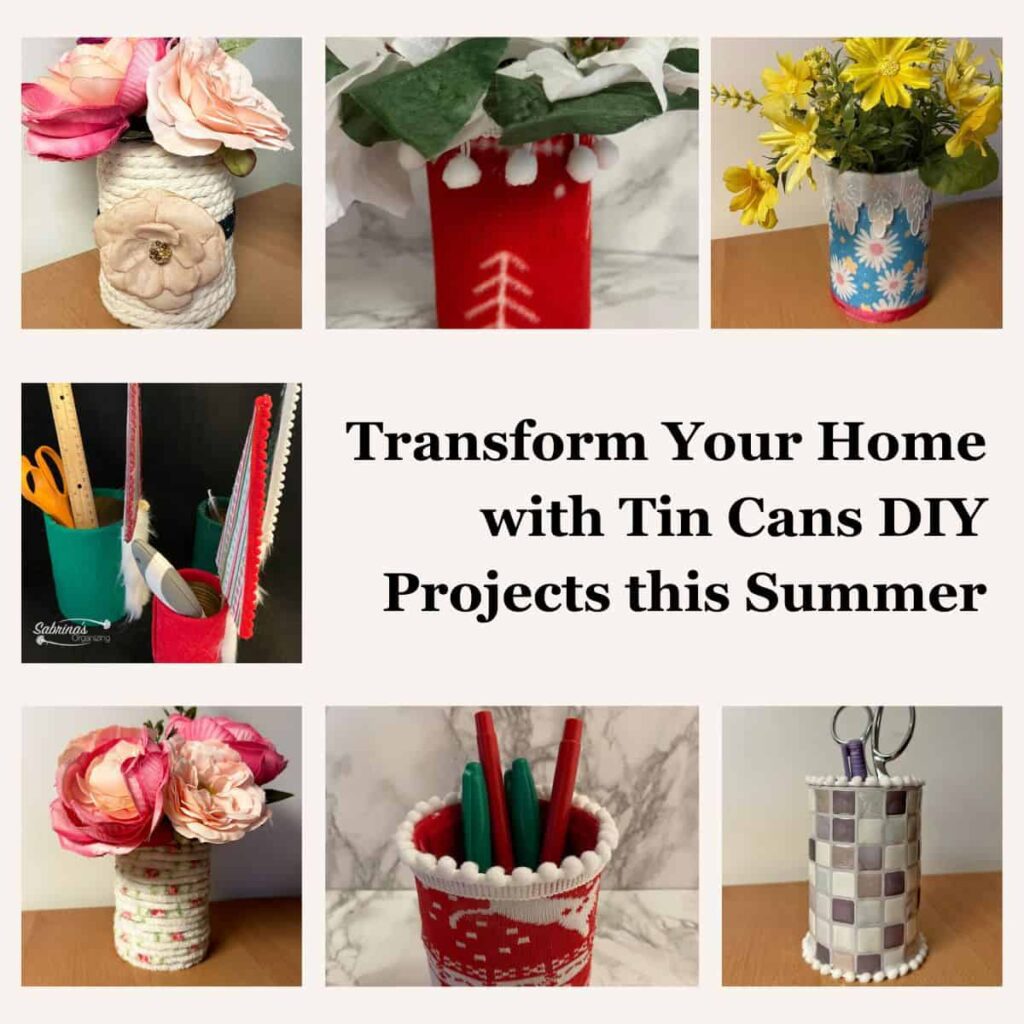
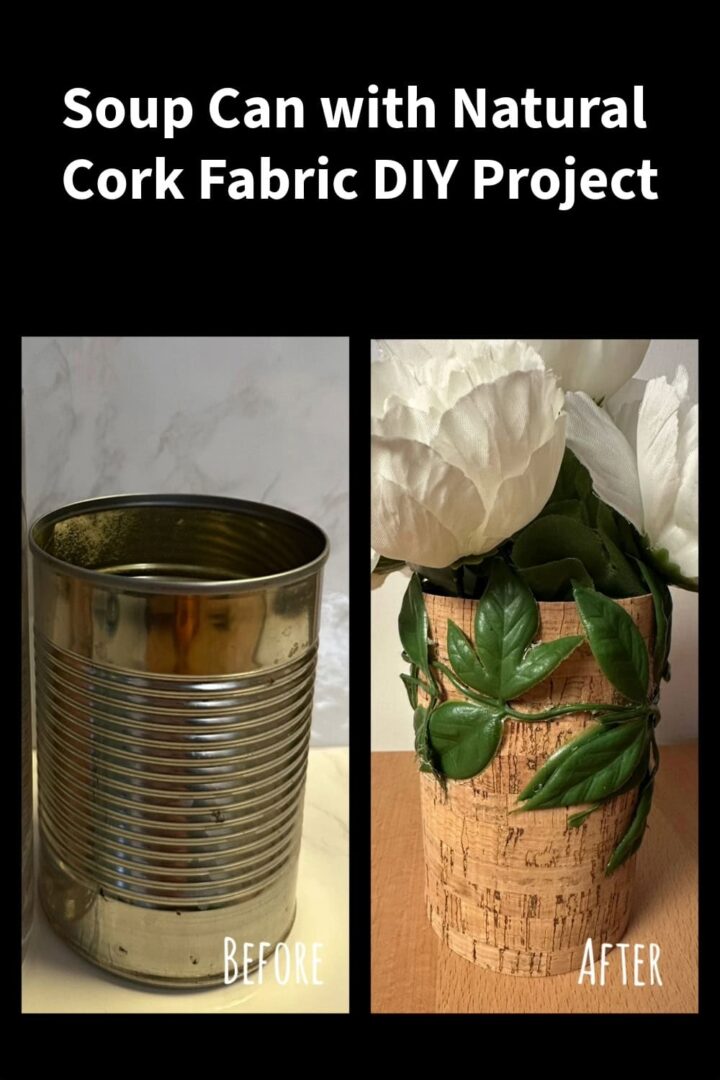
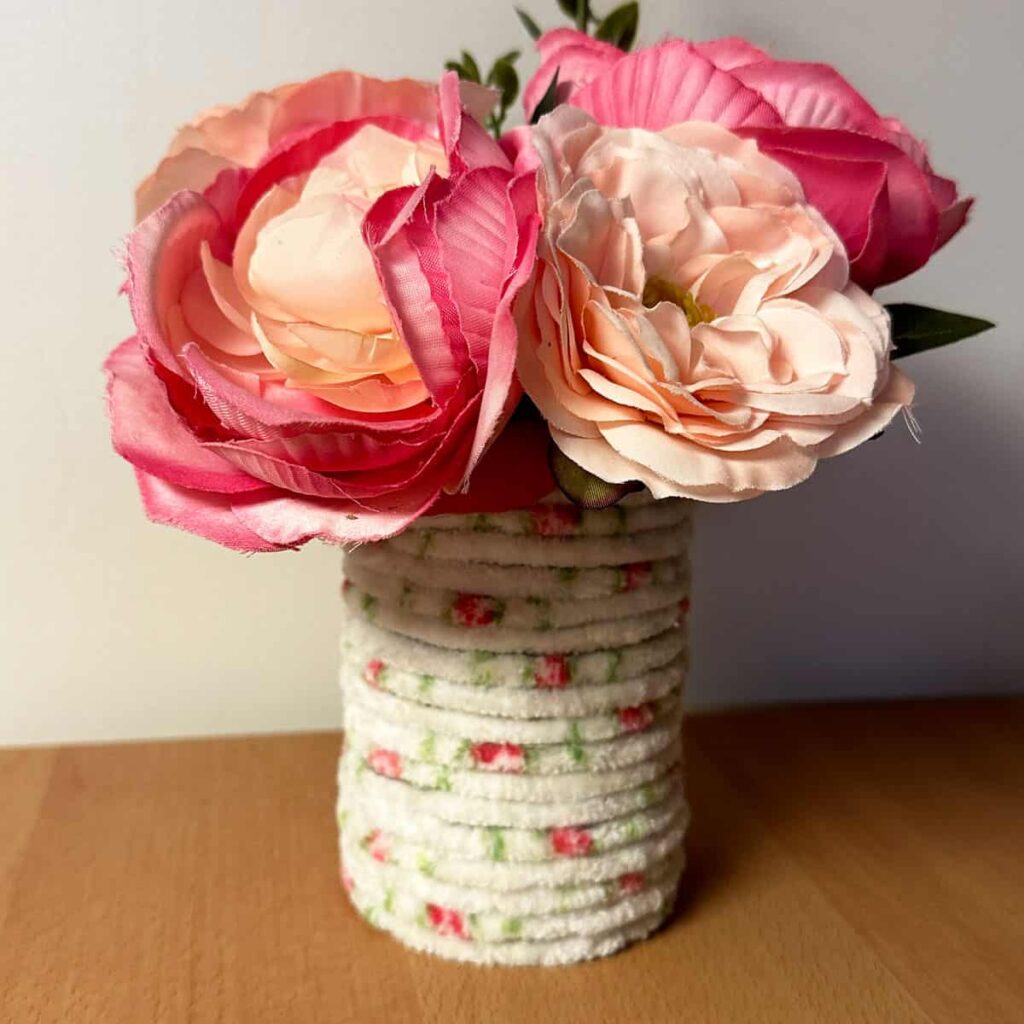
Want to get organized but don't have the money to buy fancy organizers? Tin cans (soup cans) are especially easy to upcycle and use for your next DIY home organization project. Dressing them up in various ways is excellent for a fresh look for any soup can in your home. You can easily use them to help organize small things in your home, like pens, pencils, crayons, etc... They work great in home offices, home school zones, kitchen areas, and desks. Today, I will share with you a new natural cork fabric I used. Follow along and make your own Soup Can with Natural Cork Fabric DIY Project!
Jump to:
- What inspired me to do this DIY project?
- What supplies did I use to make this Soup Can with Natural Cork Fabric DIY Project?
- How much did it cost to make this project?
- How long did a soup can DIY project take to make?
- How did I make this Soup Can with Natural Cork Fabric DIY Project?
- The Big Reveal
- Tips on making this project
What inspired me to do this DIY project?
I found a yard of natural cork fabric at the fabric store and thought it would be excellent for upcycling tin cans since they are usually tossed.
What is Natural Cork fabric?
Natural Cork fabric is thin and easy to cut with scissors (affiliate). It is pliable enough to wrap around structures. Most of these fabrics are made with 100% natural cork, but the back and the center may be something else.
What supplies did I use to make this Soup Can with Natural Cork Fabric DIY Project?
Supplies used for this project are listed below.
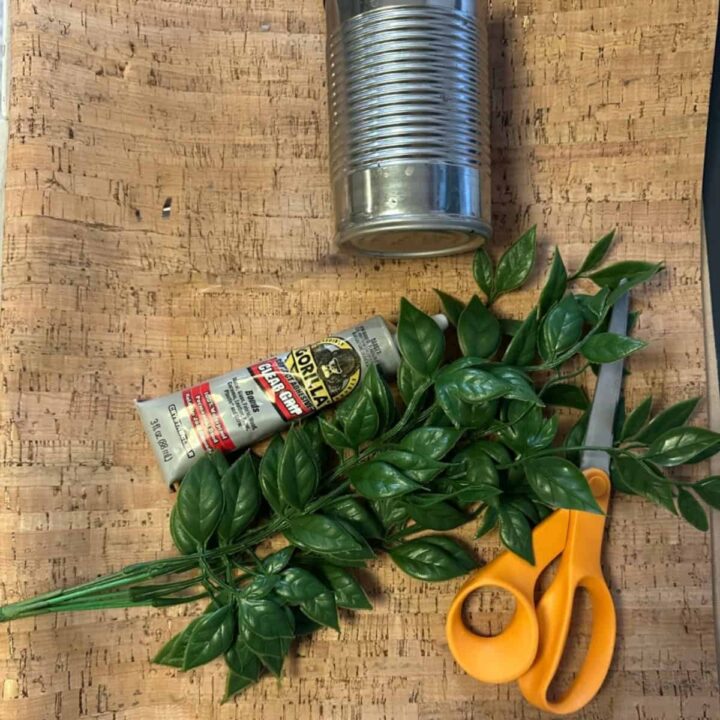
- 1 yard of Natural Cork Fabric by The Yard (Amazon (affiliate) affiliate)
- Gorilla Glue Clear grip bonds (Amazon (affiliate) affiliate) to metal and glass
- Fabric scissors (Amazon (affiliate) affiliate)
- Tin Snips that cut metal (Amazon (affiliate) affiliate) for the metal wire in the green leaves
- Flat green leaves (Amazon (affiliate) affiliate) - plastic - to decorate around the container.
- Hot glue gun and glue sticks (optional)
Please note that these are affiliate links through Amazon (affiliate). If you decide to purchase, I will earn an affiliate commission at no additional cost.
How much did it cost to make this project?
This project cost about $16.00 to make and was primarily used to cover the cost of the natural cork fabric. And I had ample fabric left for a future glass cylinder DIY project that will be shared soon.
How long did a soup can DIY project take to make?
This project took me a total of 1 hour to make. That's it.
How did I make this Soup Can with Natural Cork Fabric DIY Project?
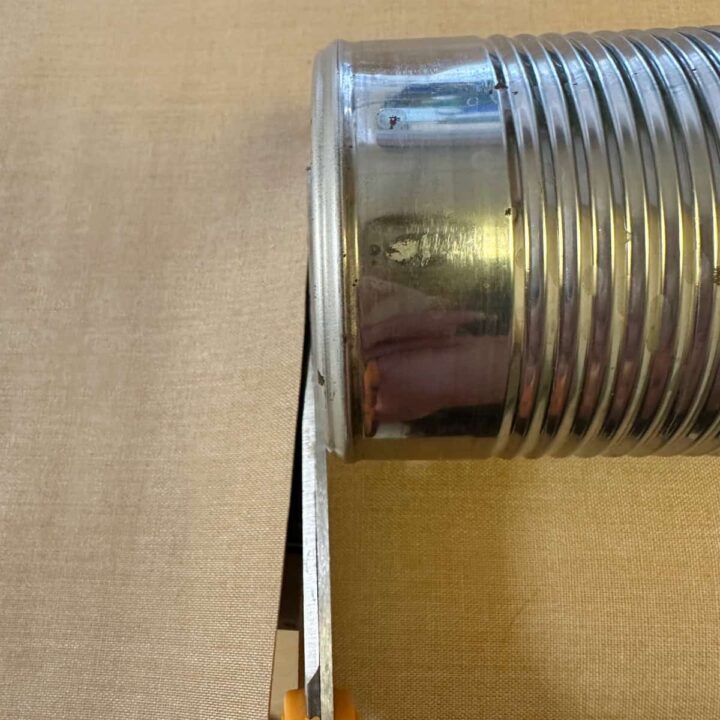
First, remove any labels (affiliate) and glue from the tin can and wash out the can. Make sure it is completely dry.
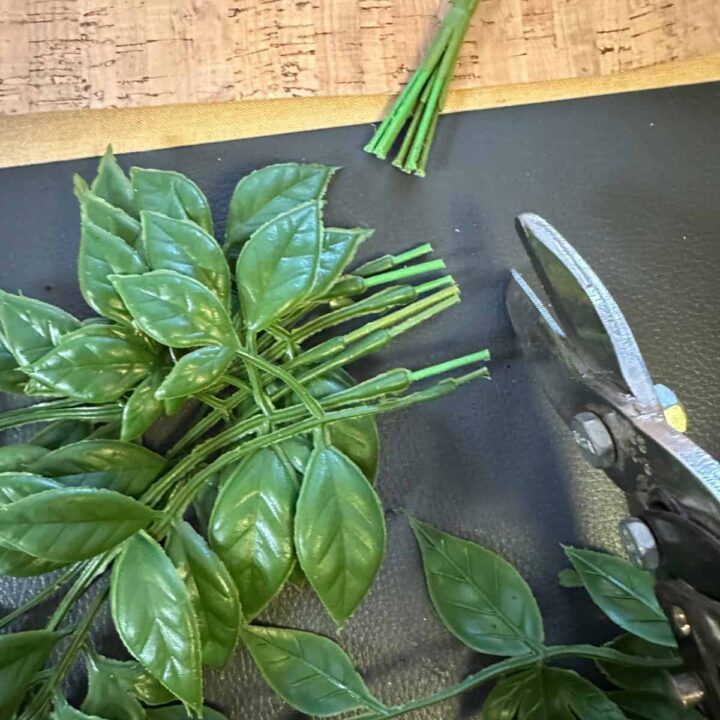
Then, I snipped the green leaves from the bouquet stem. And set aside.
Now, I lined up the clean soup can and cut the right length to cover the outside of the can - making sure to overlay about 1 inch.
Now, I added a line of clear grip glue to the starting point of the fabric on the can.
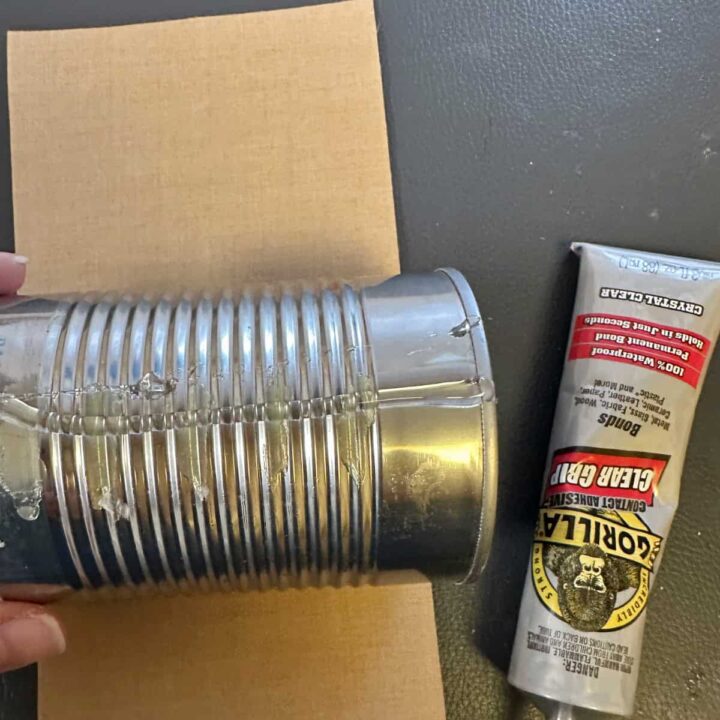
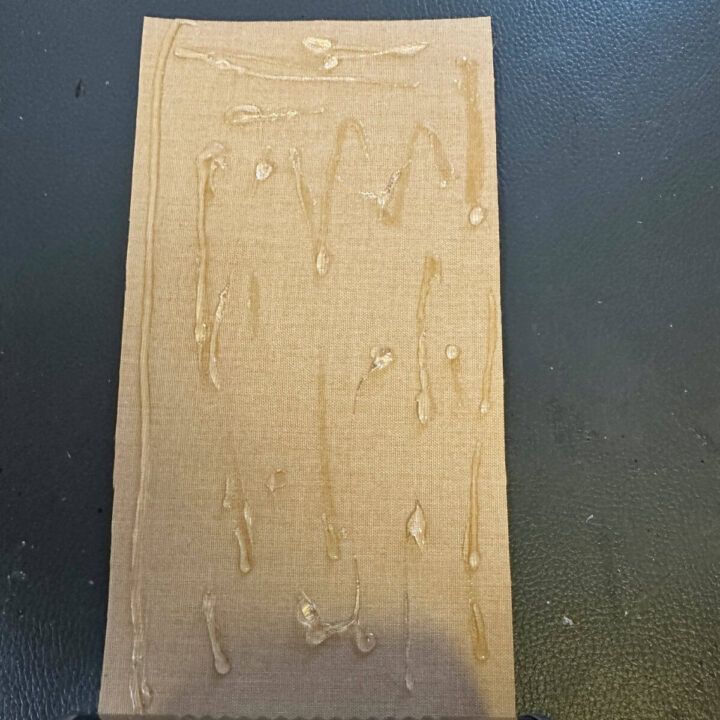
Then, I added more glue to the back of the natural cork. I added one long bead of glue to the other end of the natural cork fabric and overlapped it with the beginning to ensure the entire fabric covered the soup can.
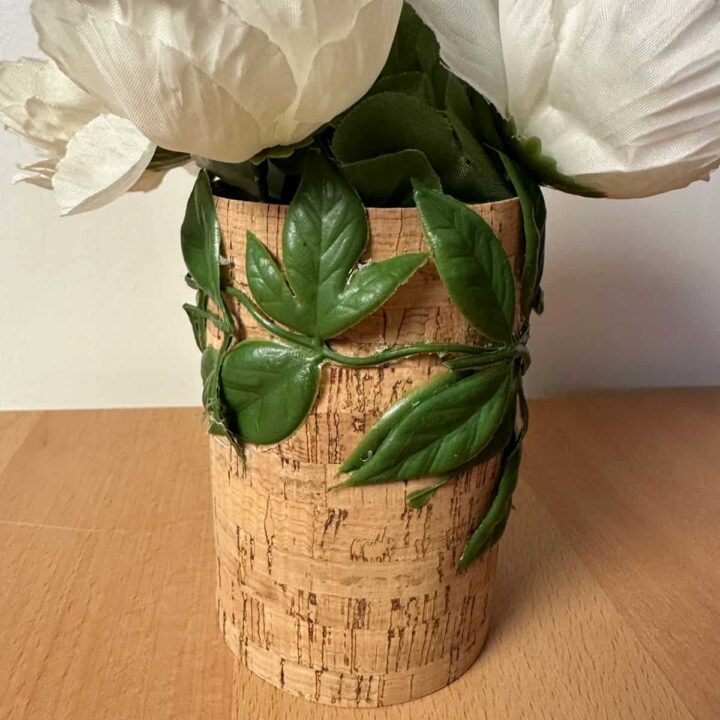
Lastly, glue or a hot glue gun (affiliate) should be added to the leaves and adhere to the natural cork fabric. If you use loose leaves, you can easily use clear glue. You may need to use the hot glue gun (affiliate) if you use wired leaves.
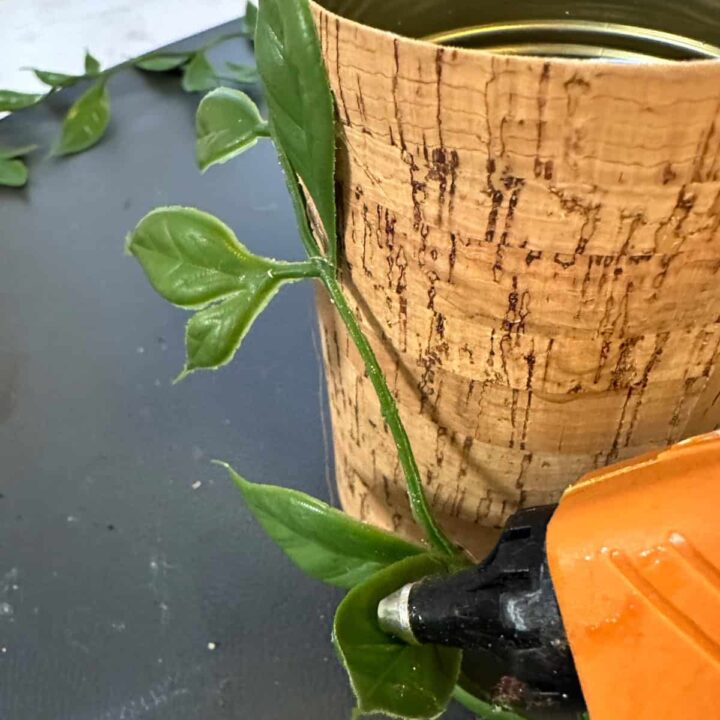
Add a dab of glue behind each leaf to keep the leaves down and hold for a few seconds.

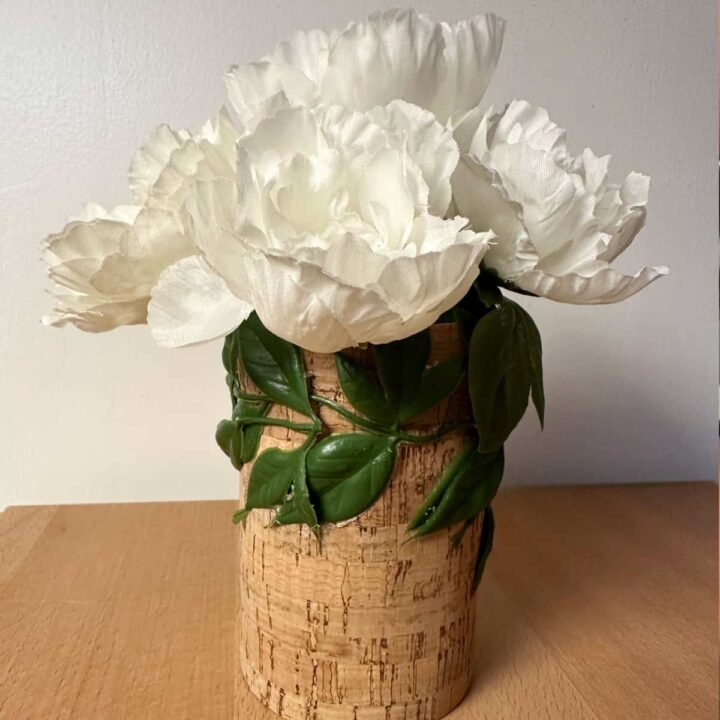
The Big Reveal
This Soup Can with Natural Cork Fabric DIY Project looks lovely.
Tips on making this project
Below are a few tips to help you make this DIY project.
- Ensure you put enough glue on the back of the fabric to adhere to the can.
- You can add leaves instead of a vine if you want.
- The edge of the fabric is clean, so you do not need to lay anything on top of it to create a clean edge.
That's it; I hope you like this DIY project and will share it with other crafters. Peace to you, and happy organizing!
Popular DIY posts: