Hanging wood signs are all the rage these days. Customizing them is easy with a few supplies and a little creativity. You, too, can make these hanging signs special and useful in your home. This one allows for easily hiding things like keys, security keypads, eyesore things on your wall, etc. Basically, anything you want to be hidden from the general view of visitors.
Jump to:
What inspired me to do this hanging wood sign?
I was looking for something to hide extra keys in my home and thought it would be great to have something decorative that we could pull off and reach the things behind it. So, I hunted through my extra clearance containers and found this one, which is 2 inches deep and large enough to hide a set of hooks for keys. My daughter dressed it with some pretty flowers and ivy to make it even more special. Read on to see how I made them and what supplies I used.
Follow me on HomeTalk.com to see all my DIY Home Organizing Projects!
What supplies did I use to make this hanging wood sign?
The list of supplies is below. Remember that we used all the acrylic paint for the flowers and ivy and only used a little bit of them.
- Hanging Wood frame box 2-inch deep by 10" x 10"
- Rust-oleum Dark Tint Base Cocoa Bean
- FolkArt Home Decor Chalk 36233 Blazing Yellow Matte Paint
- FolkArt acrylic 6455 wild wasabi color by Plaid matte finish
- FolkArt 2897 pink melon satin acrylic paint
- FolkArt 6446 cottage white matte finish
- Craft smart surface, Premium Satin Acrylic Paint, Fresh Olive
- FolkArt 2904 vivid Orange multisurface satin acrylic paint
- Mod Podge matte finish
- extra fine sandpaper
- Paintbrush (affiliate) ¾ inch
- Craft smart Zero craft smart paintbrush (affiliate).
- Liner 3/0 paintbrush (affiliate)
- Transfer Tape for Cricut vinyl
- Cricut Coral color Vinyl sheet is not permanent
- Cricut Explorer Air 2 machine
- Cricut weeding tools
Please note that these are affiliate links through Amazon (affiliate). If you decide to make a purchase, I will earn an affiliate commission at no additional cost to you.
How much did it cost to make this hanging wooden sign?
This project cost about $10.00 to make. I had all the paint and repurposed the deep wooden sign from another DIY project fail. I had plenty of paint and supplies to do this entire project.
How long did it take to make a hanging wooden sign?
This project only took me and my daughter about 12 hours to make. That includes drying time.
How did I make this hanging wood sign?
Here is what the hanging wood sign looked like before I started. It was painted but never used.
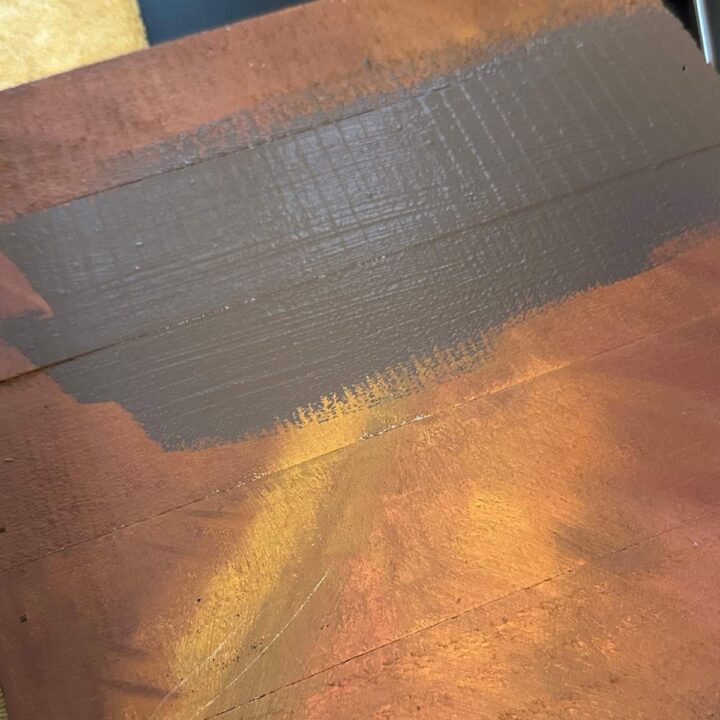
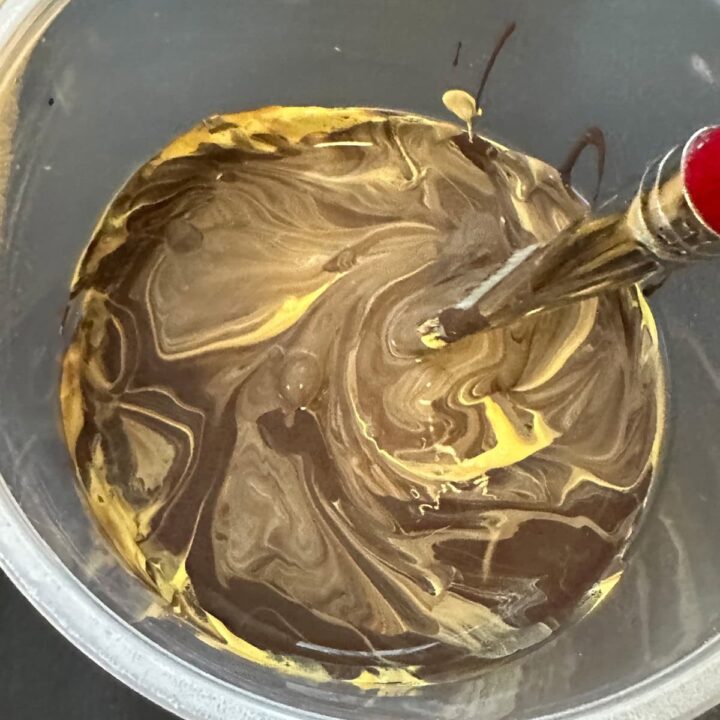
First, I started out with a reused wood sign and needed to repaint it. So, I mixed Rust-oleum Dark Tint Base Cocoa Bean with a little FolkArt Home Decor Chalk 36233 Blazing Yellow Matte Paint to create a warm brown color for the top and sides of the wood. Then, I applied it to the top and sides with a paintbrush (affiliate) and added two coats. I also let it dry completely.
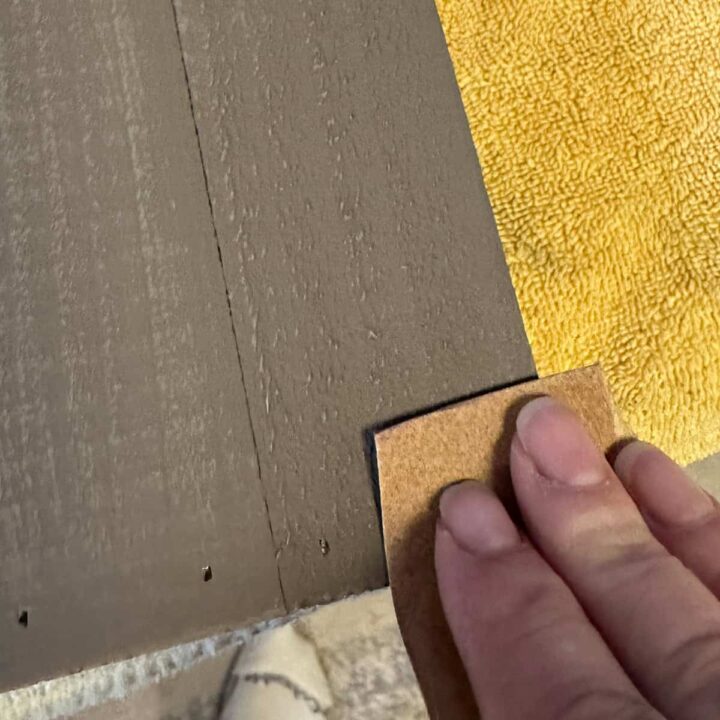
Then, I light sanded the chalk paint with a fine piece of sandpaper on the top and sides.
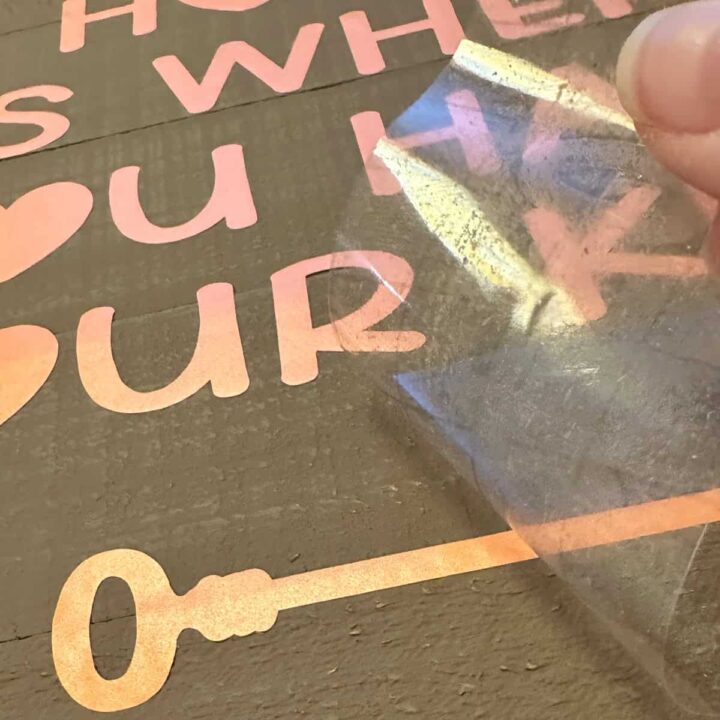
Use the Cricut to cut out the words and key
Now, using the Cricut machine and this template on Cricut, you can cut out the vinyl. Then, I weeded the words: Home is where you hang your keys and a key (affiliate) design by removing the excess inside letter pieces and around the letters of excess vinyl.
Now, using transfer tape, transfer the entire wording to the wood sign front. I used a small piece of transfer tape just for the key (affiliate) to place it somewhere else and not accidently place it with the wording.
Draw an ivy at the top and bottom
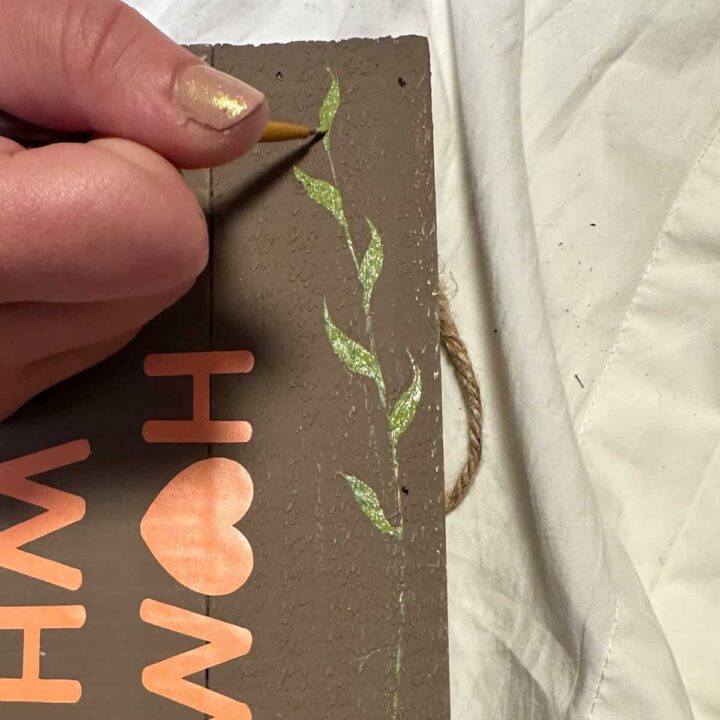
Next, this is where my daughter came in to help me out. With a pencil, she drew a wavy line at the top and bottom of the words on the front cover. With the FolkArt acrylic 6455 wild wasabi color by Plaid matte finish and the Liner 3/0 paintbrush (affiliate), she followed the drawn line. She then added the leaves and stems with this same color.
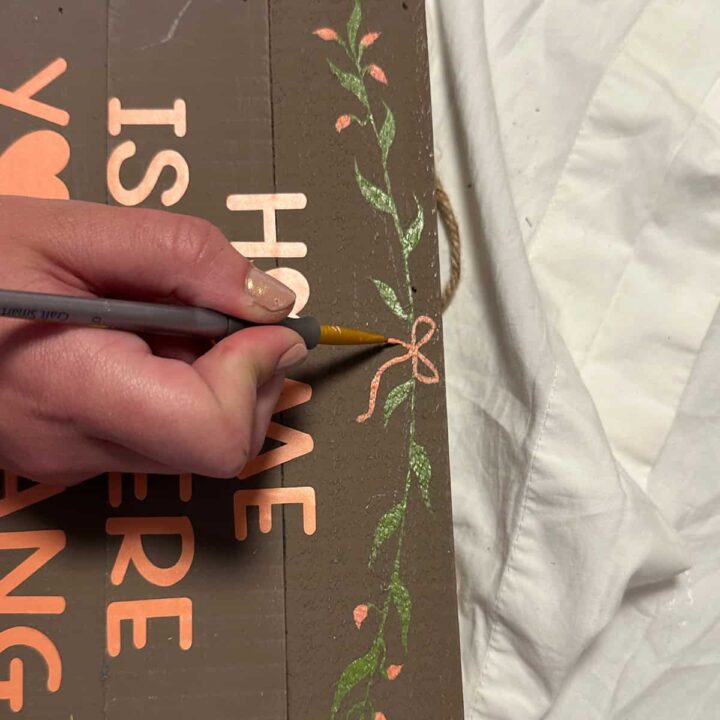
Then, she mixed orange, pink, and white and used the paintbrush (affiliate) to make the flowers and bow. She also did the bottom part of the sign like this. The bottom had no bow, instead a heart in the center.
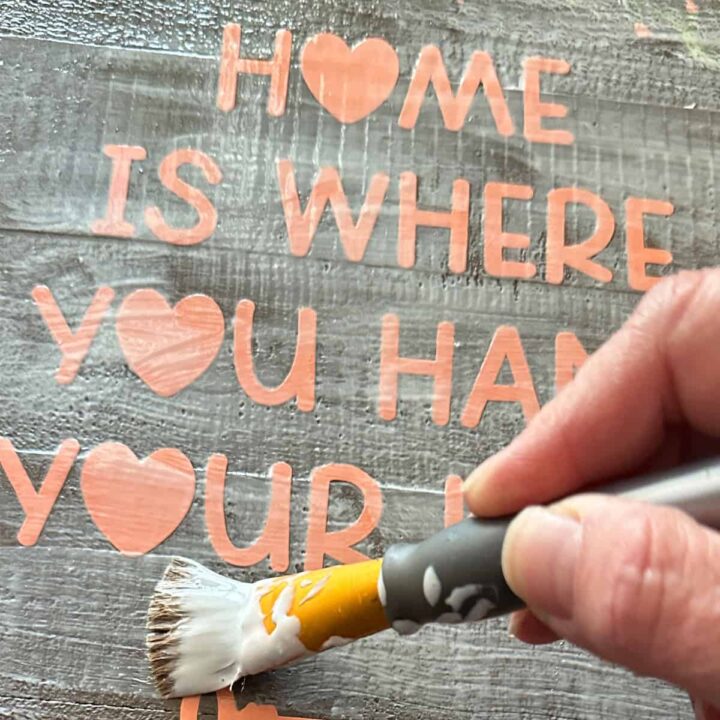
Finally, I used a paintbrush to apply Mod Podge (affiliate) to the entire wood sign (top and sides). This protected it and helped keep the vinyl from coming up. Allow 24 hours before adding the Mod Podge (affiliate). Keep in mind that it must be completely dry before adding the Mod Podge (affiliate).
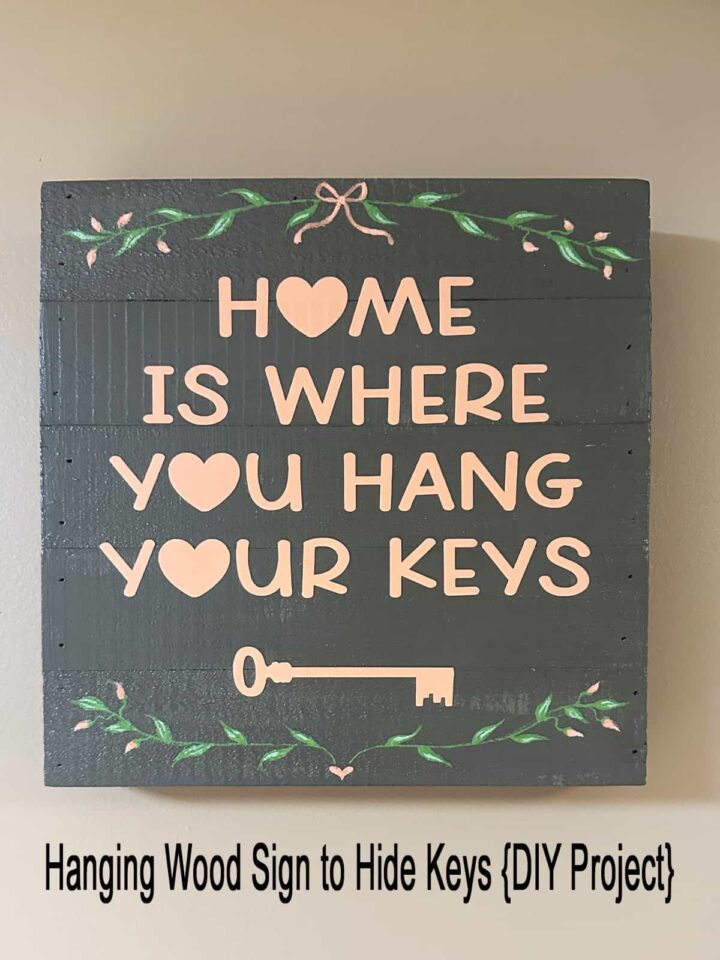
The Big Reveal
This hanging wood sign looks lovely. I'm grateful that my daughter could help me decorate it. I plan on hanging a key (affiliate) holder behind it and placing the sign in the front to hide the keys.

I hope you enjoyed this DIY hanging wood sign project for your home. It helps you hide unsightly things hanging on your wall. Please leave a comment below with any questions or comments. I would love to hear from you.
Popular DIY posts:
Below are some amazing DIY projects to inspire you to organize your home! Feel free to check them out.





Leave a Reply