Do you use your outside watering cans for more than one purpose? Whether you have a vegetable/herb garden or a flower bed, you may have watering cans not only for watering the plants. But how do you distinguish them apart? Today, I will show you how to tell the difference between your watering cans using a Cricut Machine (affiliate) and vinyl labels (affiliate).
Jump to:
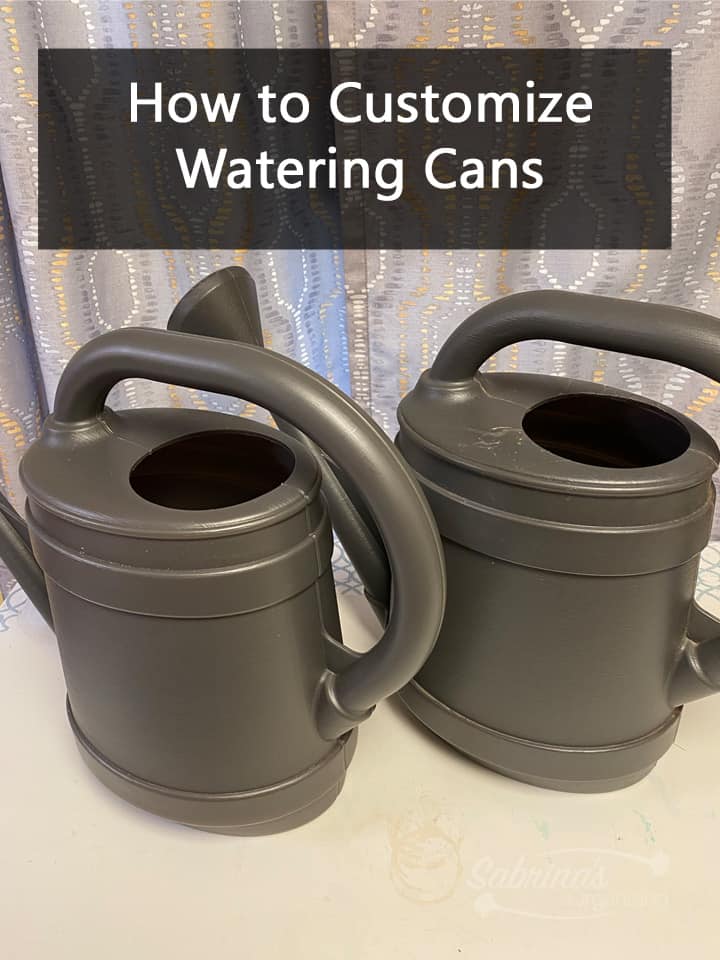
What are two watering cans used for?
Each watering can is used for different purposes. One is used for my vegetable and herb garden. In this garden, I use primarily organic products. While in the other watering can, can I use water for my other flower beds? Those flower beds are treated primarily with organic products but may not be recommended for vegetable gardens. So, to help me eliminate the cross-contamination, I have one watering can for each. Below is how I made mine.
I also use these watering cans to take water from my rain barrel to the gardens. To make it easier with fewer trips, I purchased ones that were 2 gallons each.
How much did it cost to make customized watering cans?
The watering cans were about $15 each, and a roll of permanent vinyl (peach) was $10. So, to make these labeled watering cans costs $25.00. It is so affordable for these simply customized pitchers.
How long did it take to make these labels for the watering cans?
The longest part of this DIY process was deciding what to put on the pitchers' side. After I determined that, it took me about 1 hour to do this watering cans labeling project. Most of that time was spent watching the Cricut machine (affiliate) cutting the wording and design, and then I weeded the vinyl pieces and adhered the pictures to the sides.
What supplies are needed for this DIY watering cans labeling project?
Two watering cans - 2 gallons (affiliate)
Peach vinyl permanent label sheets (affiliate) - I used one 12 x 12 sheet, but you may need two.
Cricut machine (affiliate) and cutter blade
Transfer paper from Cricut (affiliate) to move the labels (affiliate) and flowers over to the watering cans.
Please note these are affiliate links through Amazon (affiliate), and at no additional cost to you, I will earn an affiliate commission if you click through and decide to make a purchase.
Instructions on how to make these watering cans labels
Here's how I made the customized watering cans. Here is the picture of the watering cans.
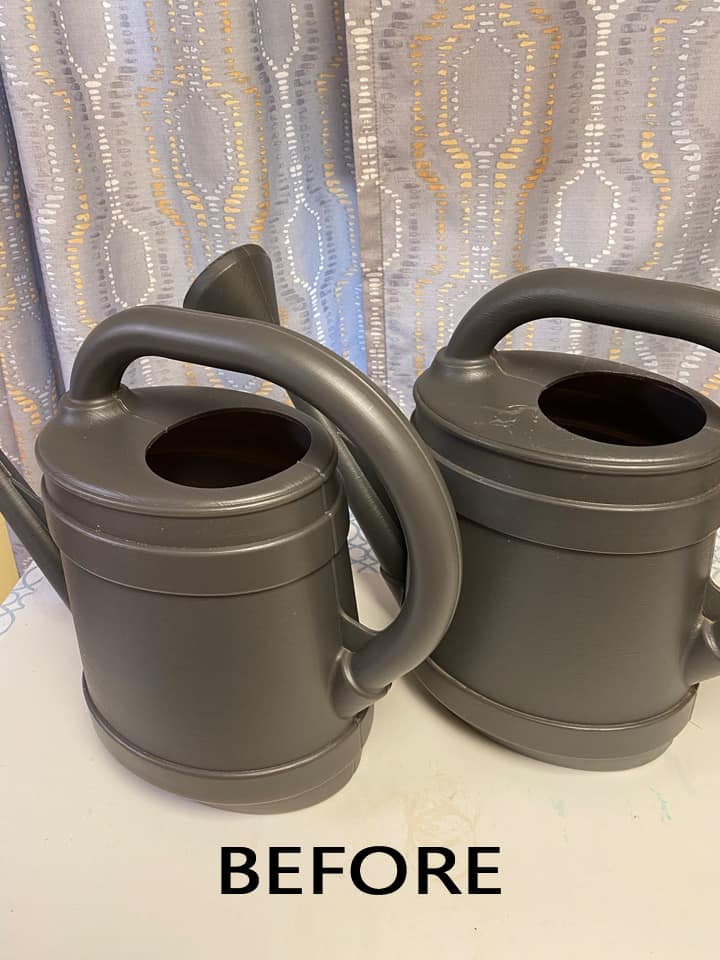
First, I bought two of the same watering cans. I found these at Lowe's - I shared the ones I found on Amazon (affiliate) above.
I decided to use a flower pattern for the flowering garden watering can and a sunflower pattern for the watering can for the vegetable garden. Then, I picked a free pattern on my Cricut (affiliate) Design Center. Here's the link to my Cricut Design Space account. Feel free to use it. It's free.
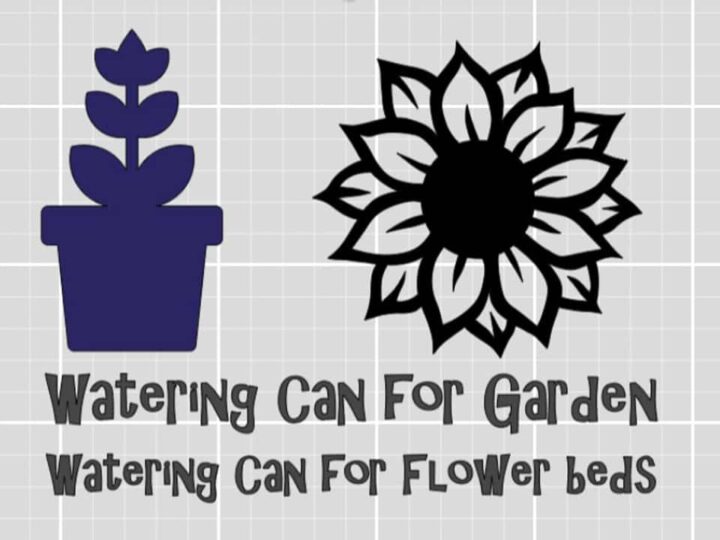
Then, I placed all the images on one page to make it easy to cut and weed.
Next, I weeded (removed) excess vinyl with the weeding tool and used transfer tape to remove the vinyl from the paper.
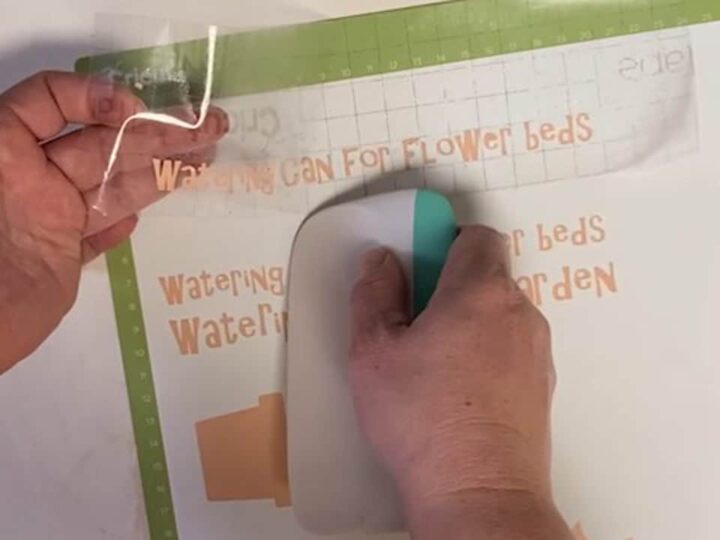
I placed the vinyl wording and image on the transfer tape by pressing it down and peeling it up. Then, I moved over to the kettle and added the labels (affiliate) and pictures to the can.
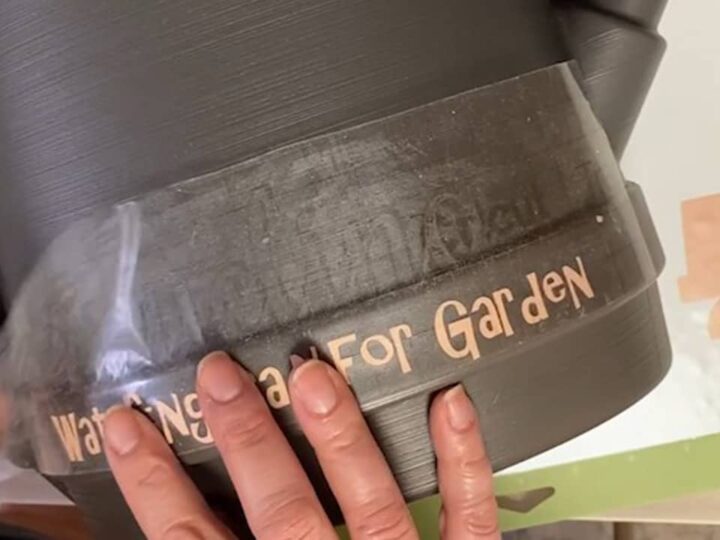
I continued to do them until all of the labels (affiliate) were added to them.
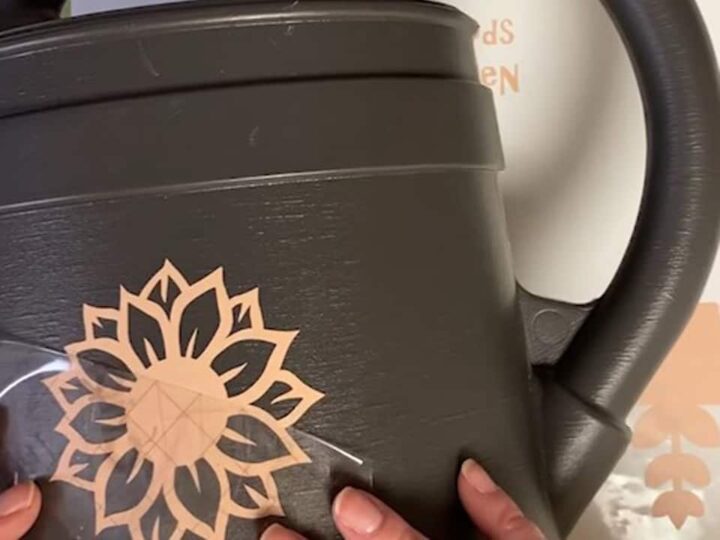
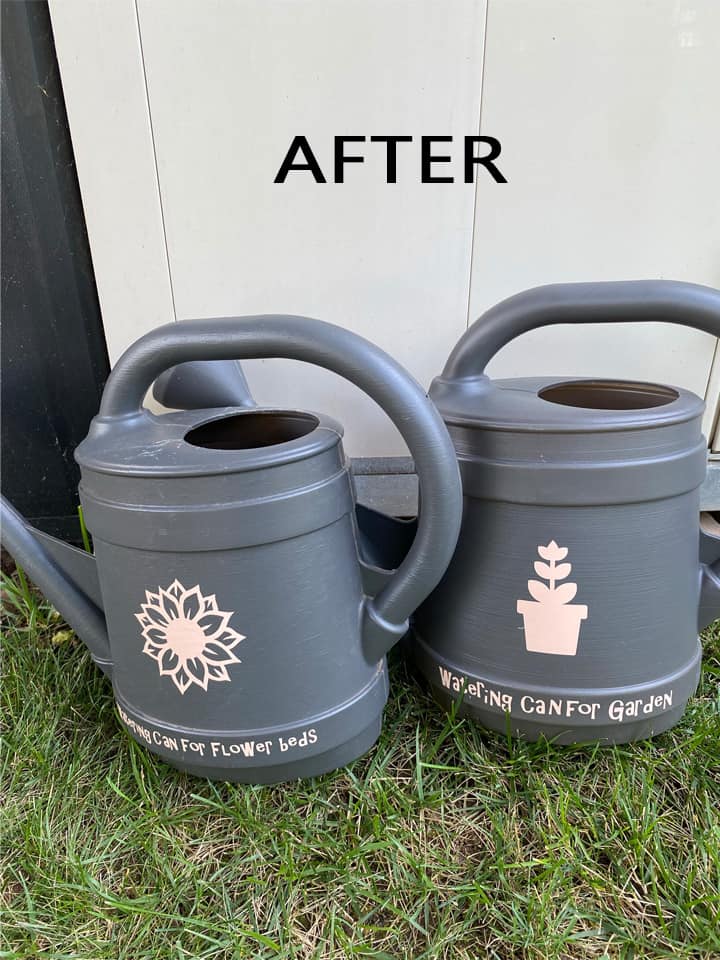
DIY Project Reveal:
Here is what it looked like after I finished the transfer. Doesn't it look cute? I love them! It is lovely to do a super easy DIY project that helps you get organized in the garden.
Feel free to watch the complete video here and subscribe to our YouTube Channel for more DIY project ideas!
Feel free to check out our other outdoor organizing DIY posts!
SUPER EASY WAYS FOR OUTDOOR STORAGE CABINET ORGANIZATION
EASY TIPS TO ORGANIZE AN OUTSIDE CABINET STORAGE ON A BUDGET
AMAZING BACKYARD TOOLS TO MAKE LIFE EASIER
Please note these are affiliate links through Amazon (affiliate), and at no additional cost to you, I will earn an affiliate commission if you click through and decide to make a purchase.


Leave a Reply