While emptying my mother-in-law's home, we removed old furniture (affiliate) and repurposed or donated it. No one seemed to want these two dining room chairs that were left behind. With their design and sturdiness, it would be a shame to trash them or give them away. So, I asked my relative if she wanted them for her home. She said yes! She was willing to let me upcycle them to make them more attractive and fun for her. This post discusses how I upcycle dining room chairs into fun accent chairs. Following along, see the steps.
Jump to:
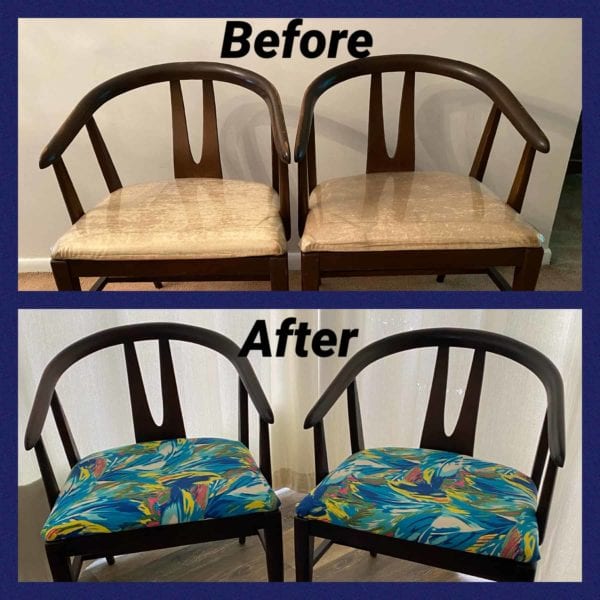
Below are the chairs as they looked before I repaired, updated, and cleaned them.
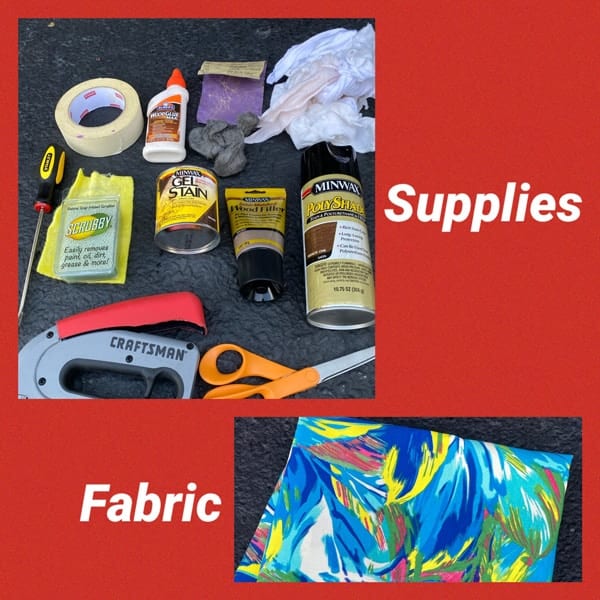
What tools and supplies are required for this upcycled dining room chair project?
The links below are affiliate links on Amazon (affiliate).com; if you click through and buy something on Amazon (affiliate), I will receive a referral fee at no additional cost. Thank you for supporting my small business.
Masking tape
Wood Glue
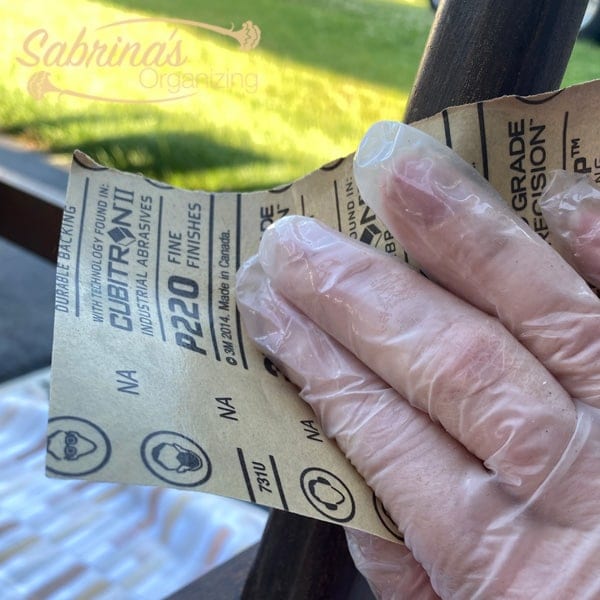
220 Grit Sand Paper
Rags for staining
Steel Wool Fine
Flathead screwdriver (affiliate)
Scrubby soap bar and soft scrub
Gel Stain Walnut
Wood Filler Walnut
PolyShade Mission oak
Scissor
Stapler
Upholstery Fabric 1 - 2 yards, depending on the direction.
It is the perfect time to replace that shabby rug!
BoutiqueRugs.com has a large variety of colors, styles, and sizes. And, washable ones too!
Hurry, they are up to 70% off! Don't miss out!

Now that I have all the necessary supplies and tools (affiliate) for this project, I will outline the transformation process below.
How do you transform dining room armchairs into accent chairs?
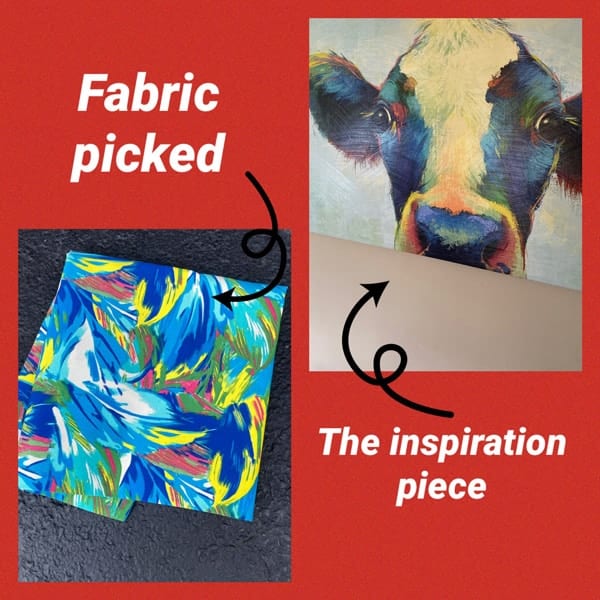
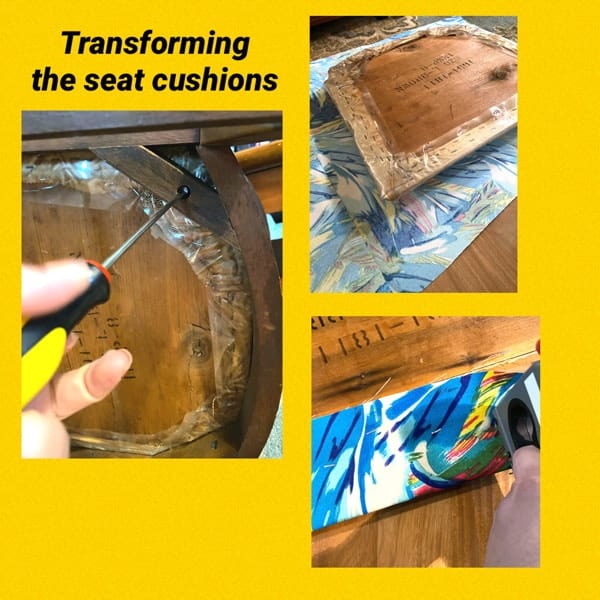
Pick the seat fabric.
I found the fabric store and found this great fabric. It matched the cow painting that my cousin had in her living room. Since she has a dog and cats, I figured it would be best to use outdoor upholstery fabric, as it is more durable and can withstand the animals' paws.
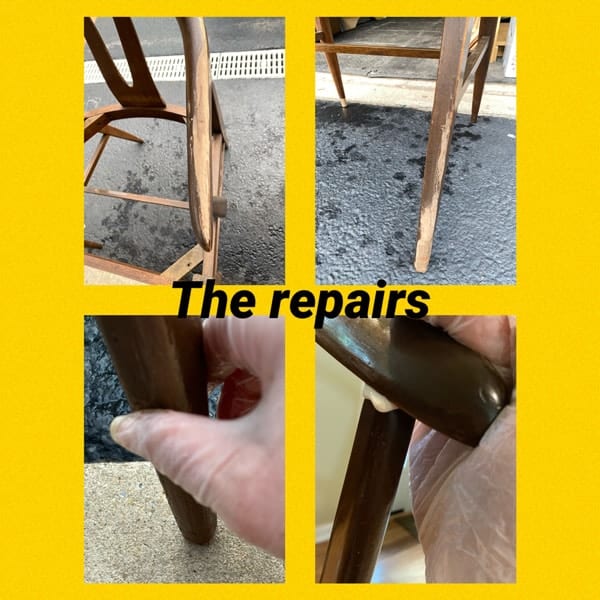
Dismantle the chair seats and feet if possible.
Ensure you keep a baggie handy to hold the screws for the chairs. Also, be cautious; older hardware can be sharp and cut your skin quickly. Separate the pieces if there are lots of them so they do not get mixed up.
I had to glue some of the joints because the glue had dried out.
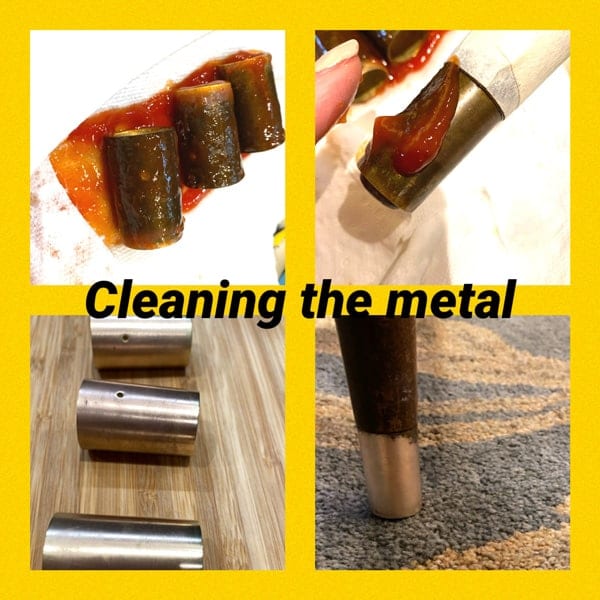
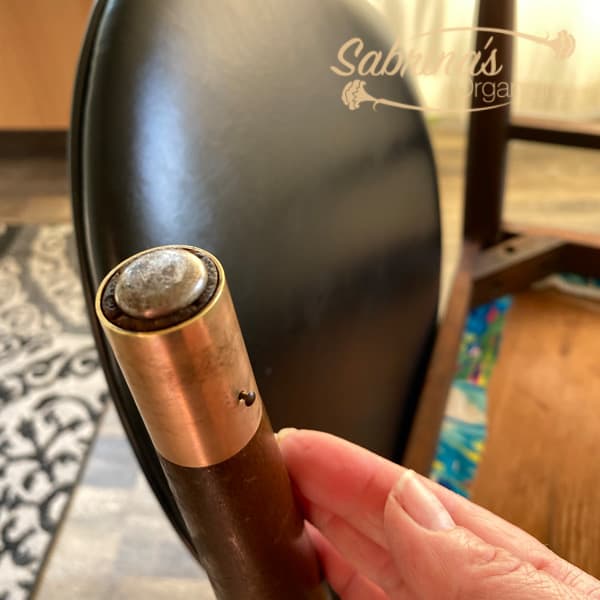
To clean the brass front feet, use this cleaning method.
Remove the brass from the chair (affiliate) legs. There was a nail that we could remove and slide out the cylindrical metal carefully.
Then, I laid them on the plate with a paper towel and added a generous amount of ketchup to each brass metal. After waiting about 40 minutes, I scrubbed them with a toothbrush to clean off the grime. It worked pretty well. I have also used Lemon juice and baking soda to do this. Both methods worked well with a bit of elbow (affiliate) grease.
Reupholster the chair seats.
I've done this several times and learned how to do this when I was in college working for The Bombay Company retail store. Visit my how-to reupholster the dining room chairs post I wrote some time ago.
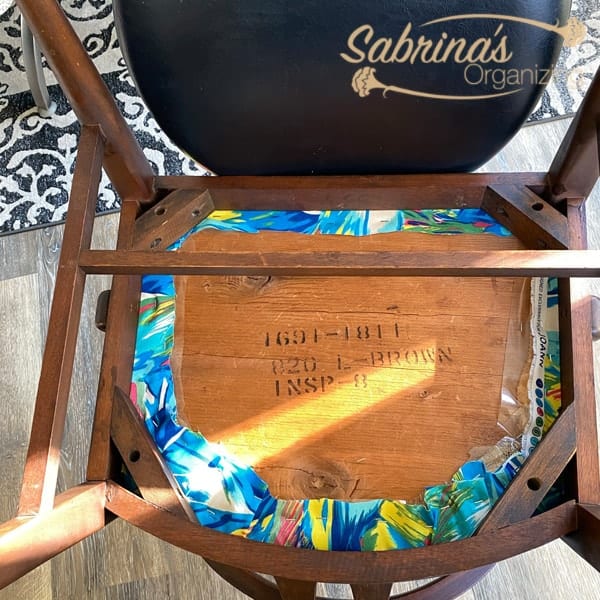
I did not want to remove the layers since they were covered in plastic and were pretty secure. So, I added the fabric to the top, stapled the sides first, and then worked my way around, stapling the fabric to the corners while layering as I went. I did this with both chairs.
Clean the wood on the chairs.
These chairs were in a house where people smoked for years and in a smoke-free home for 15 years. So, as I cleaned it, I found that there were layers of grime on the wood. Using the Scrubby Soap Bar, I removed the dirt, grime, and the top oils on the chairs' arms. I rinsed the soap off with a bucket of clean water and rags to get as many oils off as possible. Then I let it dry.
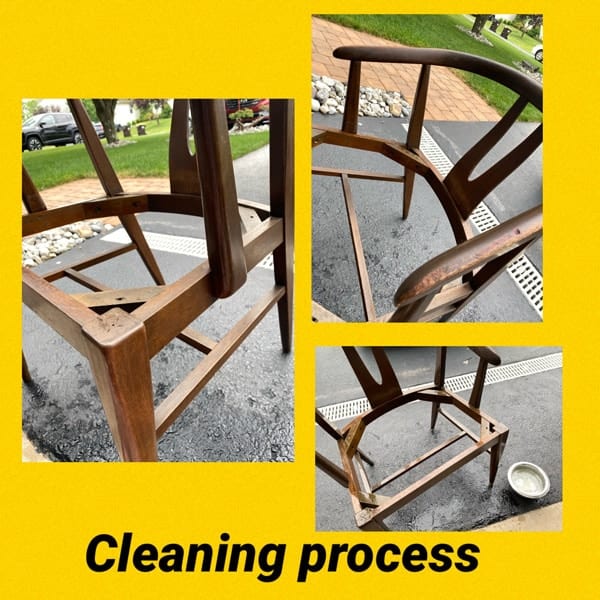
I added more soap to clean up the spots that still had grime on them. Then, I rinsed it again and let it dry. It worked pretty well.
Repair the holes on the chairs with wood putty.
I then sanded the areas that needed a little work, and added wood filler to fill in the holes in the arms of the chairs. Let the wood filler dry completely. I sanded the putty down a day later and made it smooth with the wood. I used fine sandpaper to sand the entire chair (affiliate).
Ready to Stain the Chairs.
Now, I was ready to stain the chairs with the gel stain. The gel stain made it easy to control where the stain would be placed. Then, I let it dry completely until it was no longer sticky. Using the rag with the gel stain was very easy to apply. I added another layer of gel stain and waited until it was completely dry and not sticky.
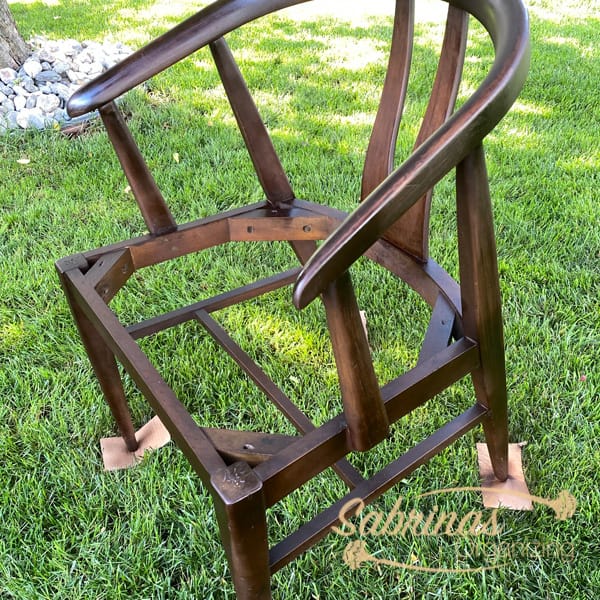
I tried a new staining method that allowed you to use a stain in a spray paint format. It wasn't my favorite, and I probably will not do it again. However, here is how it looked after I stained and applied polyurethane as a topcoat. And let it dry.
Attach the newly upholstered seats.
Then, when everything was dried, I added the upholstered seats with the screws-pressing down on the top of the seat while screwing them in. It helped keep the seat of the chair (affiliate) more securely in place.
Add the accessories back to the chair.
I added the brass pieces to the bottom of the chairs to finish it off.
How long did it take to do this project?
The project took about four days, including all the drying time. It took longer to dry than it did to complete the steps.
The Upcycled Dining Room Chairs Reveal.
And this is how the chairs look now that they have been transformed into accent chairs. What do you think? I think they look amazing.

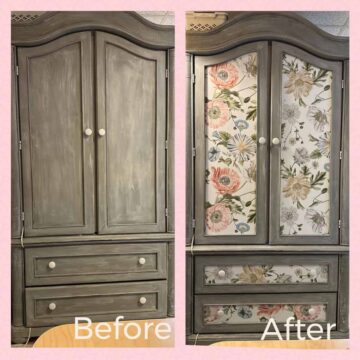
Below are the before-and-after photos. My cousin loved it! I'm so glad. She has the matching buffet and will be staining it and repairing it to match.
Watch the video to check out how the chair transformed.

Check out the posts below to see our other DIY upcycling projects.

Visit our other upcycled DIY furniture project!


Leave a Reply