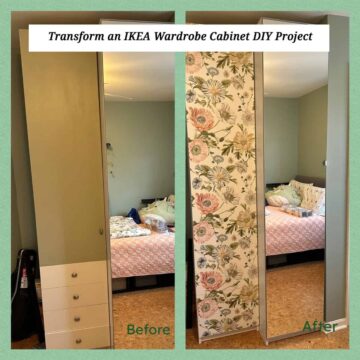
Years ago, I purchased and customized a unique wardrobe for my daughter's small room. I've written and shared my other DIY projects for this room. Feel free to check them out. This post will show you how to update a wardrobe cabinet (affiliate) for increased storage space.
UPDATE A SMALL BEDROOM FOR AN ADULT
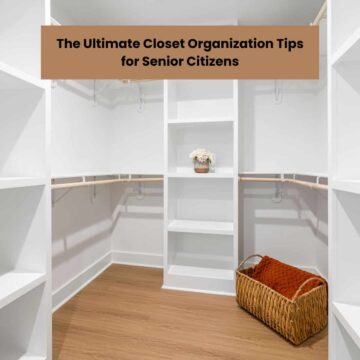
SMALL CLOSET ORGANIZATION TIPS USING LIFEWIT
Jump to:
What inspired me to update a wardrobe cabinet?
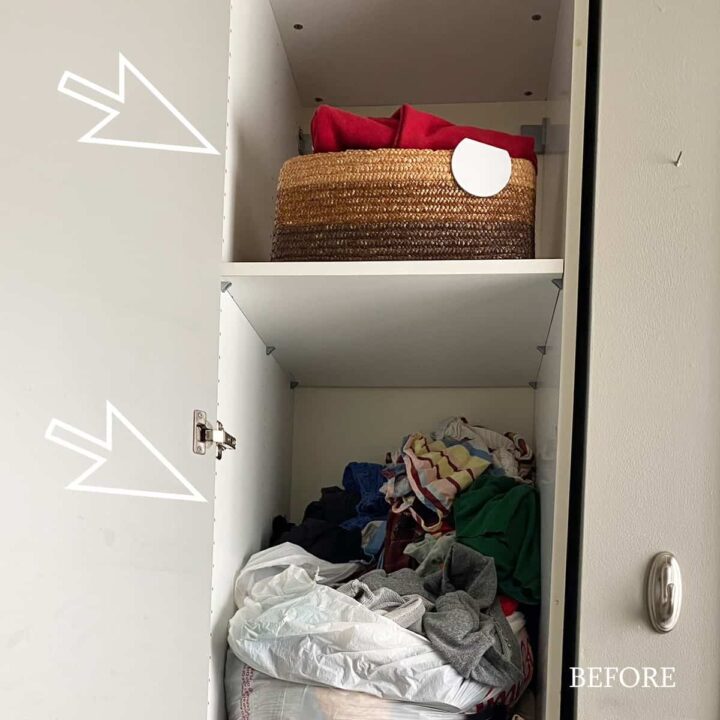
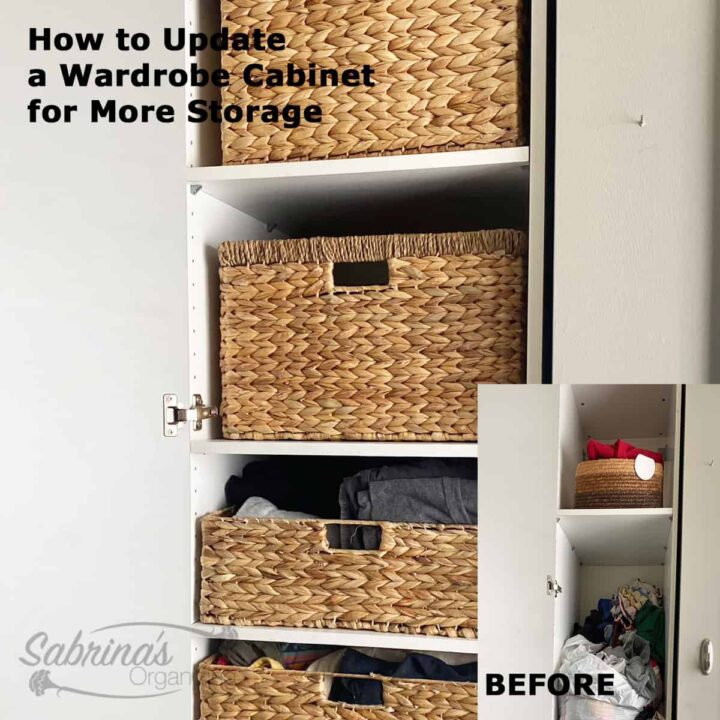
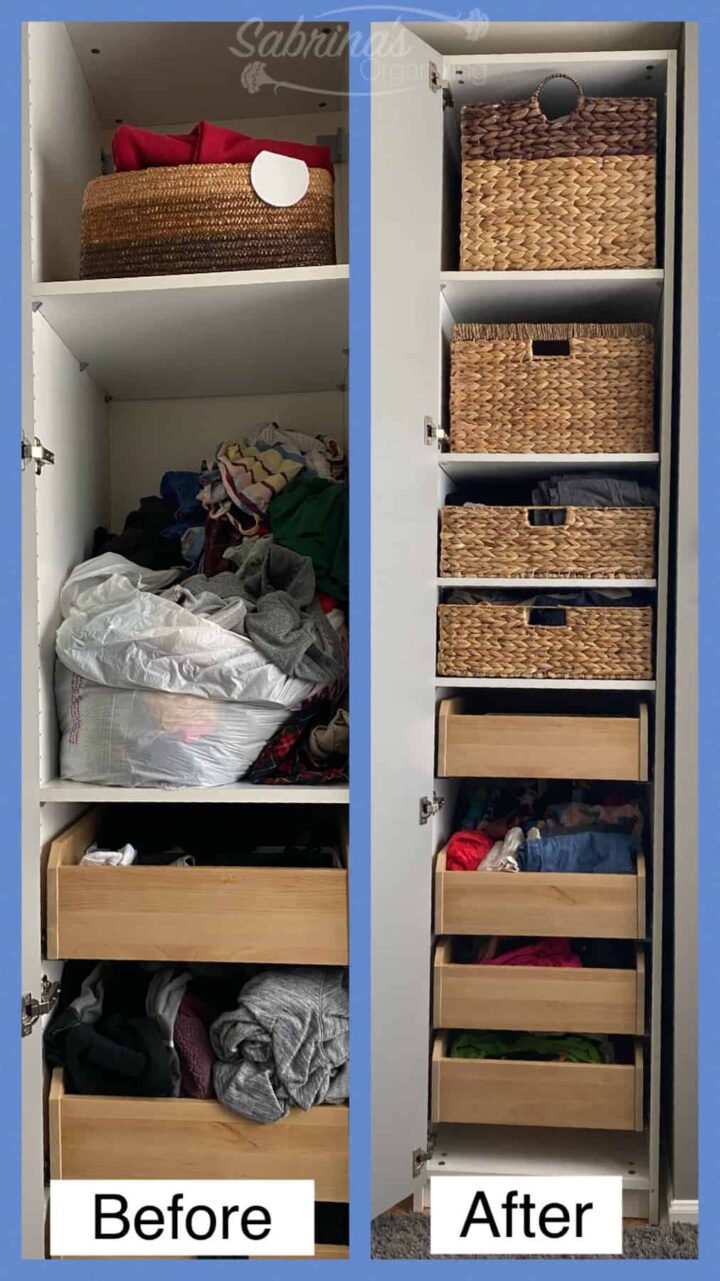
For many years, the wardrobe has been a breeding ground for piles of clothes because there is not enough drawer space in the cabinet. Now that she is returning from college, I thought it was the perfect time to upgrade the wardrobe cabinet (affiliate) to hold more items.
For many years, the wardrobe has been a breeding ground for piles of clothes because there is not enough drawer space in the cabinet. Now that she is returning from college, I thought it was the perfect time to upgrade the wardrobe cabinet (affiliate) to hold more items.
Steps to transform this Ikea Cabinet
Time needed: 3 hours.
Back story (affiliate): The cabinet came with shelves (affiliate) and drawers, but I needed a few more shelves (affiliate). Unfortunately, Ikea (where I purchased this cabinet years ago) no longer carries this size of shelf. So, we had to become creative to make sturdy shelves (affiliate). Below are the step-by-step instructions for updating this Ikea cabinet.
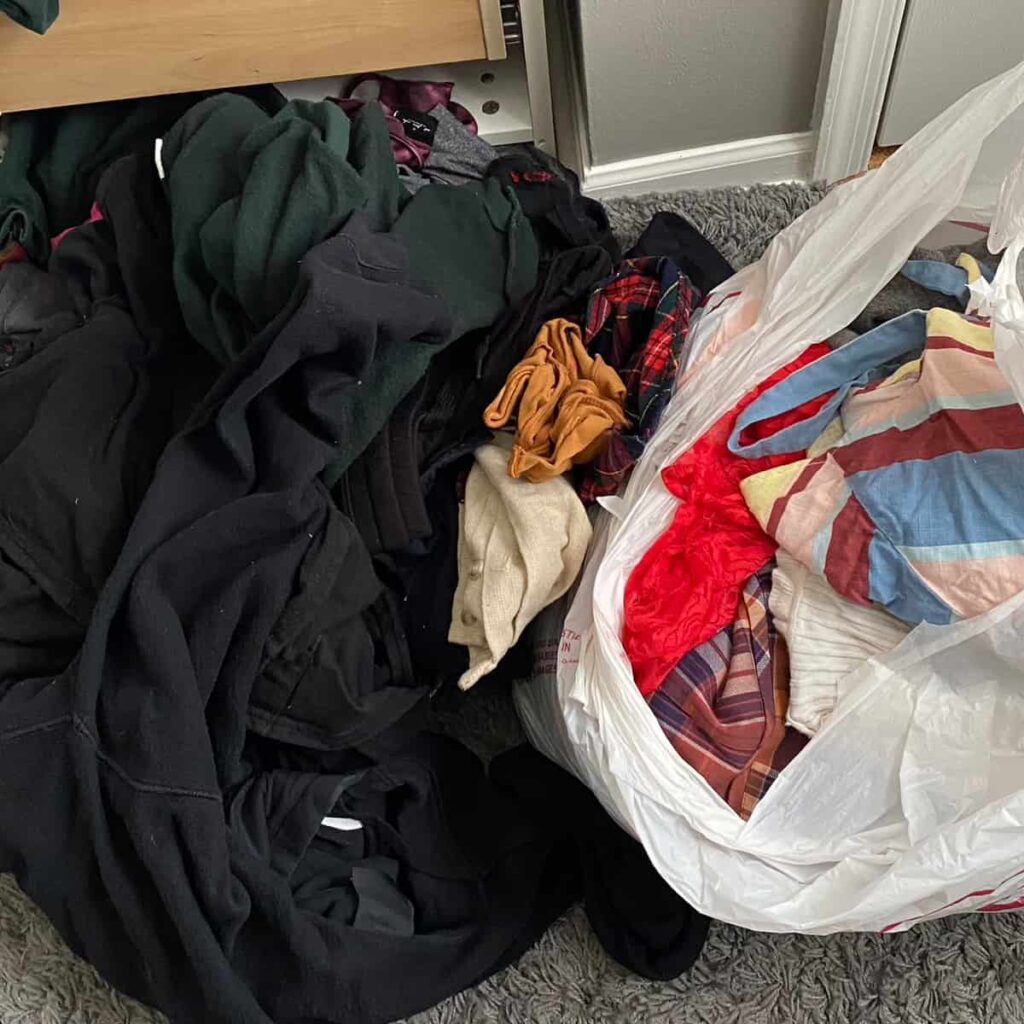
- Empty the cabinet.
First, I emptied the wardrobe cabinet (affiliate) of all the clothes. Then, I organized them in the wicker bins (affiliate) and set them aside.

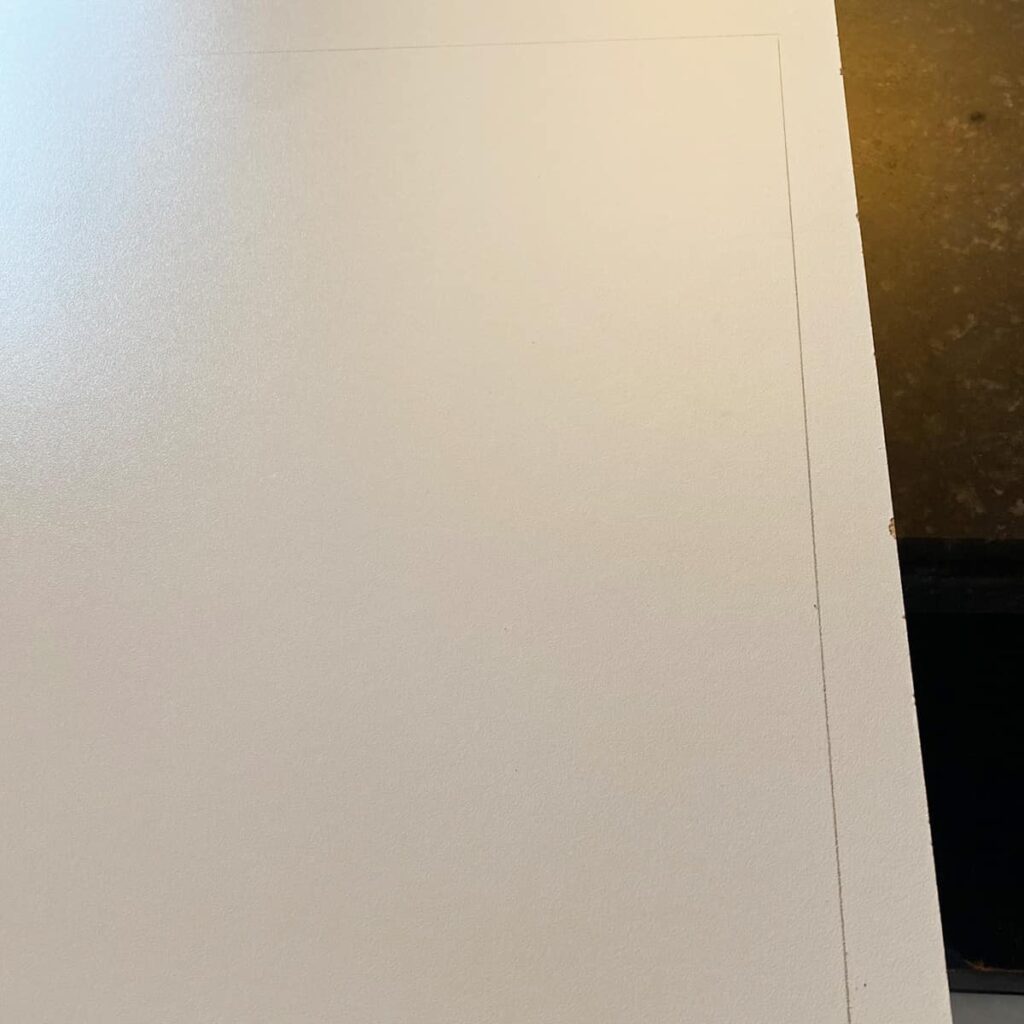
- Cut the shelves (affiliate)
After cutting down the shelves (affiliate), I dry-fit them into the wardrobe cabinet (affiliate) with the wicker bins (affiliate). I removed an existing shelf and used it as the template for the new shelves (affiliate). I had to make two new shelves to maximize this wardrobe.
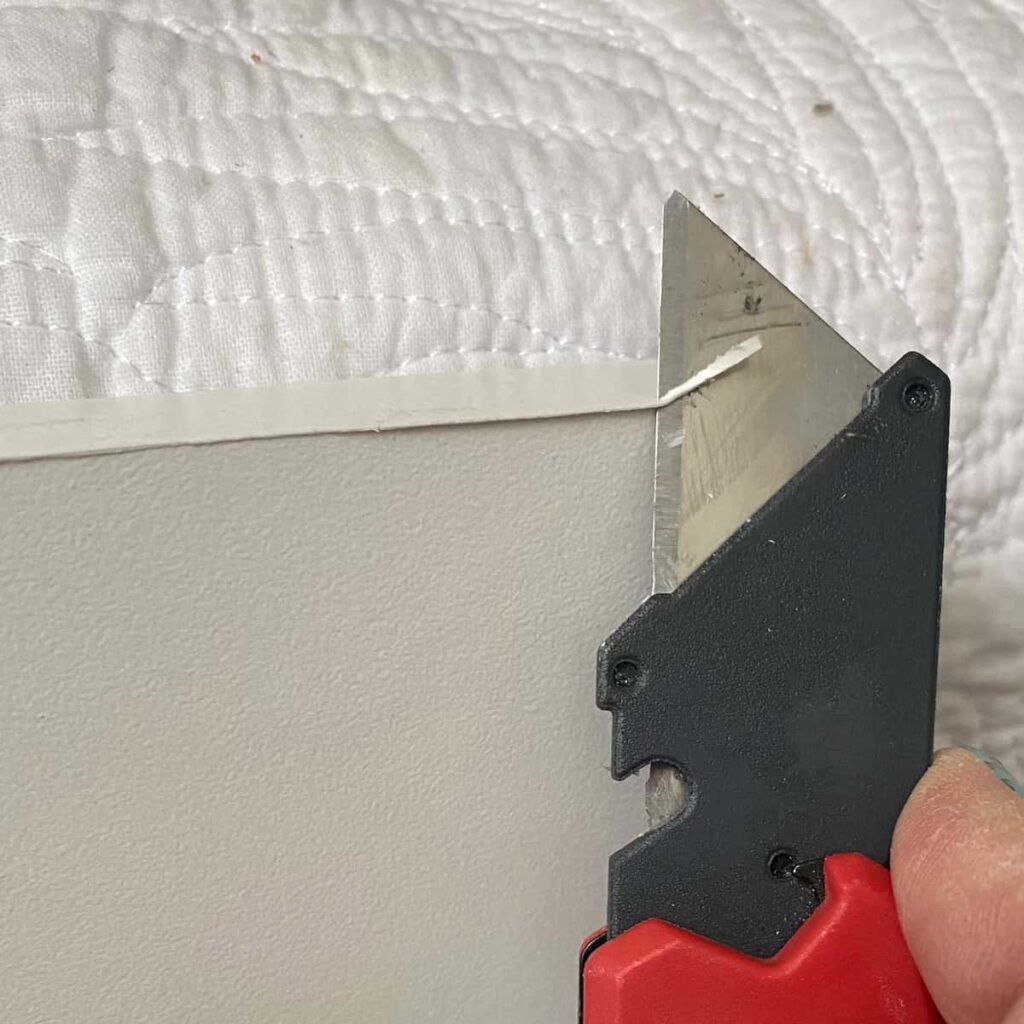
- Adhere the Melamine Veneer to the front
After I placed the pegs in the right spot, I had to add the melamine veneer edging. I followed the instructions on the packaging. It took a few times because it didn't lay straight. But, it was easy to remove just by heating it again. I only placed it on the front edge - the part where you can see it. It was an easy product to use. See below for tips.
- Clean off pencil marks.
Then, I wiped the shelves of pencil marks and dirt with a Magic Eraser (affiliate) and dried them.
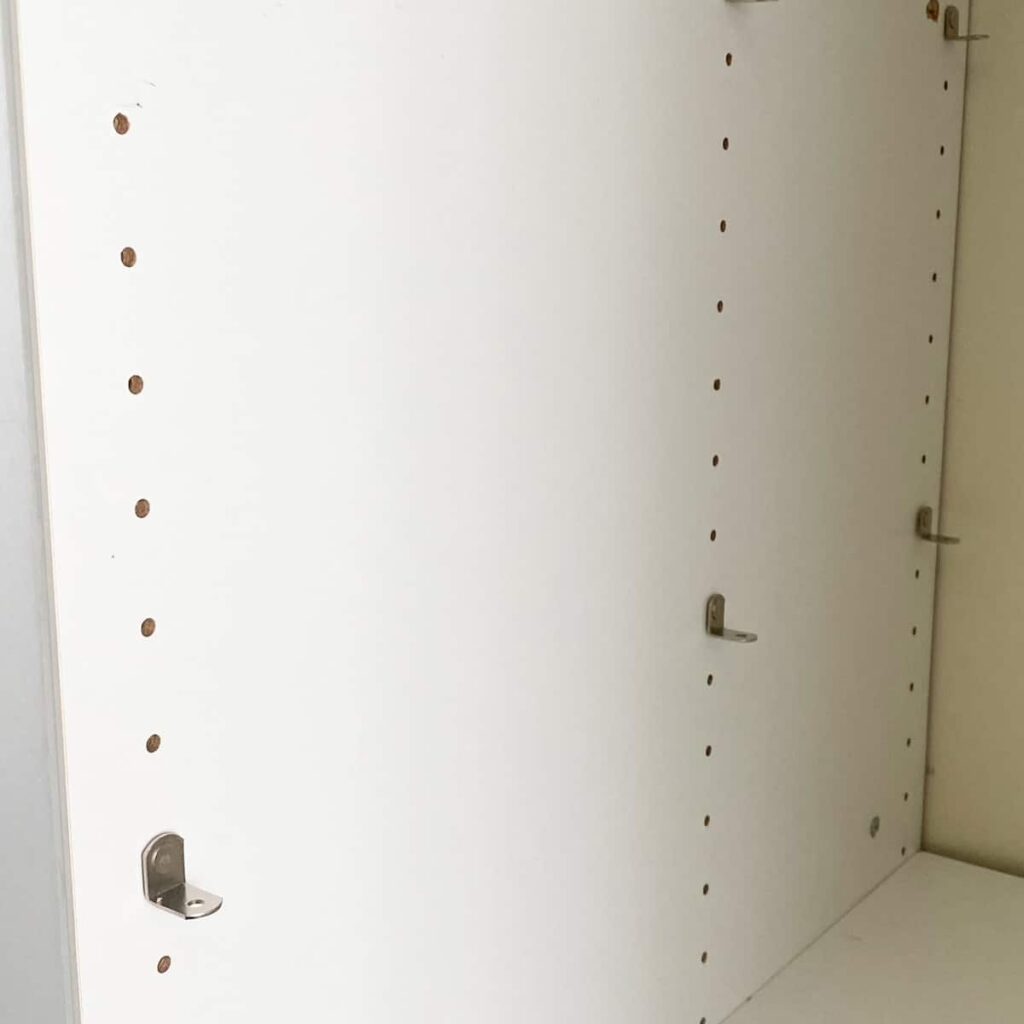
- Find the Right Height for the Shelves
Then, I had to find the right height for the shelves. I had to move the existing two shelves to make it all fit. Measuring the height of each bin helped me determine where I should place the shelves to use them easily. Keep an eye out for the hinges. The shelves can not be attached near them.
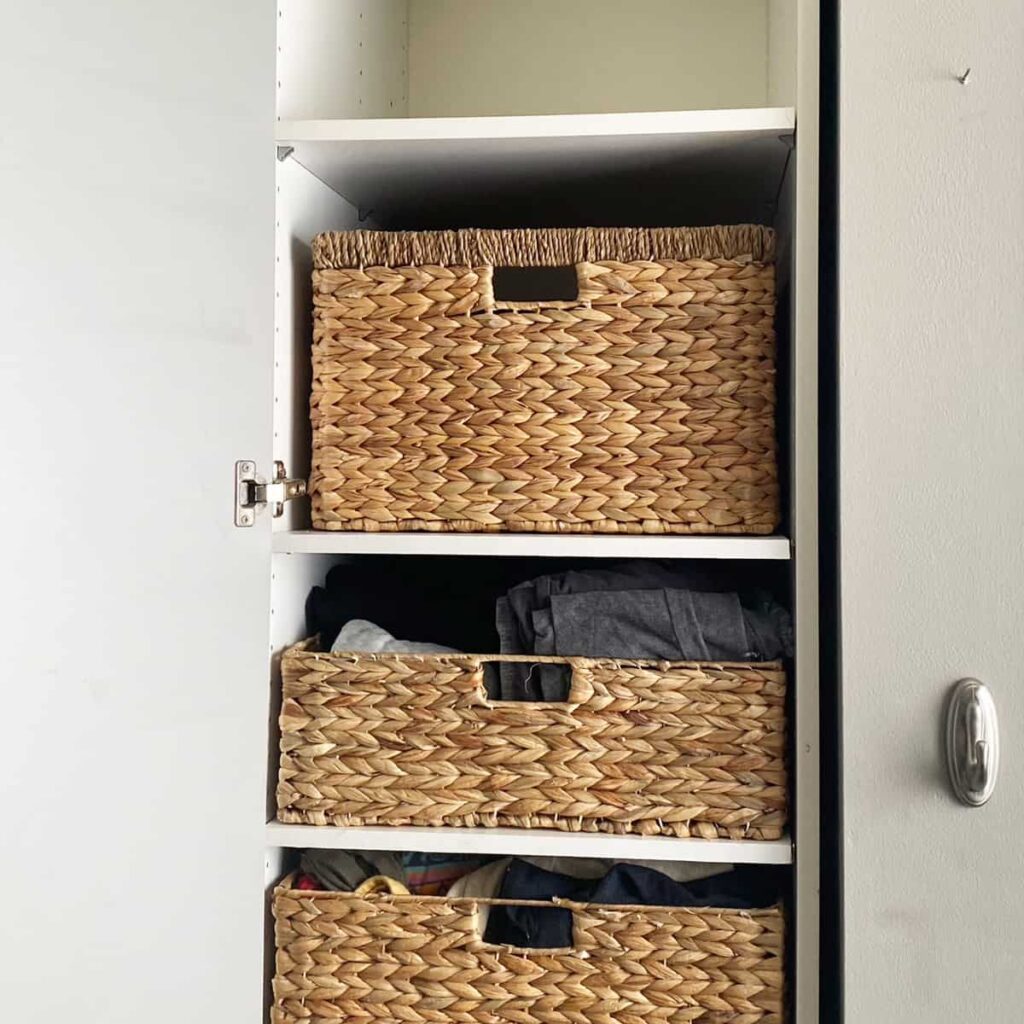
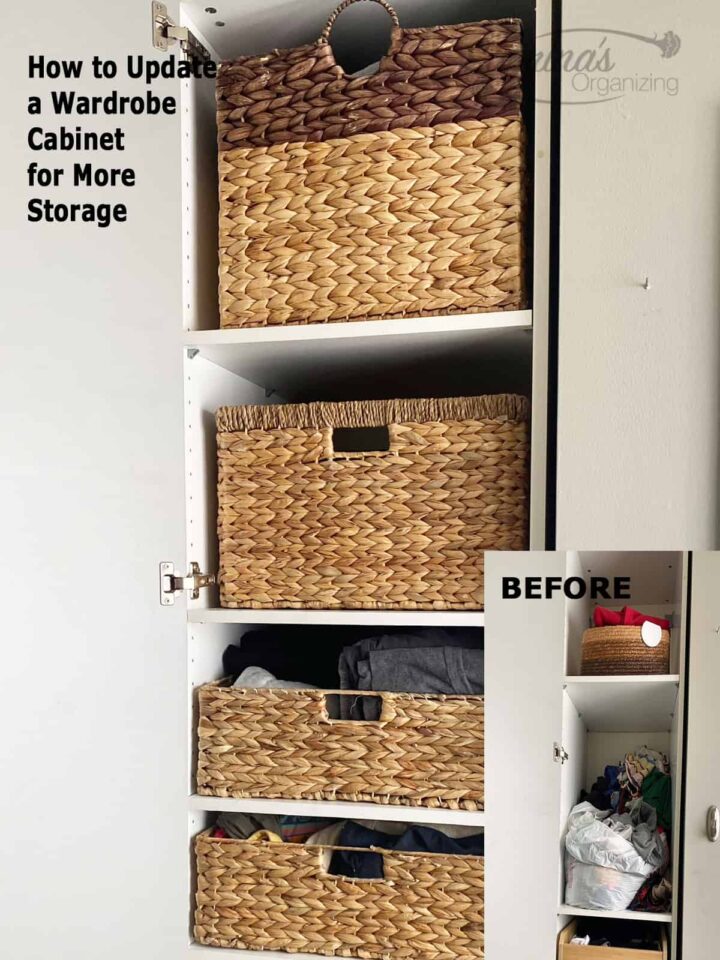
- Add the finished shelves and wicker bins (affiliate)
Now, I added the finished, cleaned shelves to the appropriate pegs. To keep the shelves from moving back and forth, I used ½-inch screws to secure them. The L pegs had a hole to use for this purpose. I only did this with 4 of the pegs. Then I added the bins of folded clothes to the right shelf.
- Label (affiliate) the wicker bins (affiliate)
Optional: I will add labels (affiliate) to them later since my daughter is not home from school yet, but I found labels (affiliate) that can hook onto wicker baskets (affiliate). She will be labeling them when she returns home. I have to have her do something in her closet, right?
There are specific types of wicker labels (affiliate) you can use that are slightly wider and can go over the top and hang down in front. Below are some examples of wicker labels (affiliate) you can add.

Wicker Label Options

Wicker Labels: 18 Pcs Acrylic Basket Labels, Storage Tags with Chalk Marker Removable
Buy Now →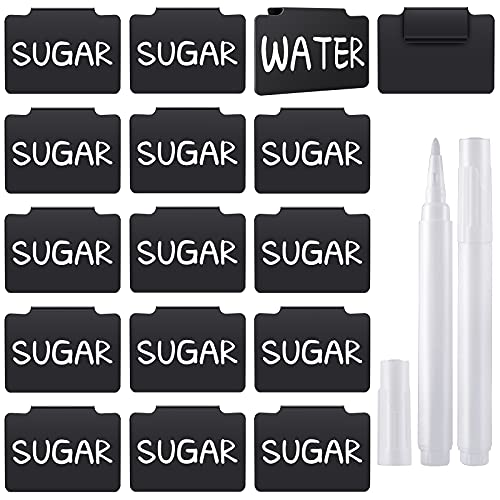
Wicker Labels: 18 Pcs Plastic Basket Bin Label Clip on Removable Basket Label Clip
Buy Now →
Wicker Labels:Metal Storage Bin Clips (2.5" x 3.5") - Set of 8 Basket Clip On Tags
Buy Now →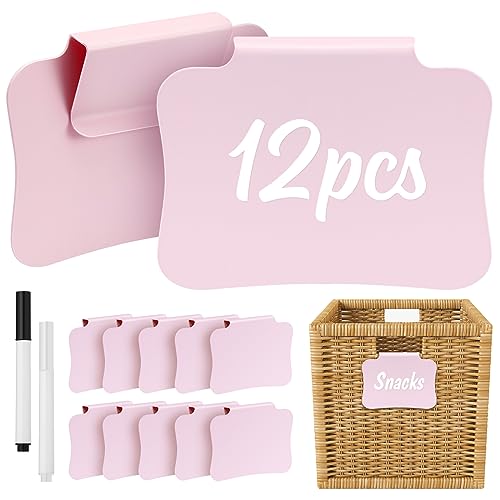
Wicker Labels: 12PCS Basket Labels Clip On for Storage Bins
Buy Now →(affiliate)
Questions about how I updated this wardrobe cabinet
1 melamine piece board 4 feet long x 24 inches wide - DIY closet section at Lowe's
A Tape measure
An existing shelf as a template
Pencil
Use Painter's Tape (affiliate) to cover the laminate when cutting.
Electric handsaw
12 - Angle shelf supports - 6 per shelf
At least four small .5-inch screws
Razor blade - sharp
Iron
Aluminium Foil piece
Band-It(R) - Melamine Veneer Edging ¾ inch X 10 ft
Magic Eraser (TM)
4 Wicker bins (affiliate) - various sizes but the width of the wardrobe cabinet - 22 inches deep and 18 inches wide. << I found these at HomeGoods.
Drill (affiliate)
Drill (affiliate) bit
Since I had to buy and make shelves and wicker bins (affiliate) to fit in them, adding storage to the wardrobe cost me about $140.00.
It took me about 3 hours to set up after I got all the tools (affiliate) and supplies I needed.
The Big Reveal
And here is how the wardrobe cabinet looks now! Beautiful, right? Since the bins can easily be removed and the shelves stay put, it's perfect for anyone who has to store out-of-season clothes at the top of their cabinet.
Tips on making this updated wardrobe cabinet.
There are a few tips to help you update your wardrobe. See below.
I found that the melamine board flaked during cutting. So, be sure to use painter's tape before cutting into it. It helps, but doesn't do a perfect job. I really didn't care so long as the front wasn't chipped.
When adding the melamine to the front, follow the instructions exactly. If you make a mistake, you must reheat it to remove it.
Laying the shelf on the pegs helped keep it steady so I could iron the melamine strip on. I then took it down, added more heat and pressed it down.
Feel free to comment below if you try updating your wardrobe cabinet. Please let me know how it goes. I would love to hear from you.
Feel free to visit our other furniture updates posts:
Leave a Reply