Decorating the home can easily be made instead of bought. Flat Red Gems are perfect for upcycling a variety of glass jars. This project will show how to upcycle Red Gem (affiliate) Craft with Glass Cylinder.
Jump to:
- What inspired me to do this Red Gem Craft with Glass Cylinder?
- What supplies did I use to make this Red Gem Craft with a Glass Cylinder?
- How much did making this Red Gem Craft with Glass Cylinder cost?
- How long did it take to make Red Gem Craft with Glass Cylinder?
- How did I make this Red Gem Craft with a Glass Cylinder?
- The Big Reveal
- Tips on making this DIY craft project
- What can these red gems be used for to add glamour to your belongings?
What inspired me to do this Red Gem Craft with Glass Cylinder?
I have flat red gems and thought it would be wonderful to create a canister for holiday decorating. This one is super easy to make and can be done with just a few supplies.
What supplies did I use to make this Red Gem Craft with a Glass Cylinder?
Supplies used:
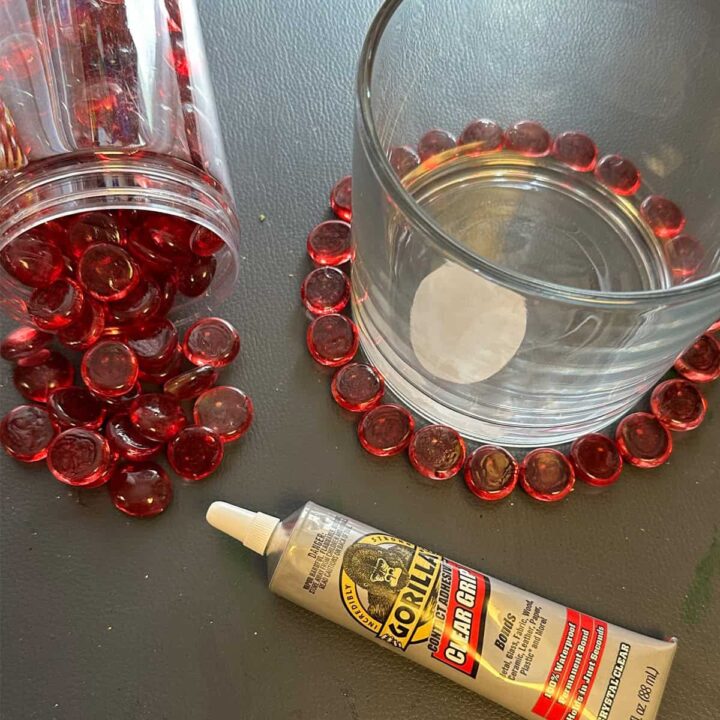
- 1 Jar of Red Gem Value Pack By Ashland™ (affiliate)
- One Glass Cylinder (affiliate)
- Gorilla Contact Adhesive Clear Grip (affiliate) - Bonds with Metal, Glass, Fabric, Wood, Ceramic, Leather, Paper, Plastic, and more.
Please note that these are affiliate links through Amazon (affiliate). If you decide to make a purchase, I will earn an affiliate commission at no additional cost to you.
How much did making this Red Gem Craft with Glass Cylinder cost?
This project cost me about $10.00. I had the glue from other craft projects.
How long did it take to make Red Gem Craft with Glass Cylinder?
This project took me about three hours to glue and overnight 12 hours before I could turn it upright.
How did I make this Red Gem Craft with a Glass Cylinder?
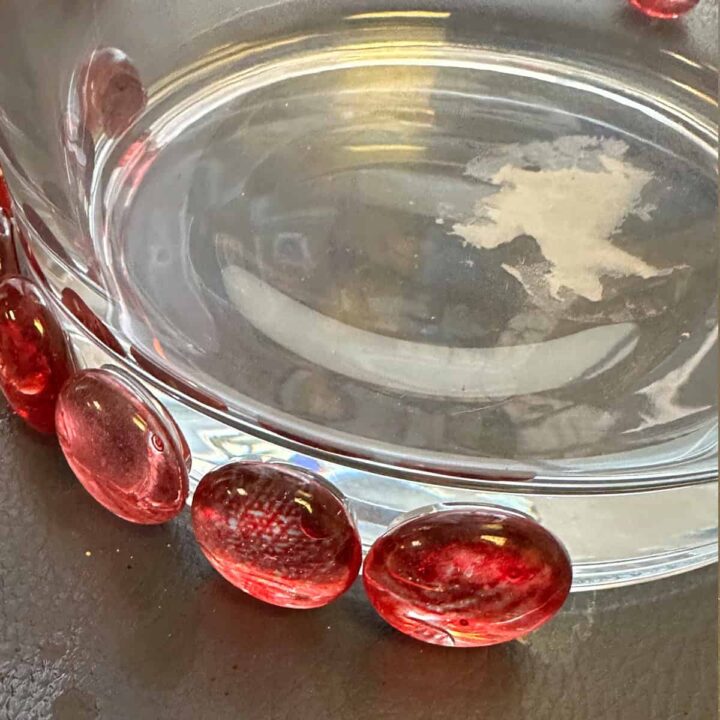
First, I added the red gems with Gorilla Contact Adhesive Clear Grip starting from the bottom and 22 flat red gem (affiliate) pieces for the radius of my glass container (affiliate).
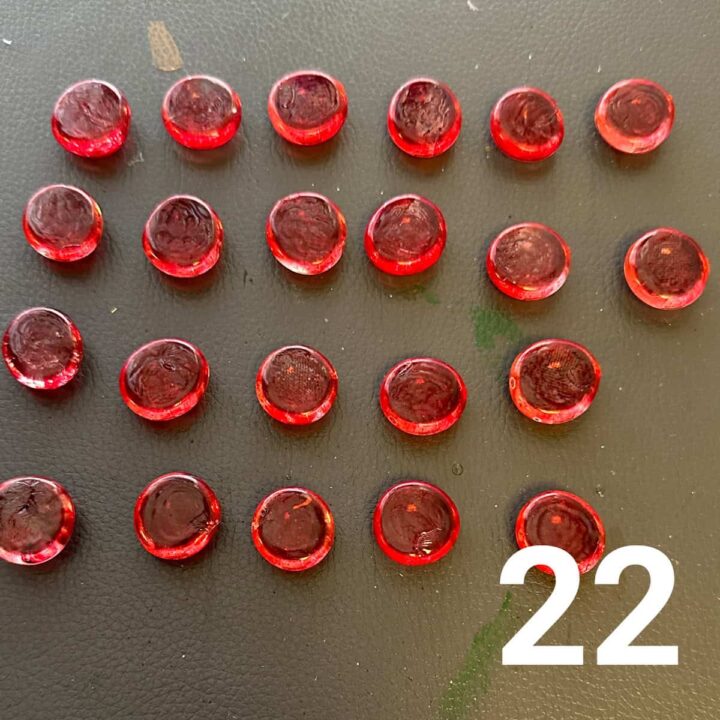
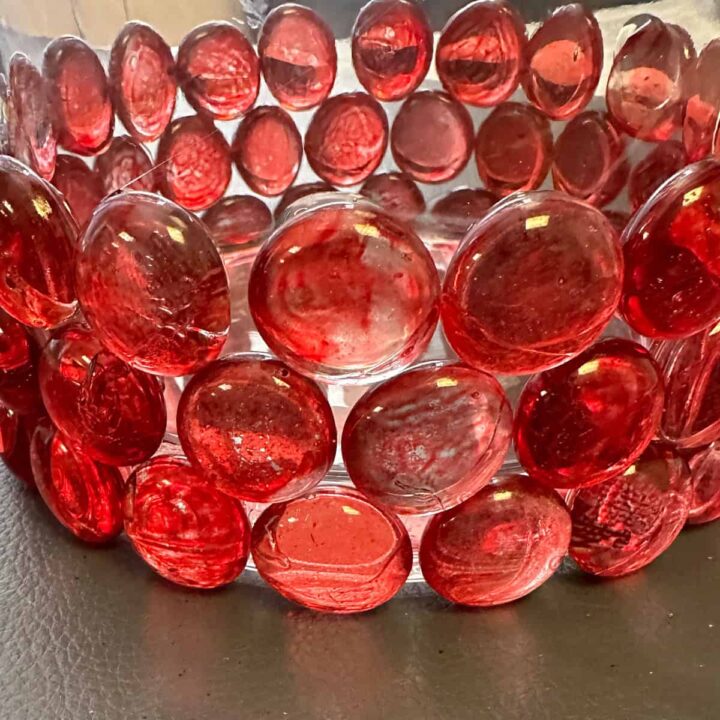
Then, I added the next row and continued six rows to reach the top. Here is the first row.
And, here is the additional rows added to the glass container (affiliate).
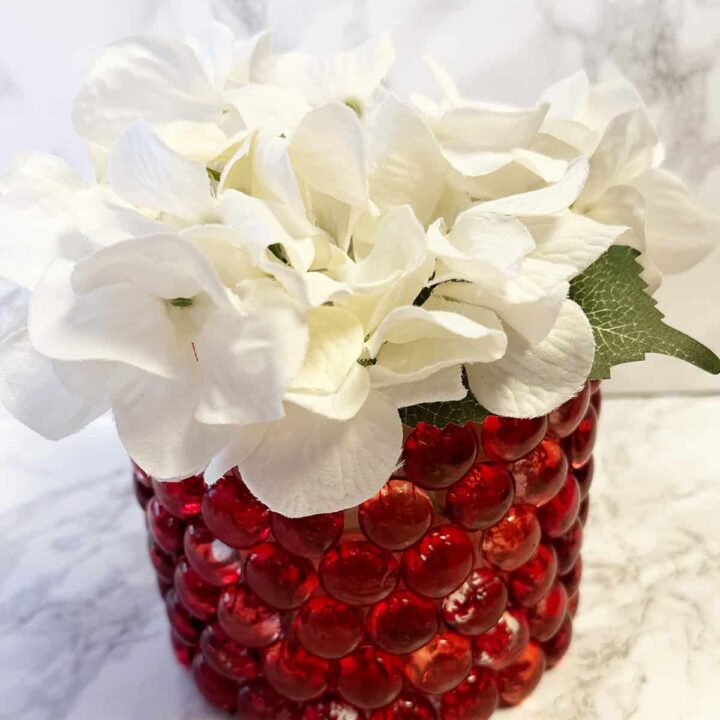
Now, I added the holiday flowers or used them to store things to keep organized.
The Big Reveal
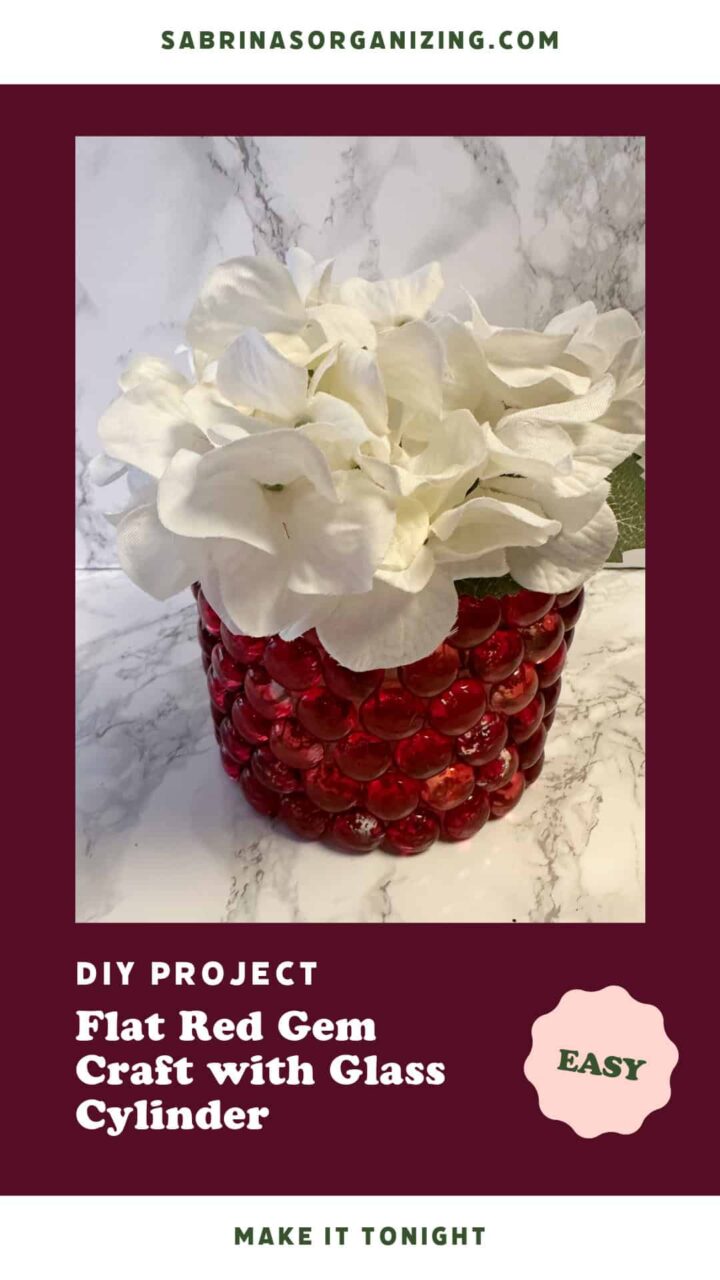
Below is the red gem (affiliate) craft container I made, which looks lovely.
Tips on making this DIY craft project
Also, here are a few tips when making these glass cylinders.
- If you are gluing the gem (affiliate) onto the glass container (affiliate), lay the glass container (affiliate) on its side and allow the glue to dry for a few seconds before gluing the next row.
- Pick the appropriate adhesive. If the glue is too watery and doesn't adhere within seconds, the gem (affiliate) will slide, and if you don't watch it, it will be stuck in an area not where you placed it.
What can these red gems be used for to add glamour to your belongings?
There are a variety of things that you can add these pretty red gems to. Below is a list of just some of them.
- Mason Jar (affiliate)
- Chargers
- Yogurt containers
- Picture frames
- Vases
Below is the video for you to watch to see the transformation.
I hope this post inspires you to create something for the holiday season or make a gift for a loved one.

