Our shed (affiliate) is only 5 feet by 8 feet. It is the required size of a shed (affiliate) in our development. So, making it functional is very important. Recently, we reorganized and arranged the shed so that more things could be placed in it. You see, we just got our very first generator. After 16 hours of no power after a recent storm, we thought it was time to get one. But where do we store it? That was going to be tricky. After some investigation, we found that the shed (affiliate) was the perfect spot for that and the wet vac that we use in emergencies. This post talks about how we increased storage in our shed while organizing the shed (affiliate) to maximize the space. Follow along and get inspired!
Jump to:
How long did it take to do this DIY shed organization project?
This project took about 4 hours to do. It took some time to organize which tool would be near the other one to avoid overlapping.
What tools and supplies should I use to organize the shed?
Rubbermaid Fasttrack (link is from Amazon (affiliate) (affiliate) )
Rubbermaid Fasttrack accessories
Wrap-it 32 in. Super-Stretch Storage straps (A704-32B) (Link is from Amazon (affiliate) (affiliate) )
Wrap-it Garage Organization Value Pack (VP11-HDECSS-BL)
Drill (affiliate)
Drill bit ⅛" (affiliate) and ⅜" titanium
Sharpie (affiliate) marker
Simple Green liquid (affiliate) and water bottle
Several clean cloths
Saw (affiliate)
Tape measure (affiliate)
Now that I had all the tools (affiliate) and supplies for this shed (affiliate) organization project at arms reach, I could begin.
How much was this project?
Cost: $110.00
We bought extra hooks because we did not know how much we needed. Then, I returned the extras. The straps were a bundle pack; we only used one or two. But I will use it more in future projects.
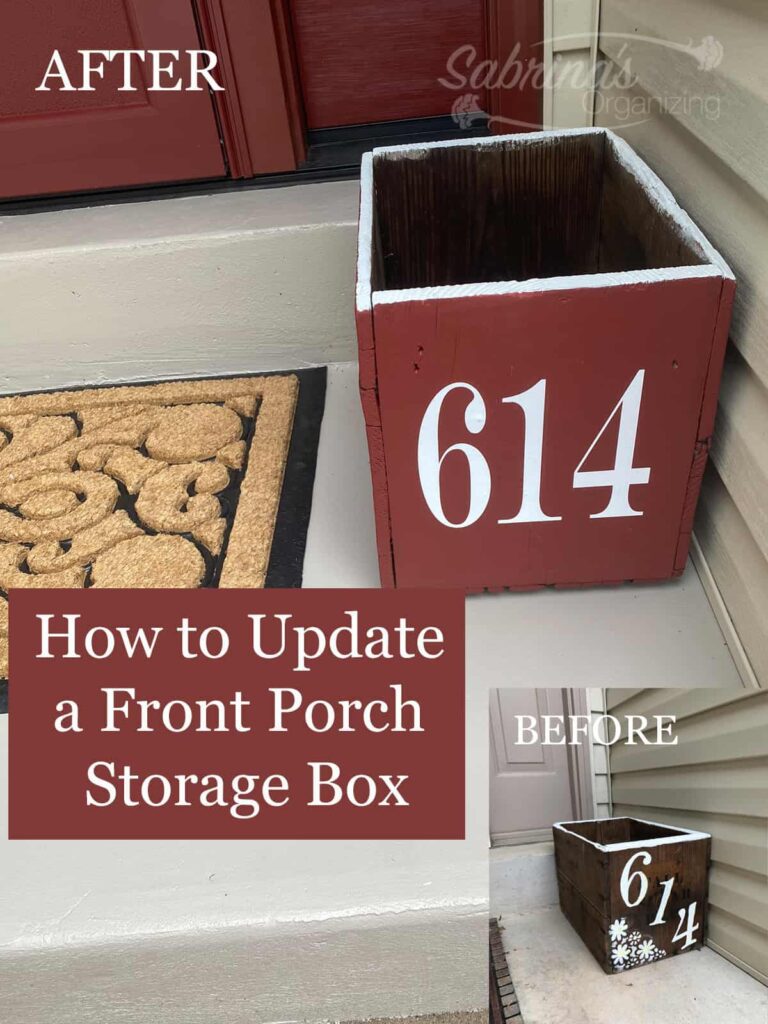
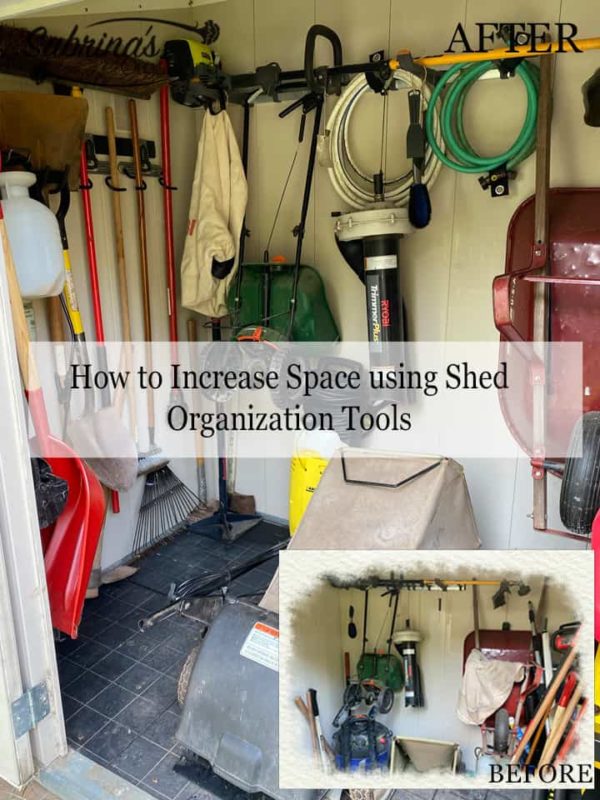
How to maximize space in a shed?
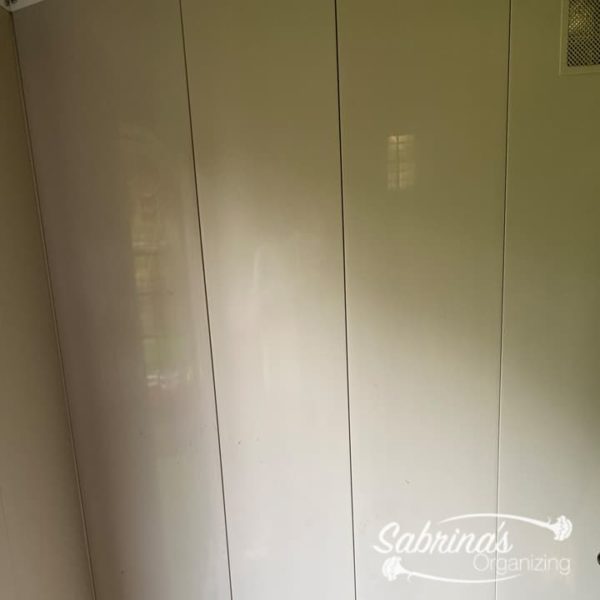
Before image of the shed.

As you can see, many garden tools (affiliate) needed a new home. Our triangle floor organizer wasn't cutting it, so we needed to rethink our organizing tools (affiliate).
Clean the shed wall and dry it.
First, we cleared off the wall with Simple Green spray. I cleaned the doors and the wall where we would hang the organizer. Then, with a cloth, dry the area as best as possible. Since it was inside the shed, it didn't get light; we did not want it to get moldy.
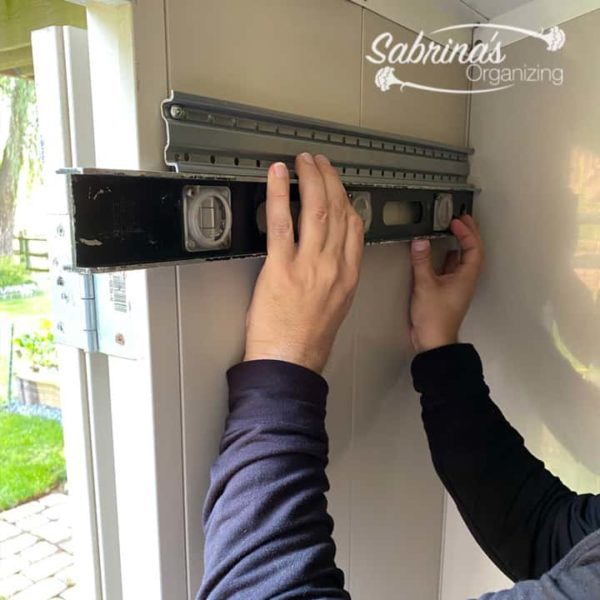
Determine where you want the organizer.
Since we had some long-handled tools (affiliate), we started with the longest one and marked where we wanted the Rubbermaid(R) Fasttrack mounting bar. We had a vent, so we had to go right below the vent. In our shed, we needed to screw holes into the seams. Note: in a typical shed, you can find the studs. We marked the place we wanted to screw into.
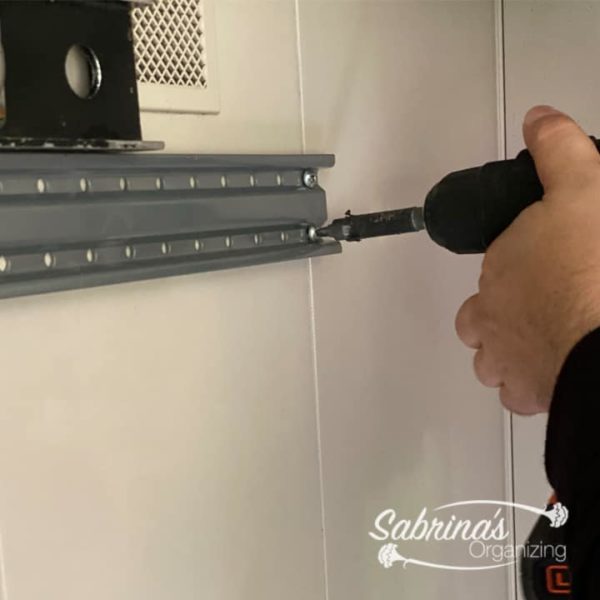
Drill using screws into the studs.
The kit came with two bars, and we screwed using the screws in the holds on the bar at the height we determined. The kit comes with screws and anchors.
Laid out the hook accessories for the bar.
We started laying out the hooks to match up with the tools (affiliate). Turning some tools upside down so they do not overlap with the other tools. We continued down the line to fill up the Fasttrack bar.
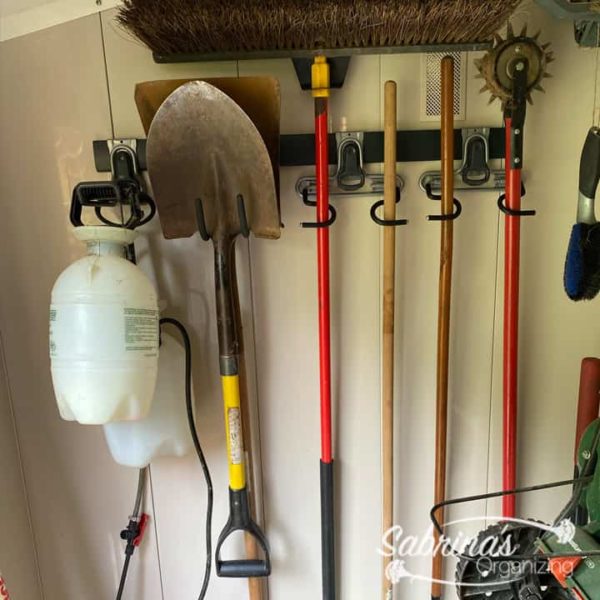
I wanted to hang up the sprayers since they always would fall and get dirty. The large straight hook worked really well for this purpose.
Create a smaller bar on the side of the door.
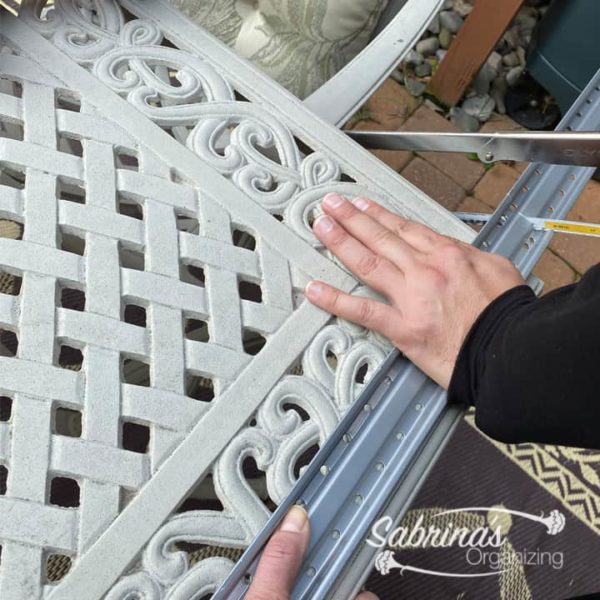
We could add other tools here since the door side had about 18 inches of space. But, first, we needed to cut the bar down to size.
We cut down the metal bar using a saw (affiliate). It wasn't too thick, so it was pretty easy to do.
We had to adjust the holes to line up with the stud. While leveling it on the wall, we marked where the holes would be. Then, using a titanium drill (affiliate) bit, we made new holes in the right space to match the studs.
We then screwed the screws into the new and existing holes. Then, cut down the plastic bar that went over the top of the metal bar.
After adding the cut plastic cover, we added the hook accessories and the tools for the side.
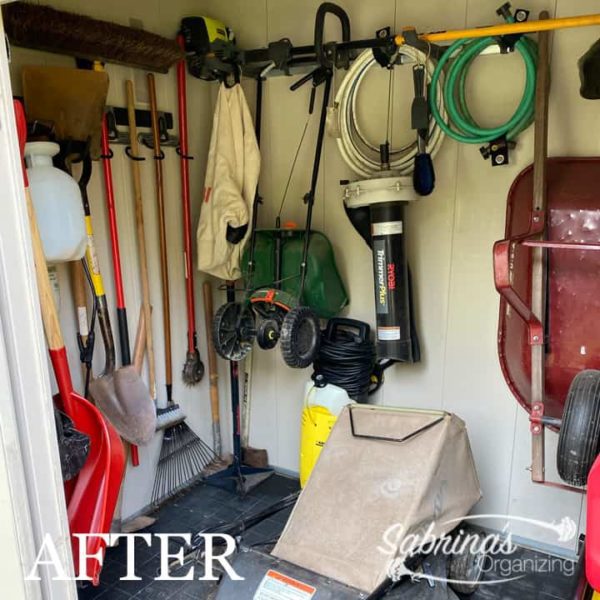
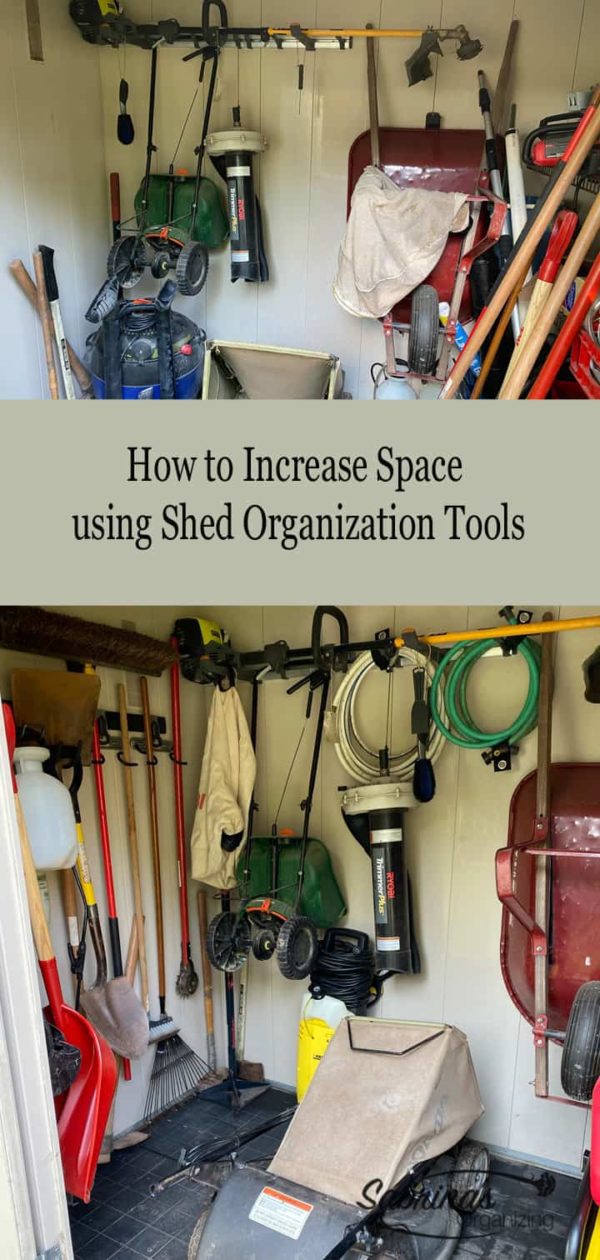
The big reveal for this Shed Organizing Project.
Here is the finished shed organization picture of the walls. It has cleared out so much floor space that we can use it for our mower.
Here it goes if you wonder what we did with the other side.
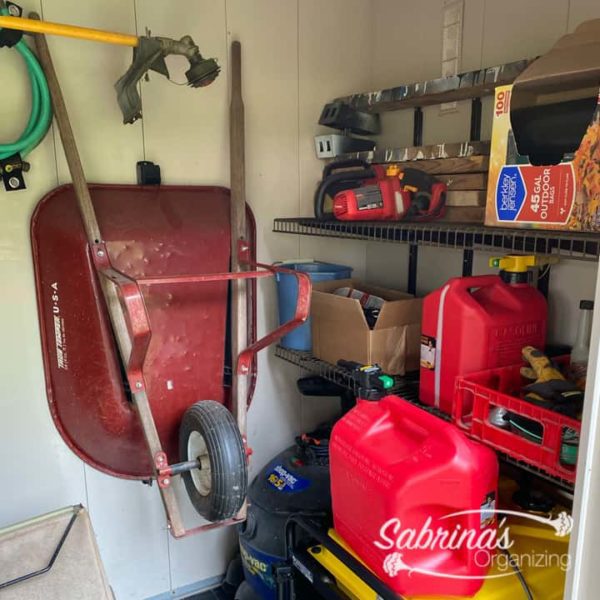
The generator and wet vac were placed on the floor. When we first got to the shed, we added 18-inch wire shelving (affiliate). We also hung up the wheelbarrow with a wheelbarrow hook. Our weed wacker must be horizontal, so we have it lying over two wall-mounted accessory bars.
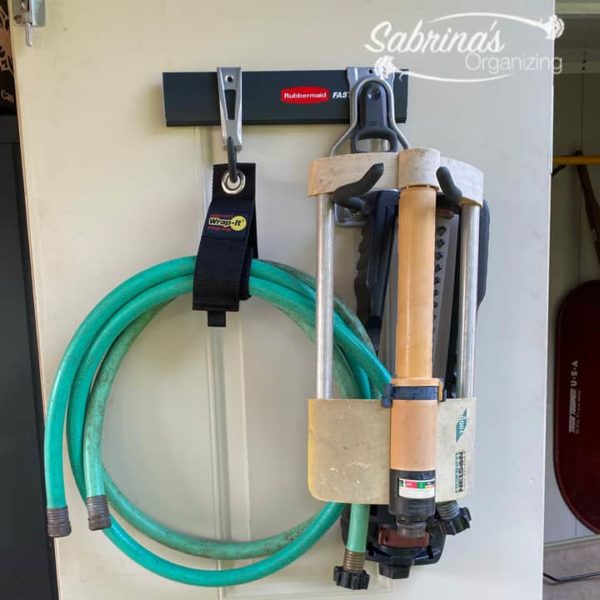
You may be wondering what we did with the little bit of extra Fasttrack we had left from the other project. We decided to use it on the shed door. We used the strap to hold the hoses together and attached them to the hook accessories. The water sprinklers were always an issue until we decided to hang them up on a hook. Brilliant!
I hope this post helps you organize your shed. Organizing can be tricky, so take your time and organize your space precisely how it works.
For more ideas, please visit our other shed organization and outside storage cabinet organizing posts below.


Please note these are affiliate links through Amazon (affiliate), and at no additional cost to you, I will earn an affiliate commission if you click through and decide to make a purchase.


Leave a Reply