We have a small three-season room (10 feet x 12 feet) that is wonderful for enjoying with family from spring through fall. It's another place for us to work and enjoy the outdoors. So, making this space more functional and less cluttered was my priority.
Jump to:
- Supplies needed for this DIY project:
- Instructions on How to Make This DIY Banquette for Small Spaces.
- Assemble the prepackaged ClosetMaid storage bench.
- Cover the MDF with peel-and-stick wallpaper.
- Attached is the prepared wallpaper-covered MDF board to the back of the bench.
- Place the pillows up against the MDF board.
- Add the black fabric cubbies to the openings.
- Add the cushions and tape for the bench.
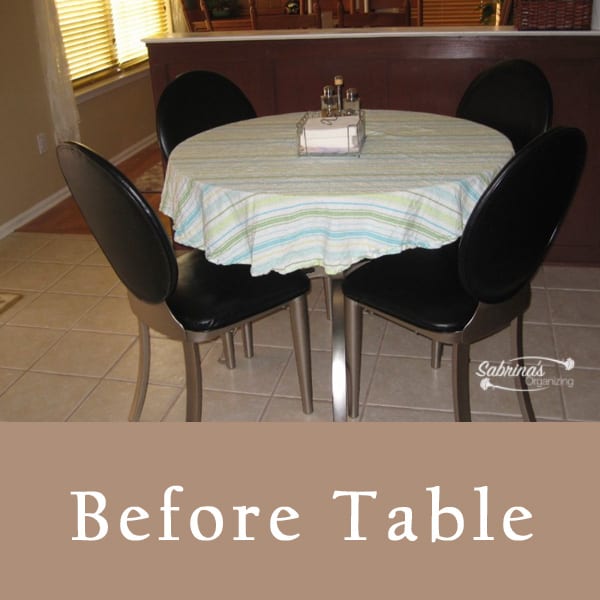
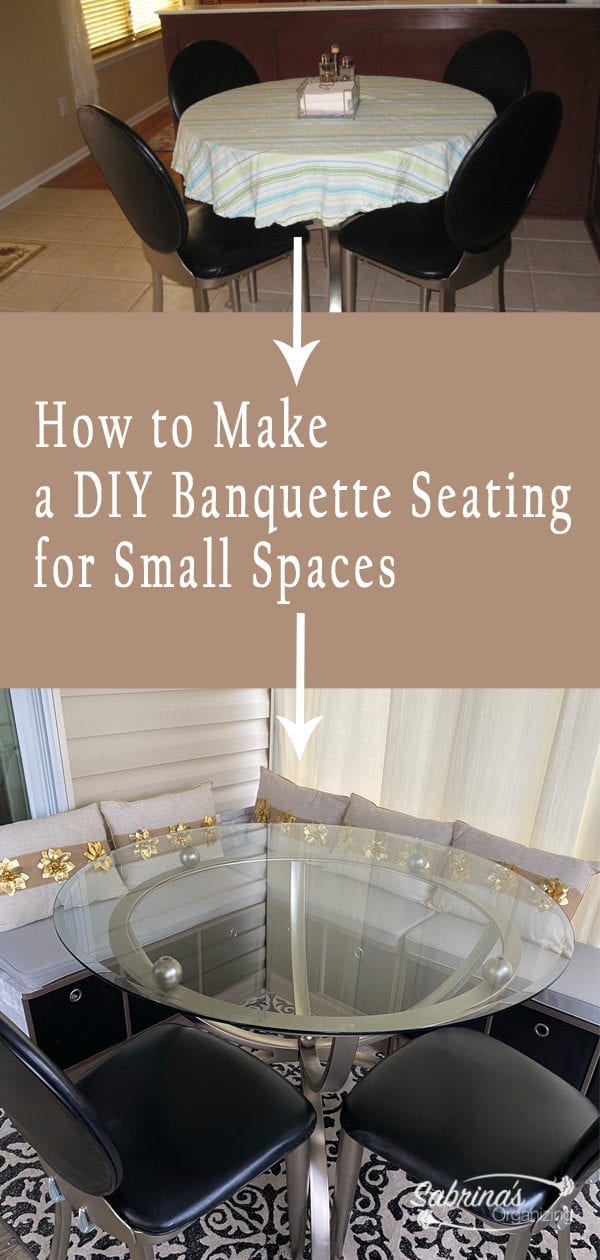
The table and chairs we had in there would take up a large amount of space, so I wanted to figure out a way to save some space. I came across the banquette in a recent catalog and several other online stores and found the dimensions were too large for our space. So I decided to make my own DIY banquette seating. I went to work and made it for my small space.
I inherited the table and chairs from my father after he passed away. But, the chairs are starting to get a little worn, so I was thinking it is probably a good time to modify the dinette set.
Below are the supplies I used for this DIY Banquette Seating for Small Spaces.
Supplies needed for this DIY project:
3 - ClosetMaid 3258 Cubeicals 3-Cube Storage Bench, Natural Gray (Amazon (affiliate) affiliate link)
9 - fabric cube storage 11 x 11 inch cubed(affiliate) - I used plain black (affiliate).
2 - MDF boards ¼ in. 2 ft. x 4 ft. From Home Depot
1 roll of Peel and Stick Brick style wallpaper-grey - an example: NuWallpaper NU3010 Grey and White Brick Peel & Stick Wallpaper (Amazon (affiliate) affiliate link)
10-15 or more 10 x ¾" #8 Head Phillips Countersunk Washer Tapping Screws Chrome
5 or 6 - 12 in x 20 in rectangle pillows (yellow) (Amazon (affiliate) affiliate link)
Tools (affiliate) needed:
Electric Screwdriver (affiliate)
Double Stick tape
The Container Store's Kitchen department offers a wide range of products, including food canisters, drawer organizers, pantry organizers, spice racks, storage carts, cookware, kitchen gadgets, and more. Visit their website for more wonderful products!

Instructions on How to Make This DIY Banquette for Small Spaces.
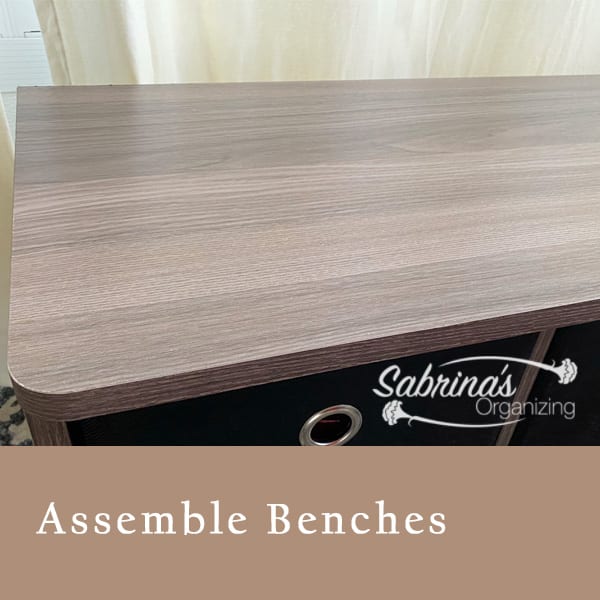
Assemble the prepackaged ClosetMaid storage bench.
I assemble the 3 ClosetMaid cubbies as per the boxes (affiliate). Do not add the tape or the cushions yet. You will do that later.
Cover the MDF with peel-and-stick wallpaper.
I cover the MDF with brick-style peel and stick wallpaper. I used it because it matched the gray on the cubbies. You only need to cover the areas shown, like the back and the top part in the front near the cushions on the MDF and the ends of the cubbies. I also covered the sides of the storage bench to match the back.
Tip: If the wallpaper starts to peel, use double-stick tape on the ends to keep it affixed to the MDF wood.
If you want to paint it, you can do that too.
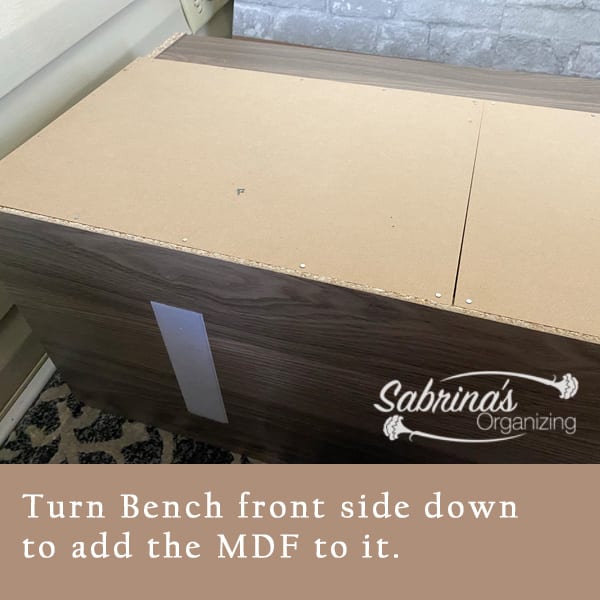
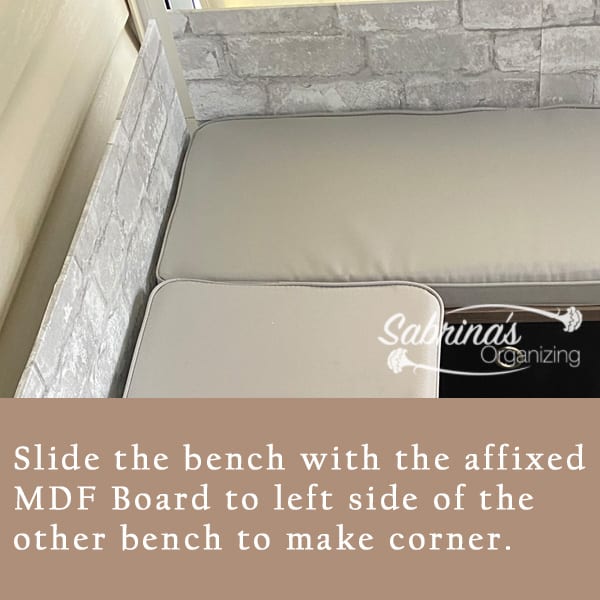
Attached is the prepared wallpaper-covered MDF board to the back of the bench.
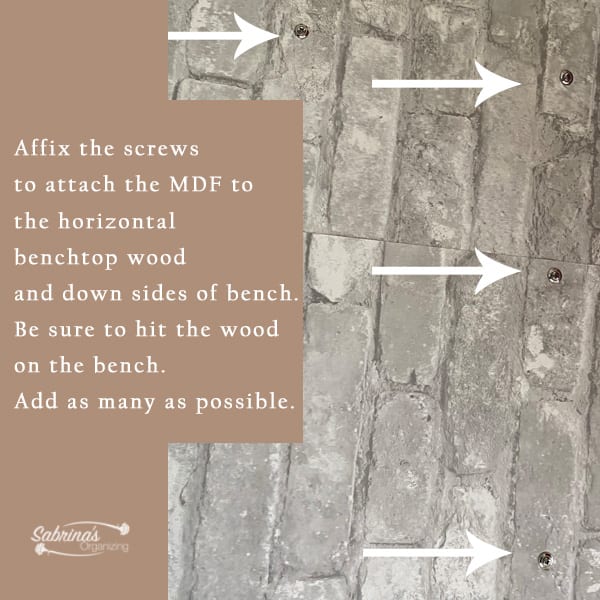
Lay the front cubby on a clean surface so the back is up. Then, place the finished outside MDF boards on top. Ensure that one side of the MDF is overhanging about 1 foot or the other cubby's depth. It should be lined up with the bottom too. If you have a thick carpet, raise the MDF a little so it does not crack when you move the bench. Then, using the screws with washers, screw around the edges of the top back and sides of the bench to adhere the MDF to the back of the seating. Do this with the other one too. The MDF should hang over to cover the depth of the other bench when you make the corner.
Tips: Be sure to stay straight with the screws, it will go through the bench wood if they are not straight.
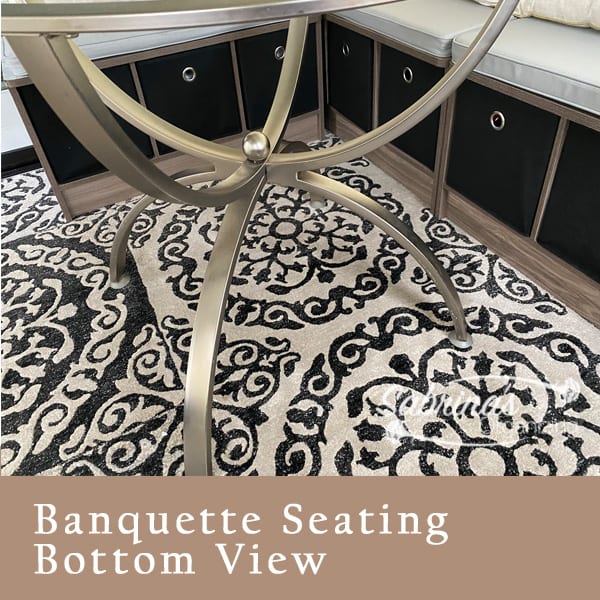
Here's another image below that shows where we placed the screws.
No need to add the back to the third bench.
I had a third bench storage seating for more seating on one side of the table. I did not add another MDF because not many people would be sitting on the last bench past the MDF board we used.
If you want to continue and add it to the third bench, measure and cut it down to the remaining bench length. Then, add a peel-and-stick wallpaper (affiliate) to it. And then, screw the MDF to the back of the last bench.
Tip: the more screws the better to keep the MDF from moving back and forth in the center when people sit on it.
Pick a corner of your favorite small room. Put the cubbies and the attached MDF board in place. You will see that the two MDF boards will match up really closely in the corner when they come together.
Note: these benches are not as deep as a banquette seating. We knew that going in and felt that saving the space in the room was more important than having deeper seats. If we picked up the already made ones, they would not fit in the space we have allocated for this.
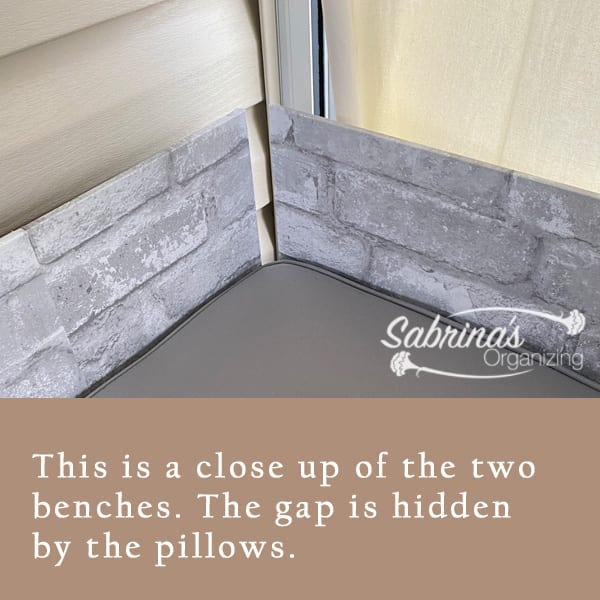
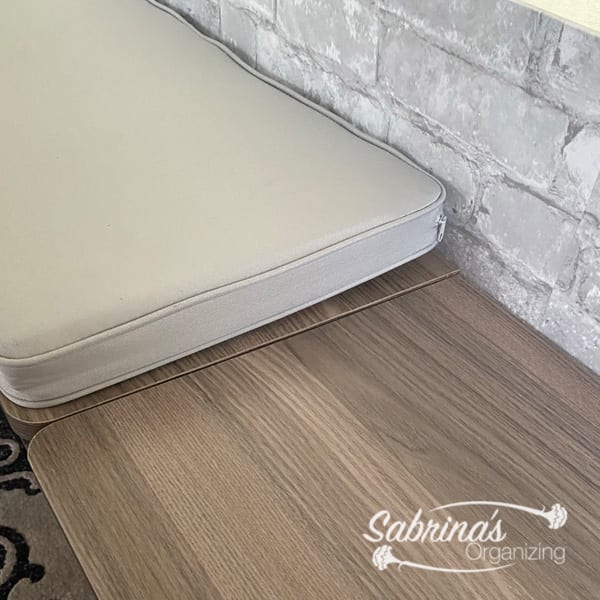
This is a close-up of the two benches. The gap is hidden behind the pillows. If I wanted to disassemble these benches and reuse them for something else, I could do so without causing too much damage to the benches.
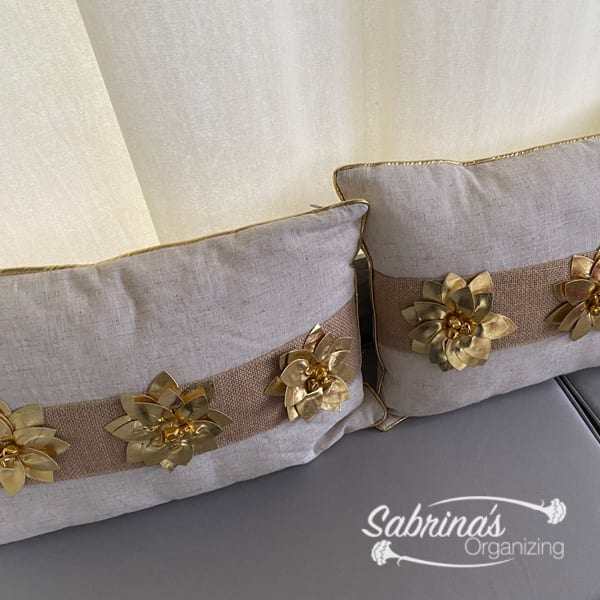
Place the pillows up against the MDF board.
Now, it's time to decorate the seating. I found these 5 cushions that fit perfectly for these seats.
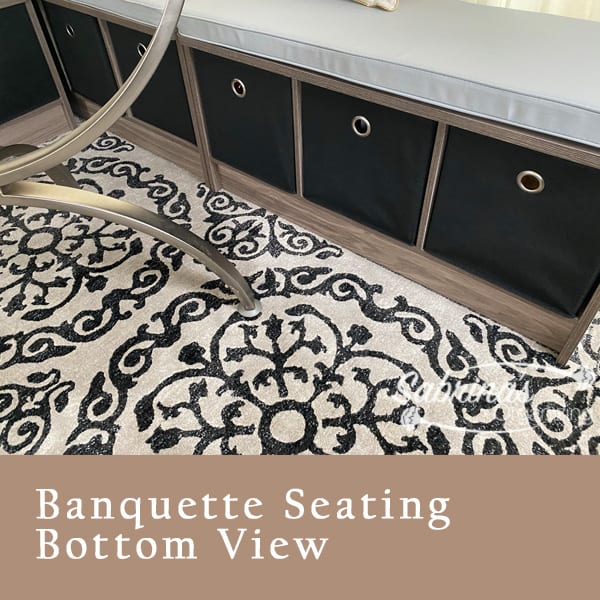
Add the black fabric cubbies to the openings.
The fabric bins (affiliate) did not come with the cubbies, so I had to buy them separately. I found these at Target for four dollars each. What do you think?
Add the cushions and tape for the bench.
Add the tape for the bench. Then add the cushions. They are removable and can be washed. I washed them a few times already, and they clean up great.
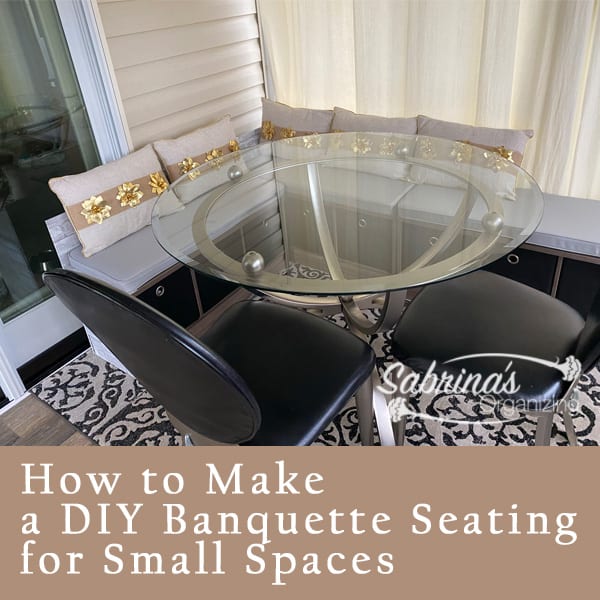
And that is it! Here are the final project pictures. What do you think? I love it, and it makes a great place to do some writing too.
If you want more DIY banquette seating options, check out these banquette DIYs you can make at home.
How to Build a Banquette Seat With Built-in Storage
How to Build a Banquette Storage Bench


Leave a Reply