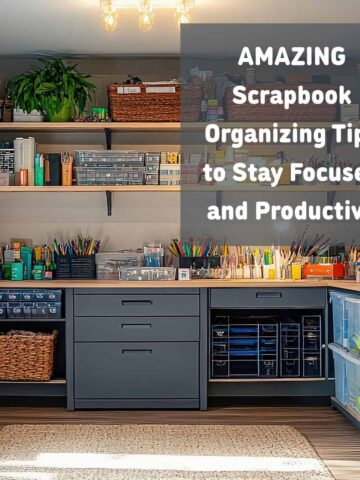
Recently, I shared my scrapbooking cabinet and how I turned it from an unused armoire to a standing scrapbooking station. Feel free to see it here. I do more crafts than scrapbooking these days, so I wanted to update my station to incorporate the stuff I am using now to improve my scrapbooking cabinet. This way, it will include my other crafting supplies. This week, I will share the improvements I made to my Scrapbooking cabinet. Let's begin.
Jump to:
- Organize the small craft items into their own compartments
- Items can be hung on the interior wall of the cabinet
- Use the Back of the Armoire Door for Storage
- Stand Pens and Markers Upright
- Use Drawer Dividers Inside Bins to Organize the Small Stuff
- Divide Out the Similar But Different Items for Easy Retrieval
- Repurpose organizing products that are not used longer
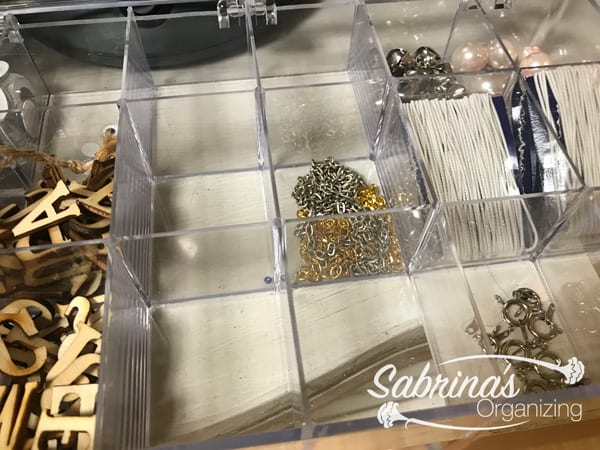
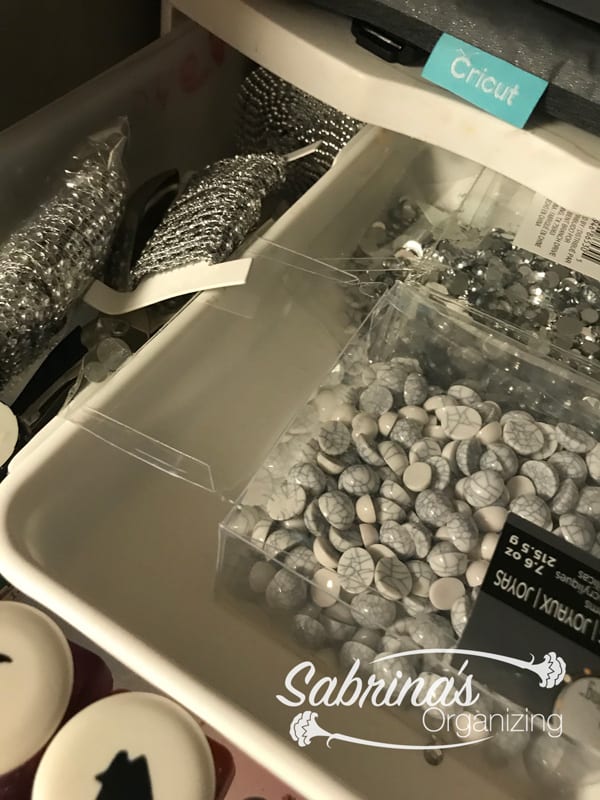
Organize the small craft items into their own compartments
First, I found that I had a lot of little things that needed a home. So I repurposed this bead bin organizer and added the items I had to it. This helped me see right away that I didn't need to keep the mess of the small items in one bin.
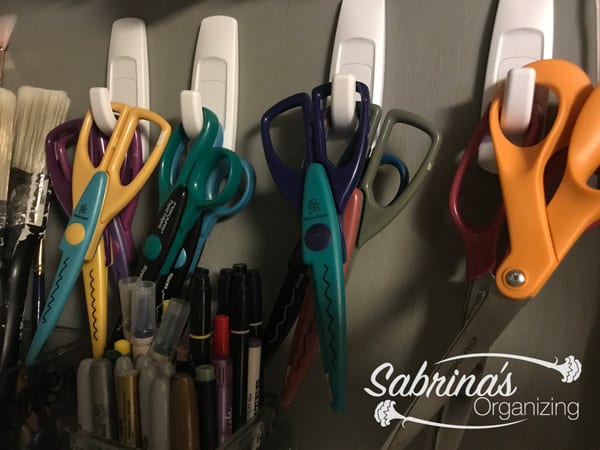
Items can be hung on the interior wall of the cabinet
Then I decided to hang my scissors (scrapbooking and regular) in the inside of the scrapbook (affiliate) cabinet sidewall to give me room in the drawers and to help me see the items better. I used 3M Command hooks (large) to hold the scissors. They were able to hold two to three scissors per hook.
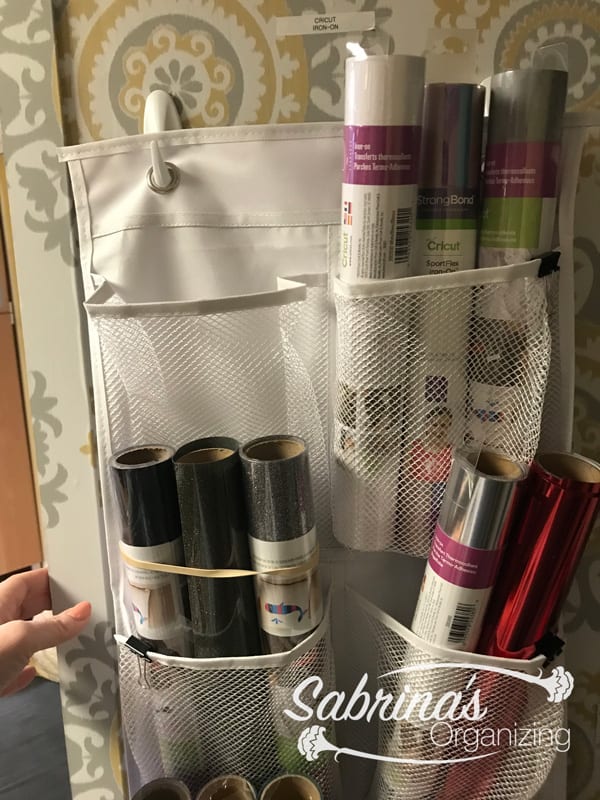
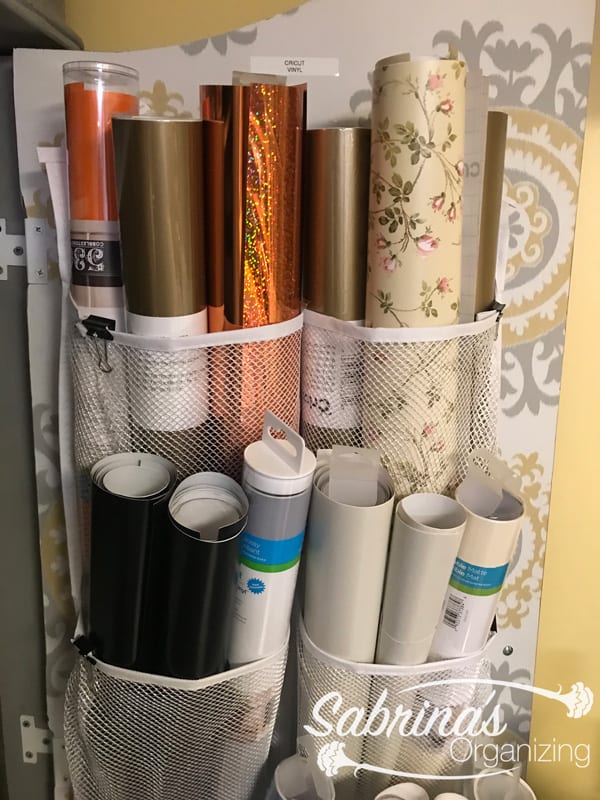
Use the Back of the Armoire Door for Storage
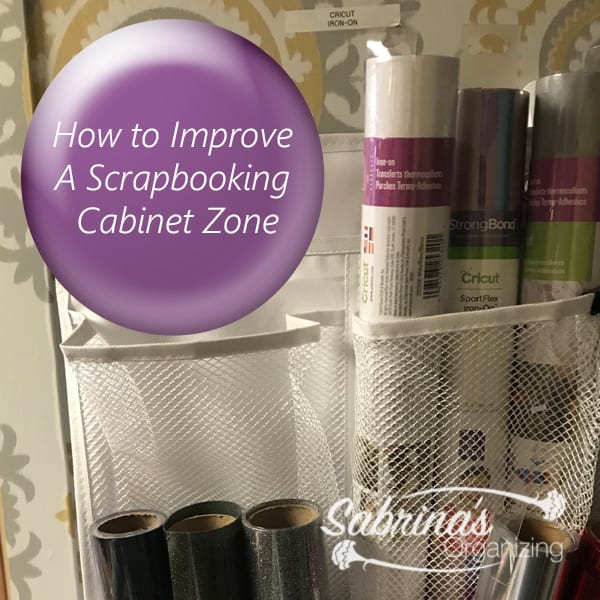
I found these short behind-the-door mesh shoe holders from Amazon (affiliate). This allowed me to hold my Cricut Iron-on rolls. I used small binder clips to keep the mesh tout and folded the excess fabric. I used a larger rubber band (affiliate) to keep some of the rolls from falling over.
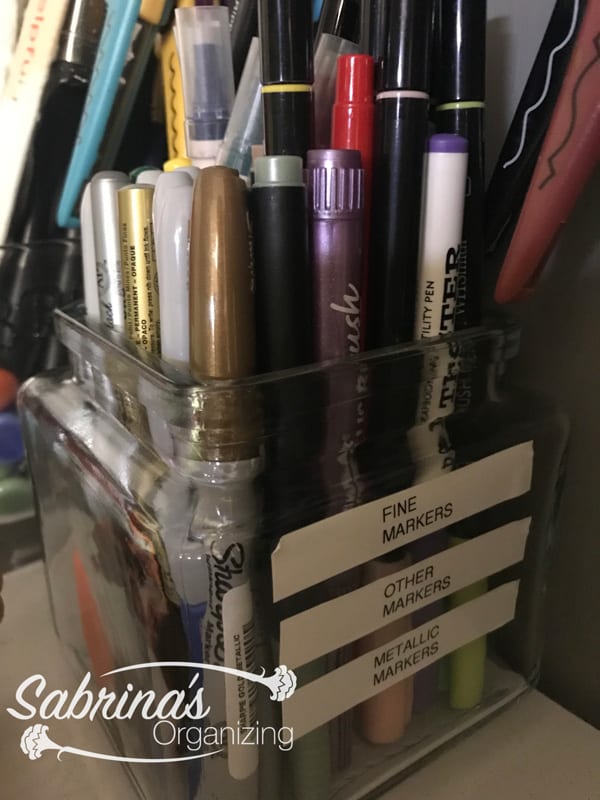
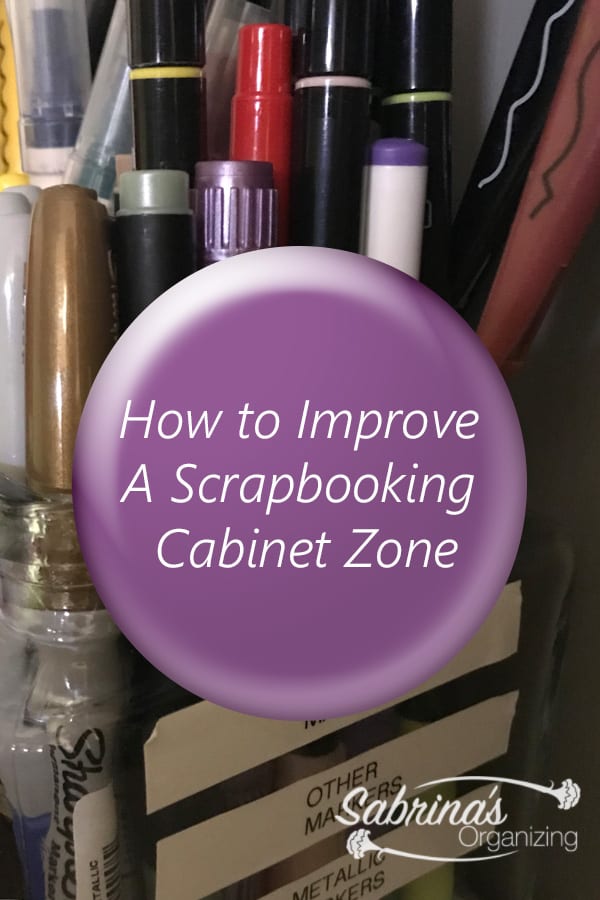
Stand Pens and Markers Upright
I found that having my markers standing up in a bin was the best for me. It helped me see what I had and what colors they were. The bin also held markers for crafting, not just acid-free markers.
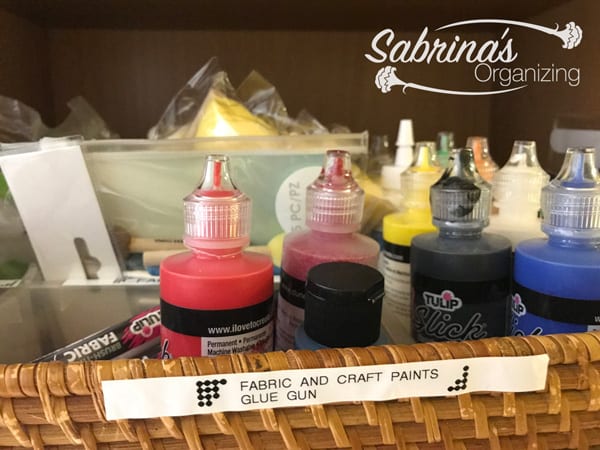
Use Drawer Dividers Inside Bins to Organize the Small Stuff
Since I started designing fabrics for the house and clothing, I had to create a section for my fabric and craft paints. I also needed a place for my glue gun (affiliate) and sticks. I used a wicker serving bin about 4 inches high and added an Ikea drawer organizer (affiliate) to divide the different paints and sponges. This is stored in another cabinet but will eventually be incorporated into the scrapbooking station.
Divide Out the Similar But Different Items for Easy Retrieval
On the other armoire door, I added another short shoe holder. As you can see, I added binder clips to this one to make the openings taut. Labeling the top part of the bins helped me remember which is regular vinyl and which is for fabric only.
Repurpose organizing products that are not used longer
Another scrapbooking cabinet organizing idea is to repurpose organizing products you no longer use. I also had a lot of unique ribbons (affiliate) and gems from other craft projects I had done on the blog, so I needed to create a space for them. After removing the scissors, I found the drawer was a perfect place to hold these items.
Well, there you have it. The updates I made in my Scrapbooking Cabinet Zone were very helpful and made me creative and less stressed when crafting. After all, crafting should be a relaxing hobby, not a stressful one. Do you agree? What do you think of these tips? Please comment below to share your thoughts. I would love to hear from you. Feel free to visit other posts I found online below.
HOW TO PLAN YOUR IKEA CRAFT ROOM LIKE A BOSS – STORAGE IDEAS YOU NEED TO KNOW
Visit my other hobby organization posts for inspiration!


Leave a Reply