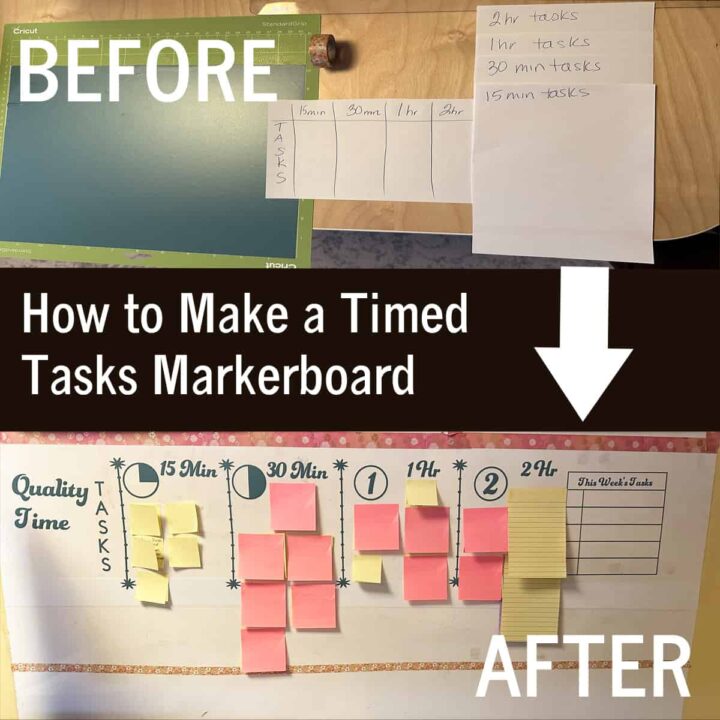
Time management is always a great idea for anyone who keeps forgetting to do tasks that they need to do on a regular basis. I'm going to share with you a way I keep myself focused on tasks by showing you how I made this timed tasks markerboard (affiliate) layout.
Jump to:
- What inspired me to do this Timed Tasks Markerboard?
- How to Use this Timed Tasks Markerboard?
- Who can benefit from a timed tasks markerboard?
- What tasks should be added to the Timed Tasks Markerboard?
- What supplies did I use to make this Timed Tasks Markerboard?
- How much did it cost to make this Timed Tasks Markerboard?
- How long did it take to make the Timed Tasks Markerboard?
- How did I make this Timed Tasks Markerboard?
- The Big Reveal
First, to get my template for free, visit my Cricut page here. I am only sharing it with visitors to this post. If you think someone else would benefit from doing this DIY productivity project, please send them the entire post, not just the Cricut link. The post shares a bunch of tips on how to use this layout. Thank you.
What inspired me to do this Timed Tasks Markerboard?
I have had handwritten timed task areas so I could remember new tasks for my business. It has been displayed next to my desk for the last five years. I added tasks like making web stories, rewriting blog posts, etc.... to remind me of how long things would take and what I needed to do.
So, to make it look pretty and less shabby, I used my Cricut machine to give it a pretty customized look to inspire me to look at it more often and help me stay motivated to do the tasks.
How to Use this Timed Tasks Markerboard?
We tend to forget how long things take in our lives. How long does it take to declutter the foyer? How long does it take to empty the dishwasher? With our busy lives, we forget these things and think tasks take longer than they actually do. Creating a timed tasks markerboard (affiliate) will give you reminder cues of what you can do in a short period of time.
Who can benefit from a timed tasks markerboard?
Several people can benefit from using a timed tasks markerboard (affiliate). Below are just some people. All it takes is a little creative know-how.
Preteens and Teens
Preteens and teens usually forget what they have to do unless it is a larger project. So, by displaying one of these timed task markerboards near their desk, they can quickly look at it and do something that needs to be completed and be done with it for that day.
Anyone with ADHD or depth of time issues
Most ADHD people will benefit from this type of board. Especially people who are visual and need the reminder of tasks to get done. It is also helpful for people who feel that they have to have things in front of them to remember them.
Moms and Dads
It's great for moms and dads who are helping kids learn to do chores. Or if the mom and dad need help remembering small detailed tasks that need completing each week.
Business Owners/Solopreneurs
It's also a great way to organize your time in a small business. This is what I use mine for. It's helpful to see the tasks that will take a certain amount of time so that I can fit them into my schedule throughout the week.
What tasks should be added to the Timed Tasks Markerboard?
Using a stopwatch or your phone timer, track all the tasks you do during the week to determine, on average, how much time it takes to do each task. Then, write it down. Now, decide on what your 'Time' sections will be. I like to divide my board into 15 minutes, 30 minutes, 1 hour, and 2 hours. Do this before you determine your sections for the timed tasks markerboard (affiliate).
If you are a small business owner, here is a link to my post about how to figure out how long tasks take for you and your business on our sister blog, Sabrina's Admin Services.
What supplies did I use to make this Timed Tasks Markerboard?
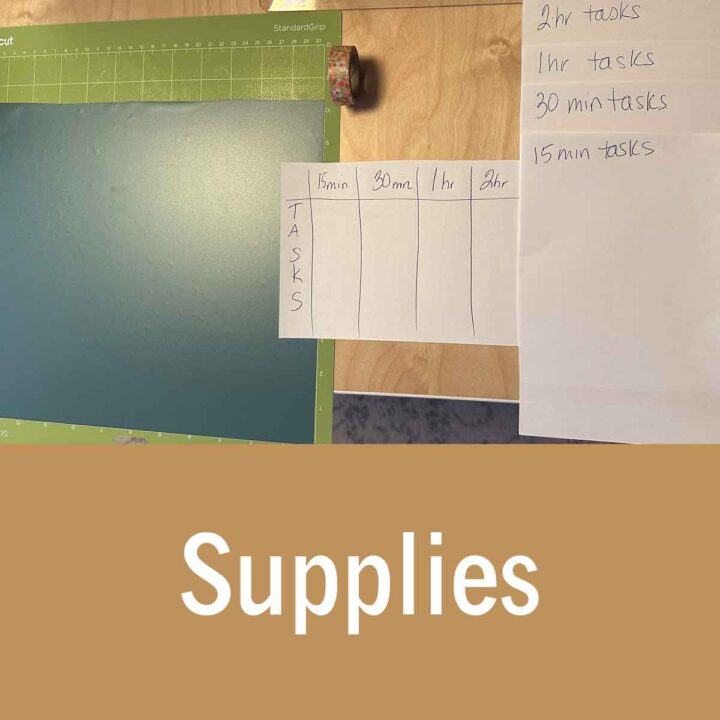
Below are the things I used to create this labeled markerboard (affiliate).
- Cricut Machine and cutting tools, standard grip (2)
- Transfer vinyl
- Removable premium vinyl - I used teal; here's a link with a variety pack of colors so you can pick your own from Amazon(affiliate).
- Available wall space
- Scissors
- Weeding tools (affiliate)
- Cricut file I made for you to use.
- Optional: Washi Tape (affiliate) roll ½ inch - flowers
- Optional: sticky notes (affiliate) squares in different sizes.
Please note these are affiliate links through Amazon (affiliate), and at no additional cost to you, I will earn an affiliate commission if you decide to make a purchase.
How much did it cost to make this Timed Tasks Markerboard?
This project cost about $10.00 because I already had the Cricut Machine and the markerboard (affiliate) on my wall. Visit my other board to see how I made this wall markerboard. I also made another one for my DIY Crafts; you can check that one out here: How to Make Your Own DIY Inspiration Board.
How long did it take to make the Timed Tasks Markerboard?
Because I created the vinyl designs, it took me about 1 hour, but if you decide to do this one for your wall, it will probably take you only 15 minutes to print and add to your board.
How did I make this Timed Tasks Markerboard?
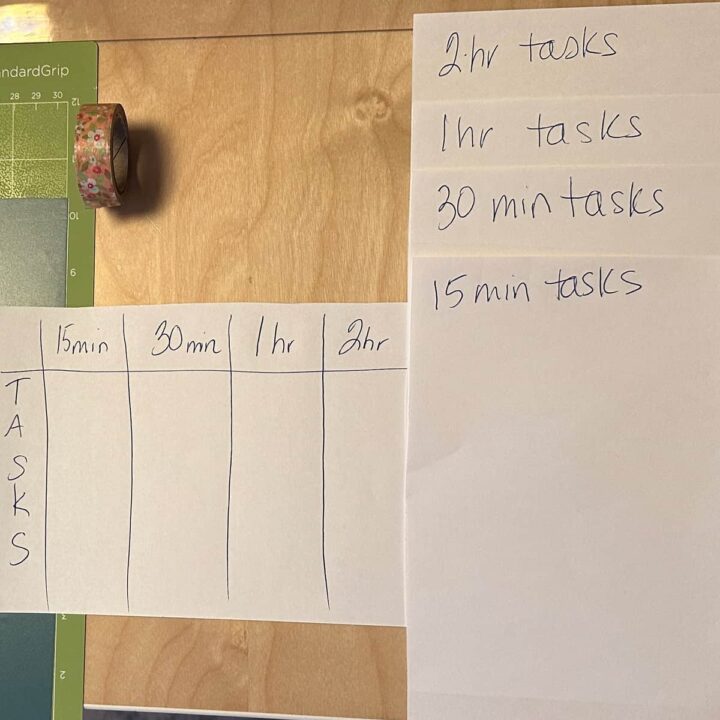
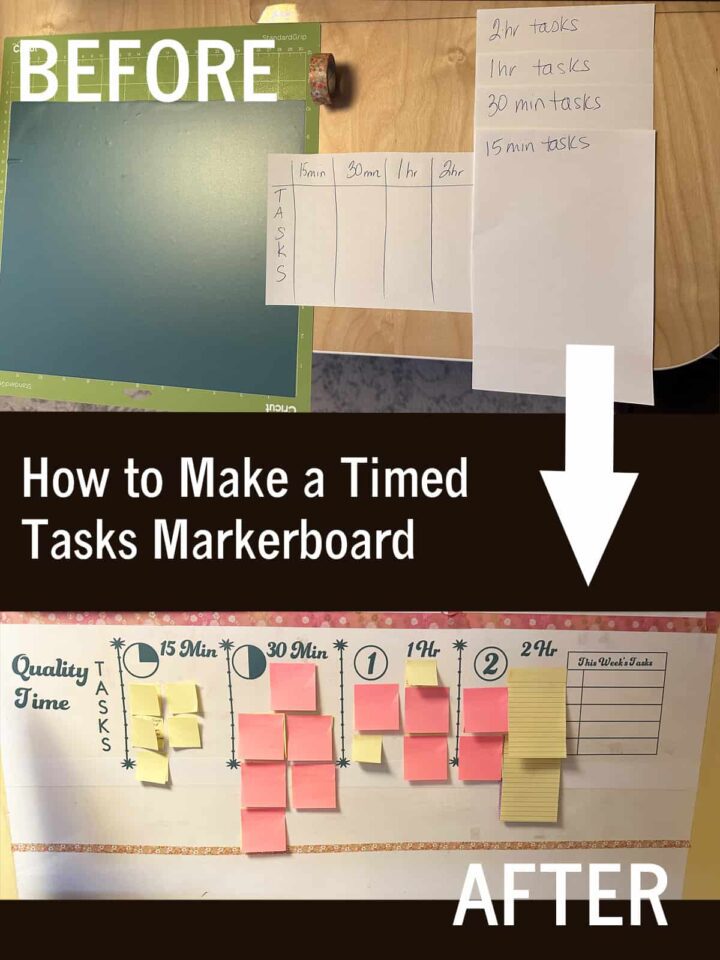
First, get a copy of my page on Cricut. This took me a little time to design; I hope you like it and can use it. I drew out what I wanted the markerboard to look like on paper to determine what I wanted to add to my newly designed layout.
Clean the Markerboard
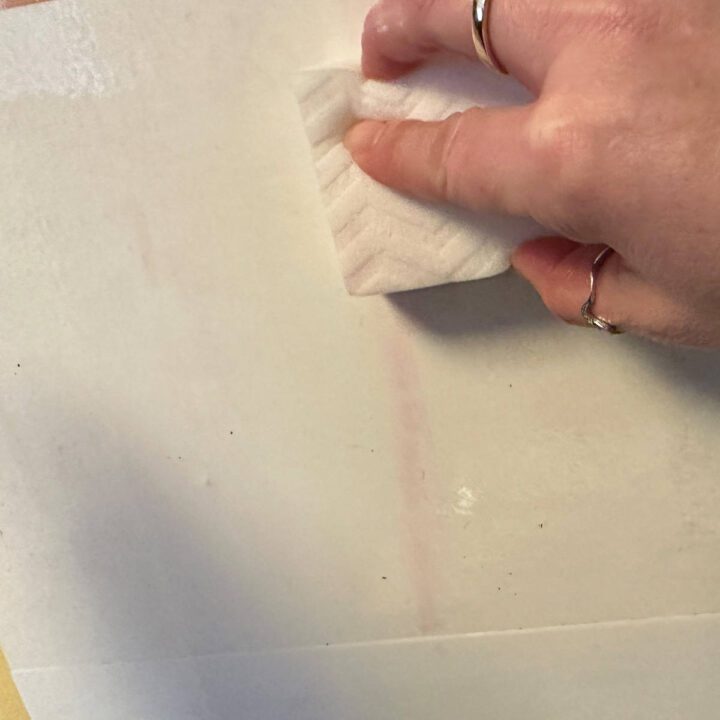
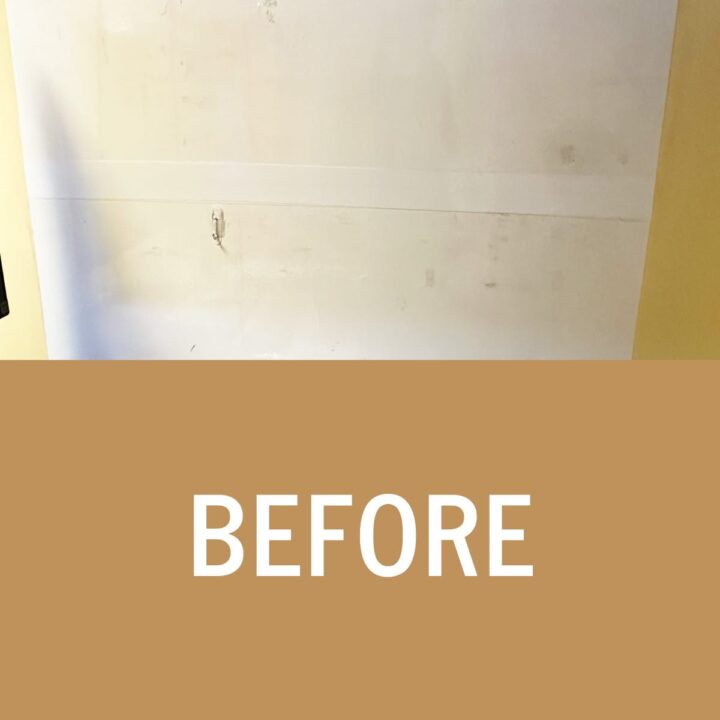
Now, using a Mr. Clean Magic Eraser (Affiliate Link), I put it in a water bowl and removed the red dry-erase marker spots. Then, used markerboard (Affiliate Link) spray and a cloth to clean up the board.
Tip: Don't use extra sticky tape on Markerboards.
Just in case you are wondering, there are sticky spots still on it that I could not remove because I had a tape that was stronger than normal, and it transferred to the marker board. Ugh. Learn from my mistake; use removable tape on a dry-erase board. The dry-erase board in my post, How to Make Your Own DIY Inspiration Board, is more durable and easily can handle the cleaning process.
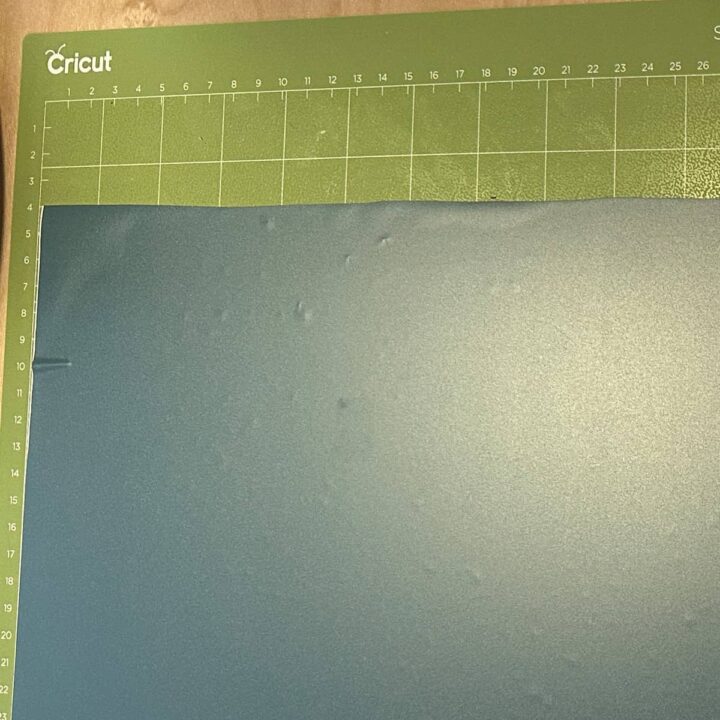
Add Vinyl to StandardGrip board.
Then, pick the temporary premium vinyl color you want to use. I added my vinyl to the StandardGrip board (affiliate). Now, print out the design on two sheets of vinyl color.
Transfer to the Markerboard
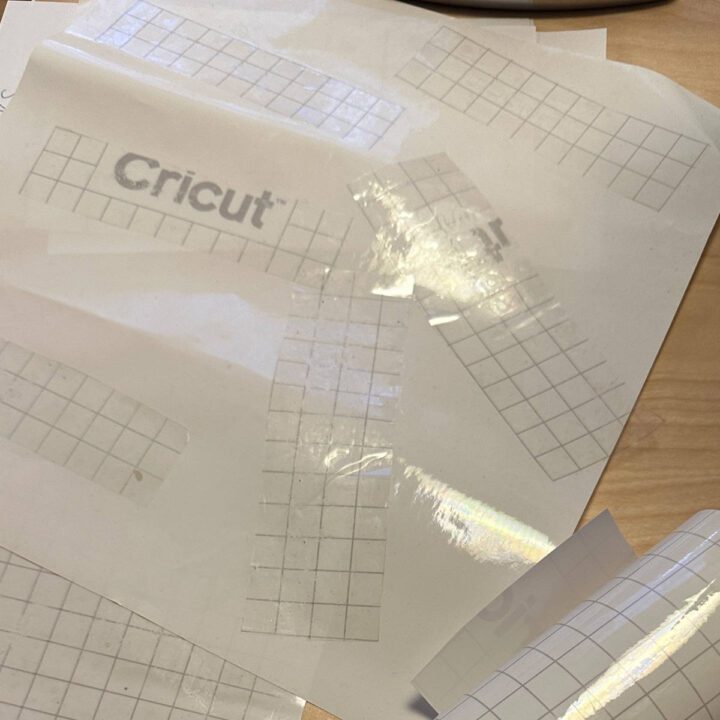
Now, weed by removing the excess vinyl with the weeding tools (affiliate). The most satisfying part of the process. =)

Then, using the transfer vinyl, transfer the words and images to the markerboard. Be sure to line up the lines with the bottom of the words. This will make it easier to level it on the markerboard when you add it.
The Big Reveal
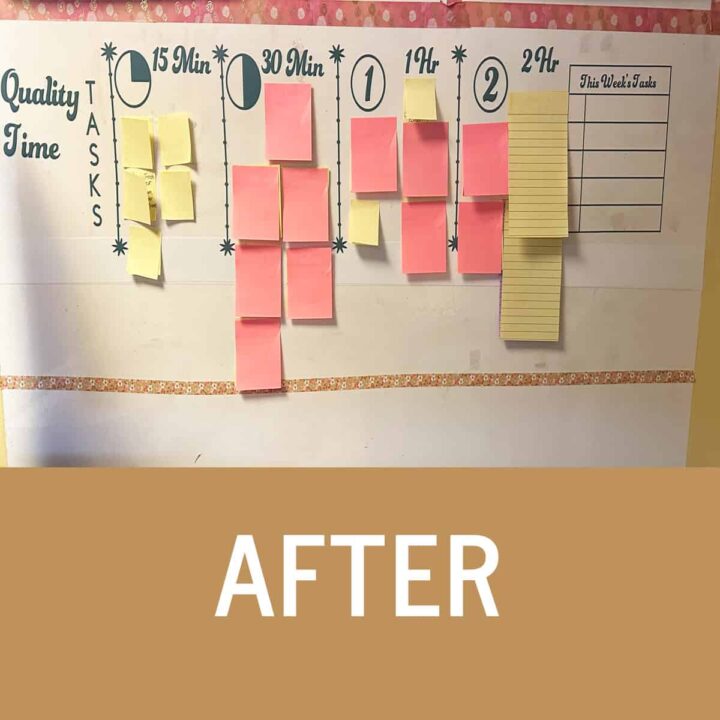
And this is how it looks with my business tasks on it. I hid the tasks. Just to make it more fun, my husband suggested that you cover your tasks and then pick one when you have 15 minutes, 30 minutes, 1 hour, or 2 hours of time to spend on it. It will spice things up. =)
Are you struggling to stay accountable for your time and tasks? I can help! I offer three virtual consulting services to support you in getting things done!
- One(1) Room Virtual Organizing Service
- Micro-Goals Virtual Organizing Service
- Virtual Accountability Coaching
Feel free to contact me, and we can discuss your issues and how I can help.
Visit my other home office organization tips for more ideas!

Diane N Quintana says
That's a great idea, Sabrina! I created a Time Your Chores worksheet for my clients but I didn't take the next step and teach them how to divide the tasks (organize them) the way you have.
I really like the idea that when you have a certain length of time, and want to do something, you can look at the board and pick a task that you know takes that amount of time.
Julie Bestry says
You did a great job explaining what you did (though I was puzzled, thinking "weeding" related to gardening until I clicked) to create the board. It's essential to get a sense of how long tasks take, because (as you note) people tend to overestimate the length of time a task takes, especially when it's an unpleasant one. This is a nifty approach and I can imagine that clients who invest time in the creation may find it motivating. (For me, this felt like an arts and crafts project, comparable to a root canal in my book, but I can definitely see how some people would find this fun and inspiring!)
Sabrina Quairoli says
LOL, I get it, Julie. My philosophy is if you have to be adult and manage your time, why not make it enjoyable and fun. Playfulness + Creativity + Adulting Tasks = Happiness =)
Linda Samuels says
I like how you integrate developing time-awareness with getting tasks done. The sticky-note system is a flexible method, which I like, too.
It's interesting how you covered up the tasks to minimize distractions and add the 'surprise' factor. I like that strategy.
I've never used a Cricut machine, but it looks like fun.
Janet Barclay says
My task management apps has a field for how long each task will take, and I've tried to use it, but I'm really bad at estimating so I've never really gotten into it. I can see that it would be very valuable for recurring tasks, even if you only do them once a year, but not so much for one-off jobs.
Janet Schiesl says
Sabrina you have it so well explained and shown. Definitely very helpful to everyone.
Seana Turner says
It's always nice to have a result that really looks sharp and is also so functional. I don't have a Cricut, but you can't argue with how great the designs are.
Having some "ready tasks" that you know how long they will take is very handy. I can see this also working so well for parents, maybe as a job board for kids who want to earn a little extra money.
I have a friend who is a big user of post-it notes for his daily to-do list. He has a whole system, in many ways similar to this board!