Like everyone, we have a place where all the water bottles and less-used beverage items go to die. This cabinet has a collection of extra tea supplies, extra water bottles, misc stuff like loose tea, and tea leaf holders. We love our tea, but we don't use it often, so it has become an overflowing mess.
Jump to:
- The problem with this kitchen beverage cabinet.
- This is how I solved this problem.
- Things I used to make the beverage cabinet more organized in the kitchen:
- How much did it cost?
- How did I make this kitchen beverage cabinet more organized?
- Reveal:
- How long did it take to make this transformation?
- Visit our other kitchen organizing tips:
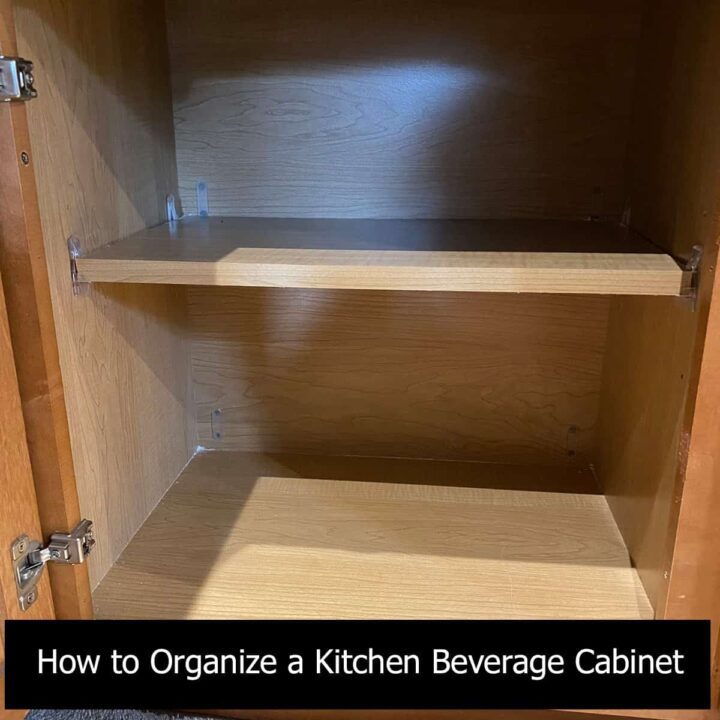
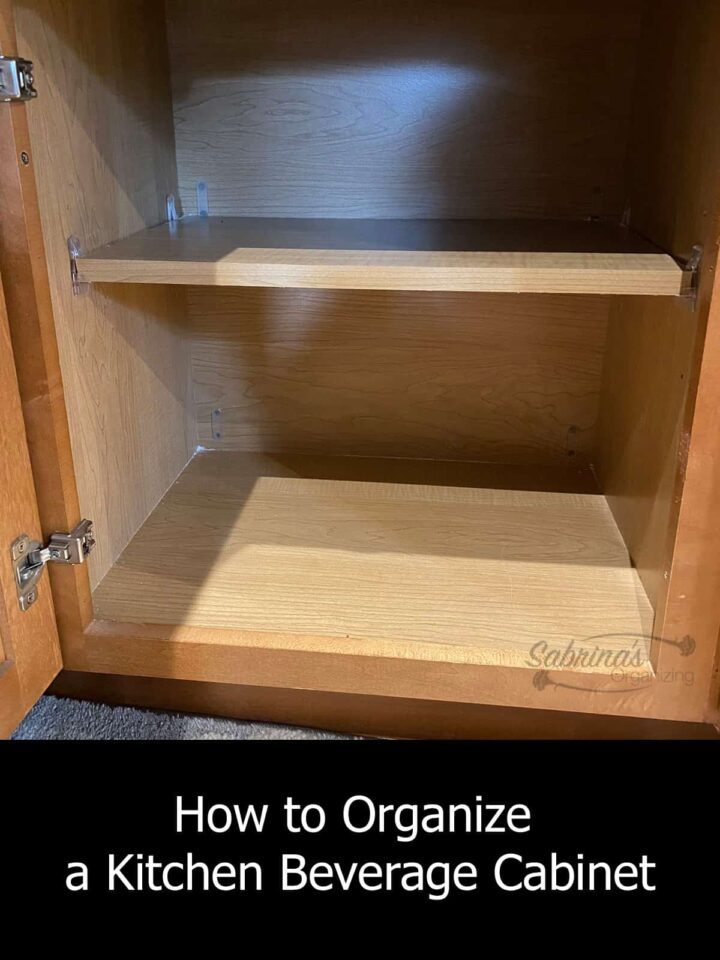
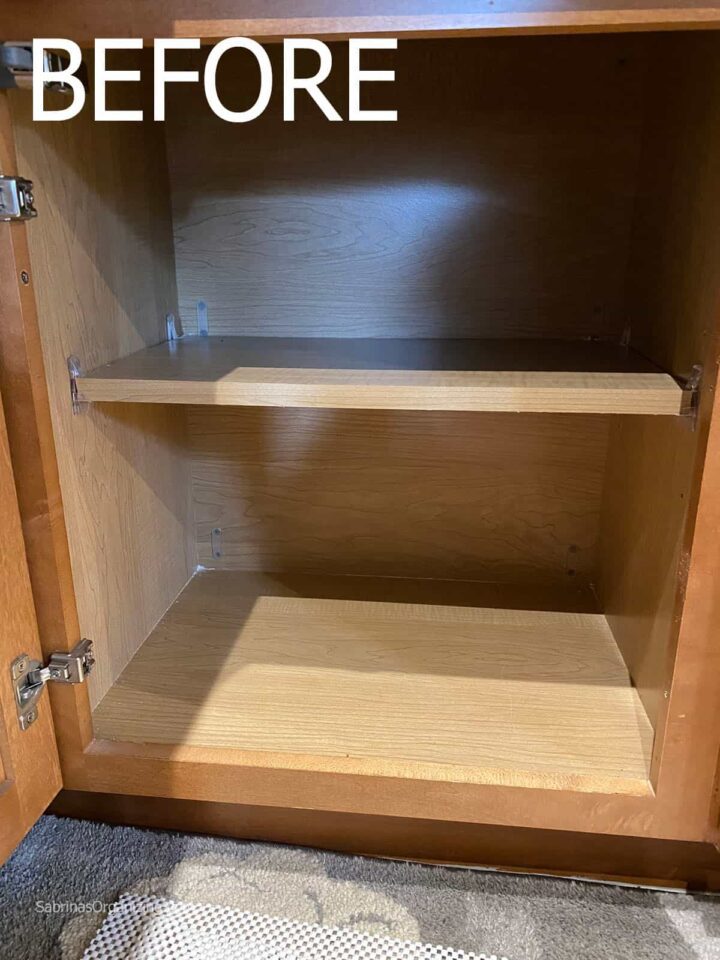
The problem with this kitchen beverage cabinet.
The problem with the space is that it was tucked in the corner of the coffee (affiliate)/tea station. Since it was below this area, it was hardly used besides for storing water bottles that we didn't use often. It was a little dark under there, and we didn't have the appropriate bins to hold all the small things that needed to be stored in that space.
Our coffee (affiliate) maker and tea kettle were on the counter, and the mugs and sweeteners were in the upper cabinet. But with all these items, we couldn't add these other items, hence the need for the corner lower cabinet.
This is how I solved this problem.
First, we purchased the items below.
Things I used to make the beverage cabinet more organized in the kitchen:
MDesign 1 × 6-Bottle Plastic Wine Rack Storage Organizer Holder (Amazon (affiliate) affiliate link)
MDesign 1 × Plastic Stackable Pantry Storage Bin with Pull Out Drawer 16x12x6 (Amazon (affiliate) affiliate)
Pull-out drawer for tea bags - I made the tea bag organizer with a Kreig drawer pull and added cardboard dividers
1 - Grip shelf roll 12 inches deep (Amazon (affiliate) affiliate)
The tools (affiliate) we used were a label maker (affiliate) and scissors (affiliate).
How much did it cost?
The cost for all these items was about $50.00. This includes all the items listed above except for the dividers in the tea drawer that we made out of foam core board and duck tape some years ago.
How did I make this kitchen beverage cabinet more organized?
Step 1: I cleared out the entire cabinet.
Removing all the items from the cabinet, I made sure I got rid of items our family didn't use any longer.
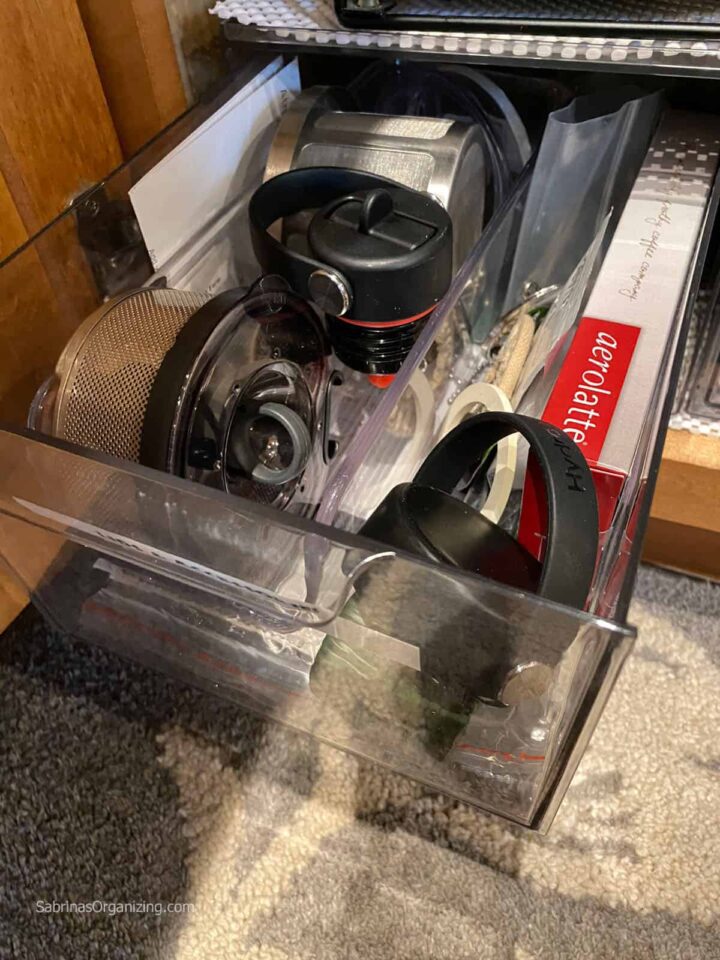
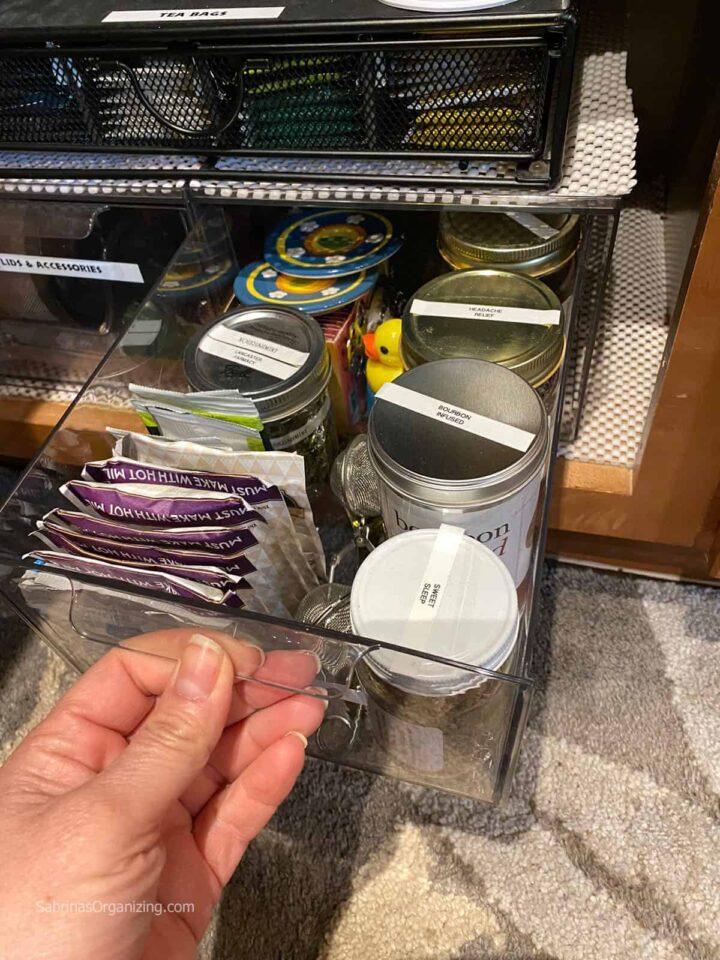
Step 2: Organized the Pull Out Drawer Storage Bins.
I then went and organized the clear pull-out storage bins and labeled them. One pull-out storage bin was used for the coffee (affiliate) maker and tea kettle parts. This one also held extra lids that came with the water bottles.
The other was used for the loose tea, hot cocoa packets, and tea accessories we didn't use often. Also, I got rid of some loose tea that was not as fragrant-labeling the top of the loose teas to help identify them from the top instead of removing them every time to read the unseen front label (affiliate).
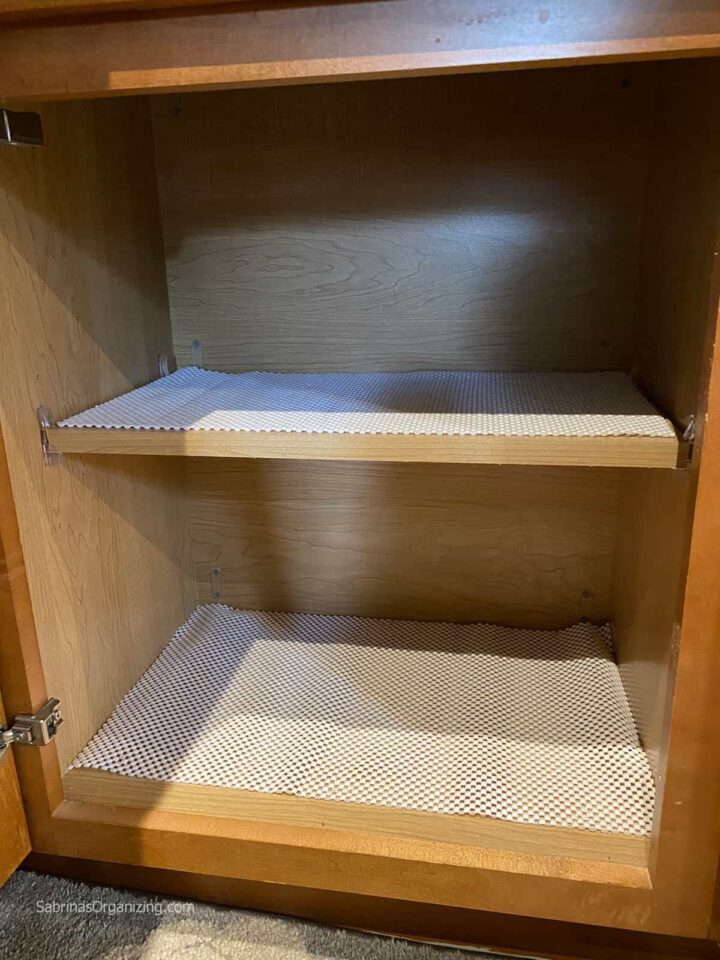
Step 3: Add the grip liner to the shelf and cabinet bottom.
I then measured the length of the shelf and the cabinet and cut the grip liner, placing them in the appropriate spot. I used grip liner because the cabinet was a little deeper than the bins I bought, and I needed the bins to stay in place when I was pulling them out.
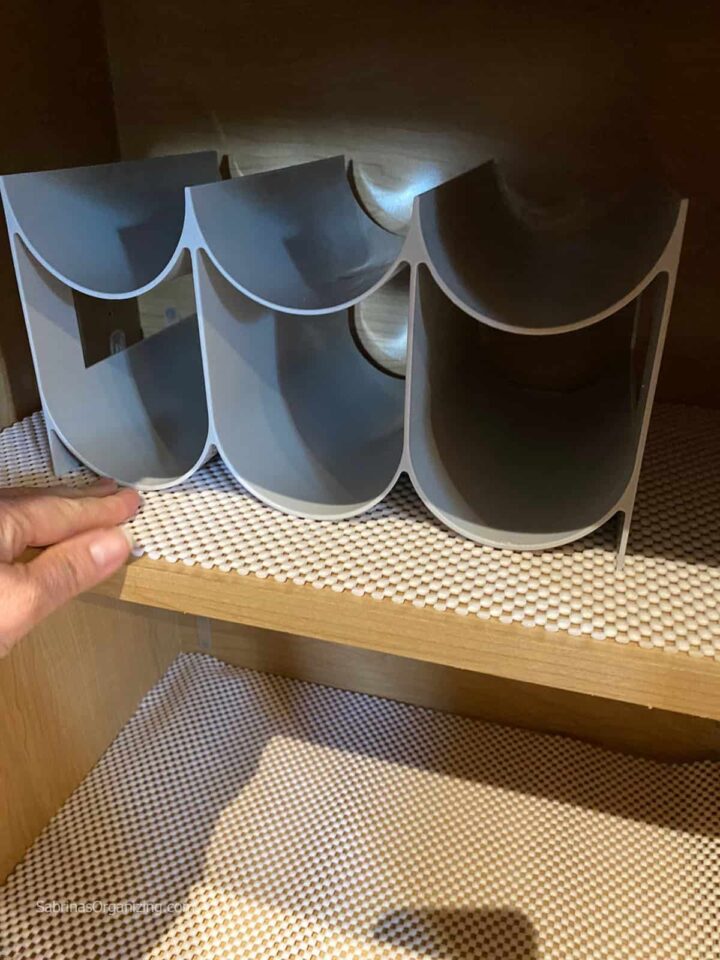
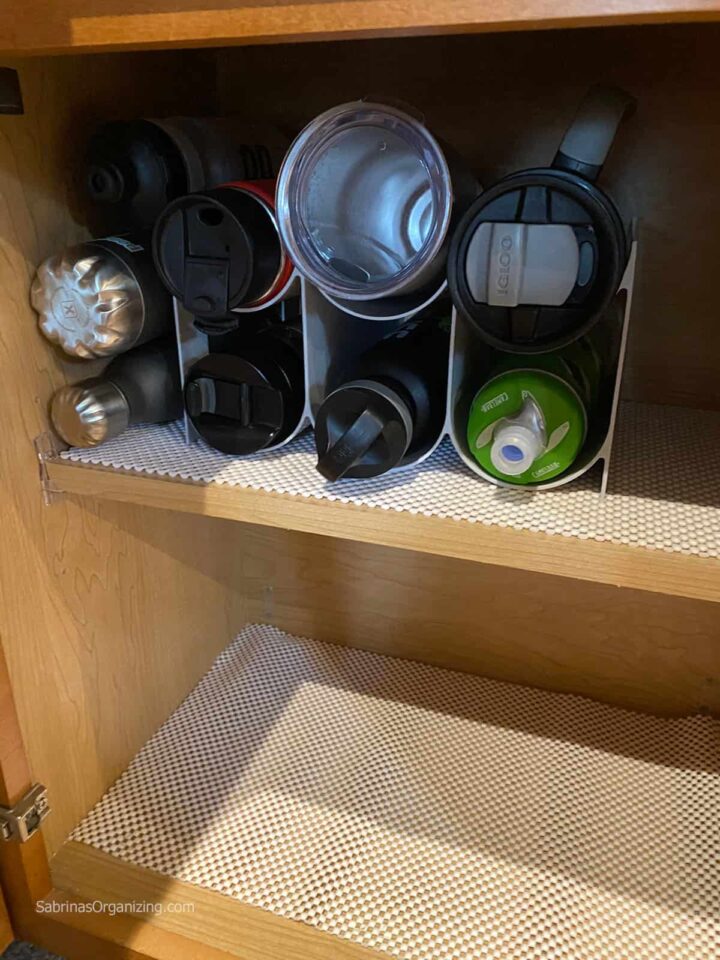
Step 4: Add the water bottle organizer.
I then added the water bottle organizer to the top shelf. I centered it to fit the tea bag boxes (affiliate) and the extra water bottles that didn't fit in the organizer. Adding the water bottles one by one, I figured out which one fit. Some were too large (affiliate) for the bottom row, so I placed them on top. I had some narrow water bottles that we could fit on the side near the cabinet wall too. It wasn't enough to buy another water bottle organizer, so I decided to be a little creative by turning one around and placing it on top.
Step 5: Add the drawer organizers to the bottom of the cabinet.
Then I added the labeled and completed pull-out organizer bins next to each other.
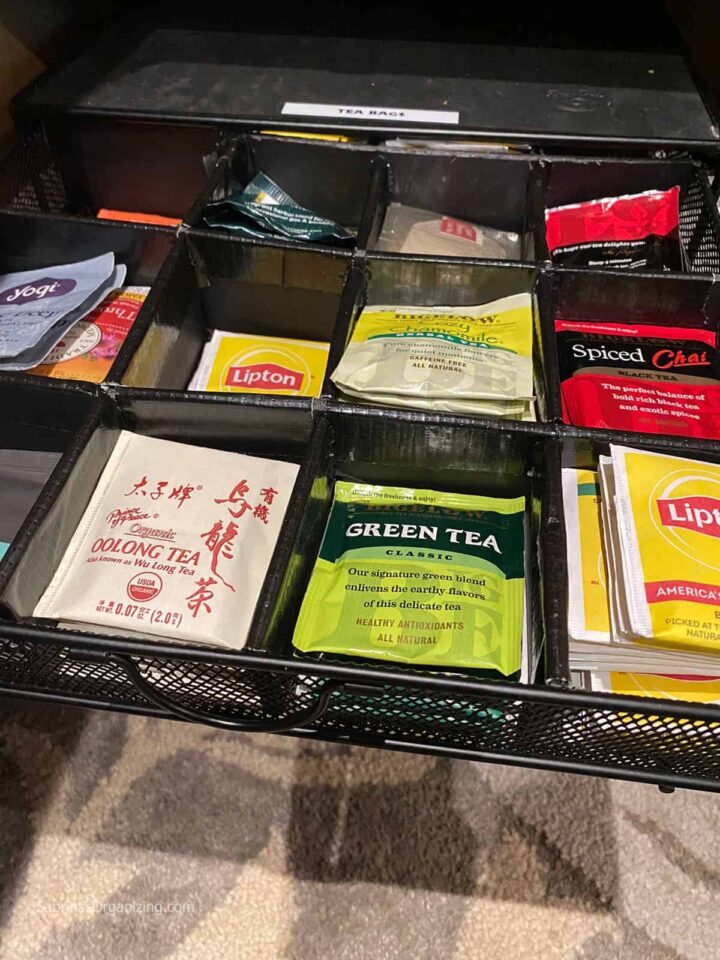
Then, I added another grip liner to the top to help stabilize the top tea pull-out drawer. I added the tea bag drawer on top.
Many years ago, I made the tea bag organizer using foam core board and Black Duct Tape and waffled them together to make the right size for the tea bag packets. Since then, it has been used and helps people see what tea we have at a glance when we have company. And we always have a large (affiliate) variety.
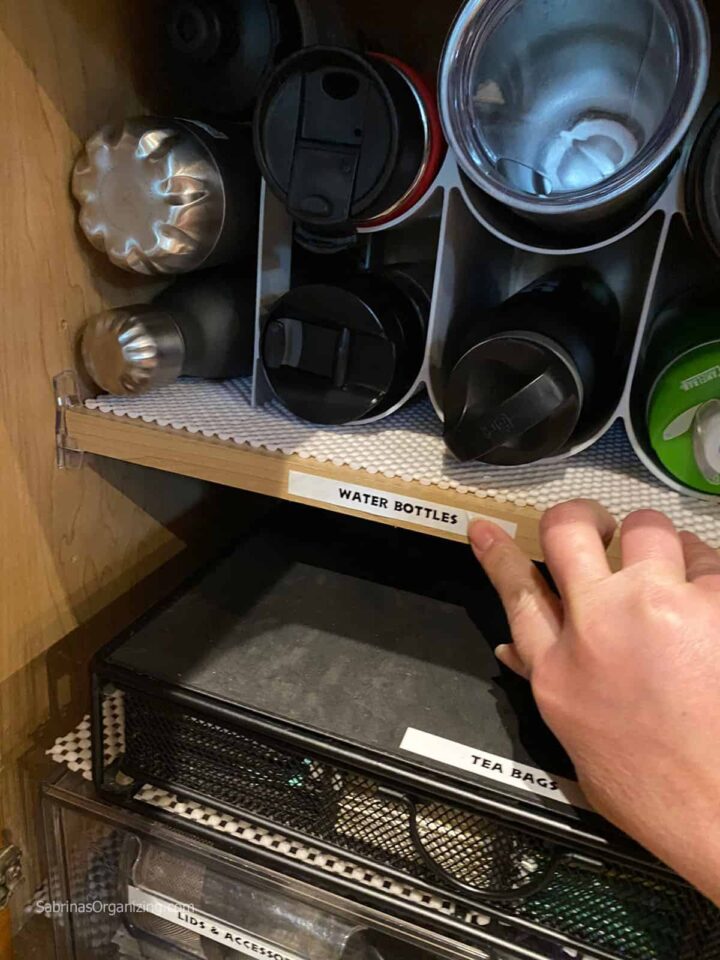
Step 6: Label the sections.
I then labeled the water bottles and Lipton tea bag sections to finish the labeling.
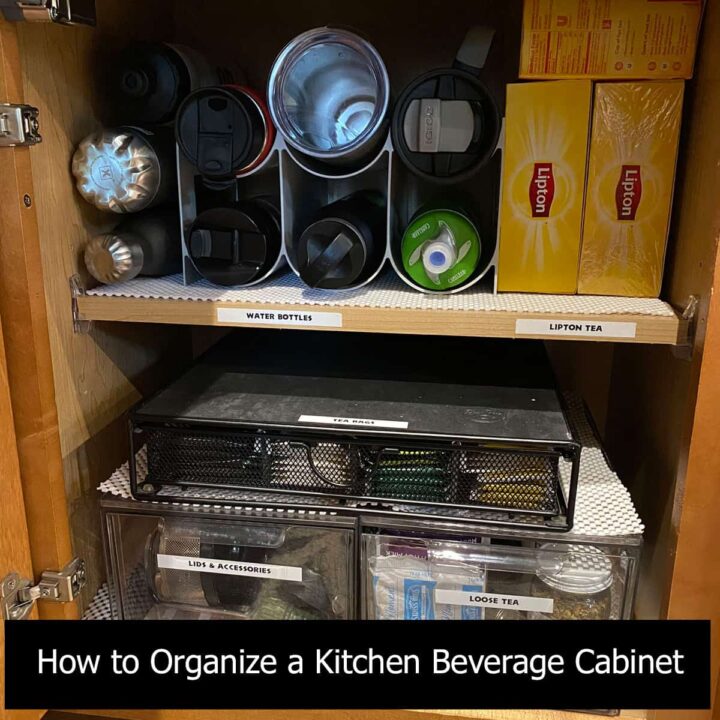
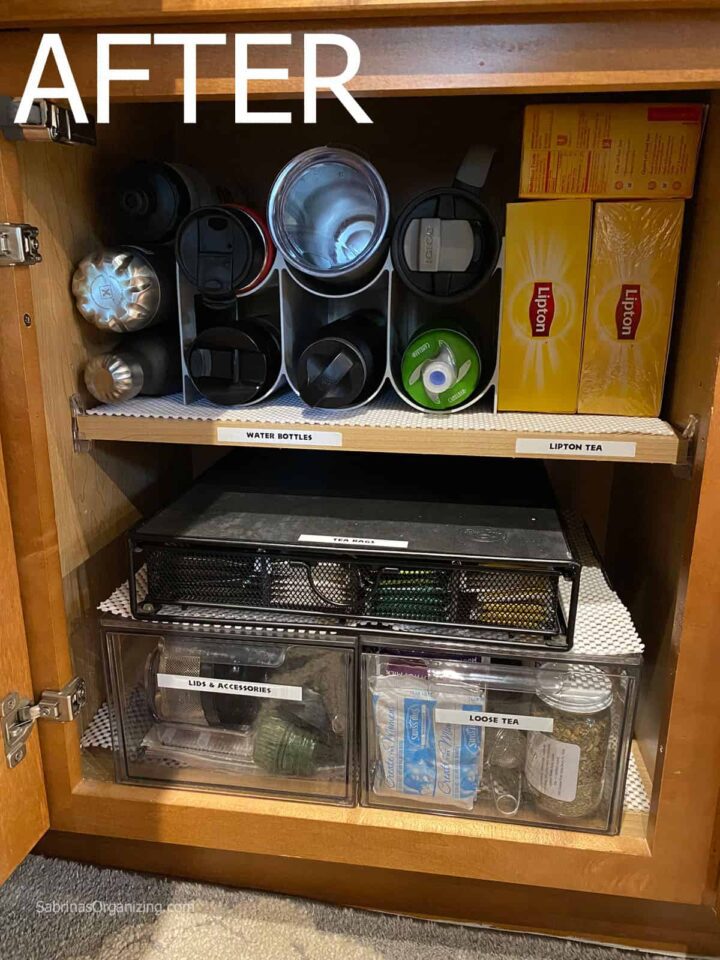
Reveal:
And, there you have it! Here is the finished kitchen beverage cabinet! What do you think? I love it, and it is enjoyable going into this cabinet now. YAY!
How long did it take to make this transformation?
This kitchen beverage cabinet transformation took only one hour to do. It wasn't large (affiliate), and the other things had a home, so it was an easy organizing project.

I hope this DIY kitchen beverage cabinet inspires you to organize your space to make it more pleasurable to use. Please share and leave a comment below if you want.
Please note these are affiliate links through Amazon (affiliate), and at no additional cost to you, I will earn an affiliate commission if you click through and decide to make a purchase.
Visit our other kitchen organizing tips: