Cleaned metal soup cans are great to repurpose to help you organize your home. Making them an easy and cost-effective way to organize any cluttered space. Doing this DIY makeup brush holder will clear up your vanity and make your makeup area more attractive to others who use the bathroom. They can easily be stored in a drawer if you do not want them out.
Jump to:
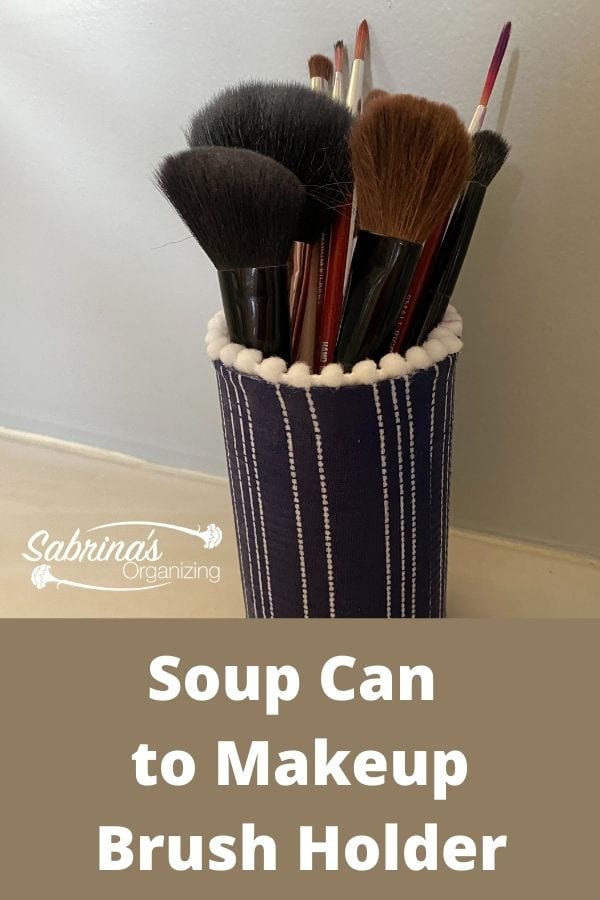
DIY Makeup Brush Holder Tutorial
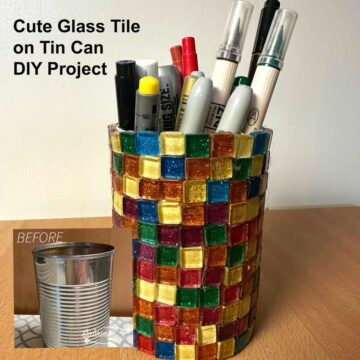
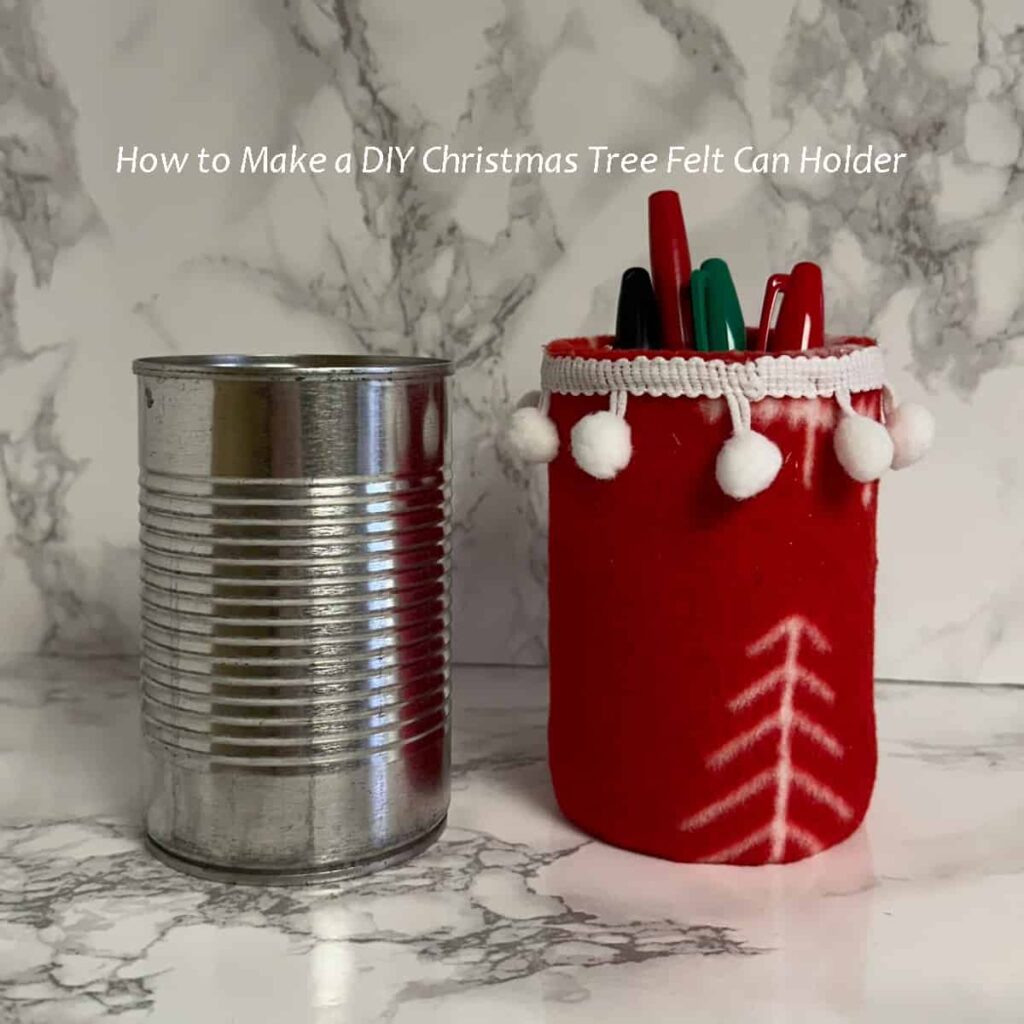
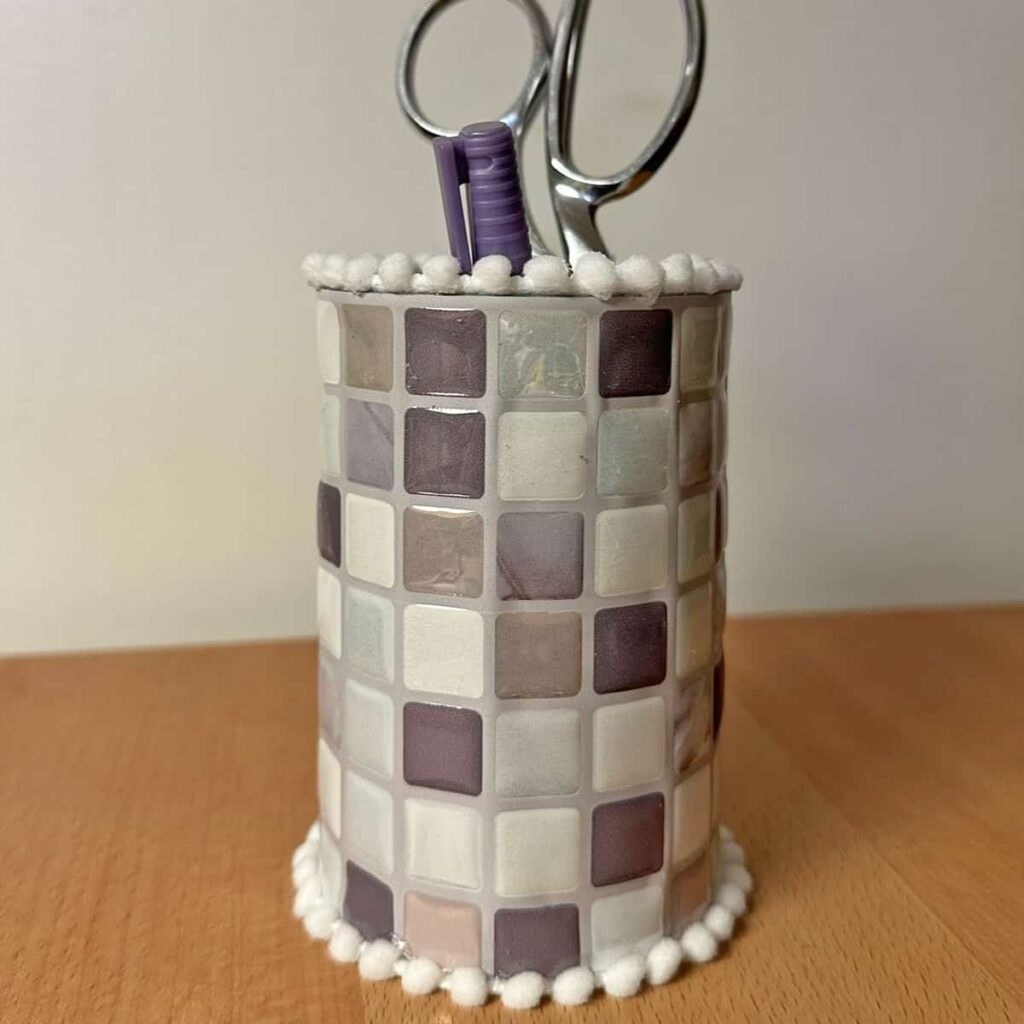
Soup cans can be used in many ways. Below are just some examples.
Ways to repurpose soup cans?
Kitchen utensil organizer
Make luminaries
Plant herbs and flowers in them
Use them to make holiday bins for gifts
Pen holders
Dried paintbrush holder
Scissors (affiliate) holder
Today, I will share with you how I changed our clean soup can into a DIY makeup brush holder. Follow along and do it today!
What do you need to make a DIY makeup brush holder?
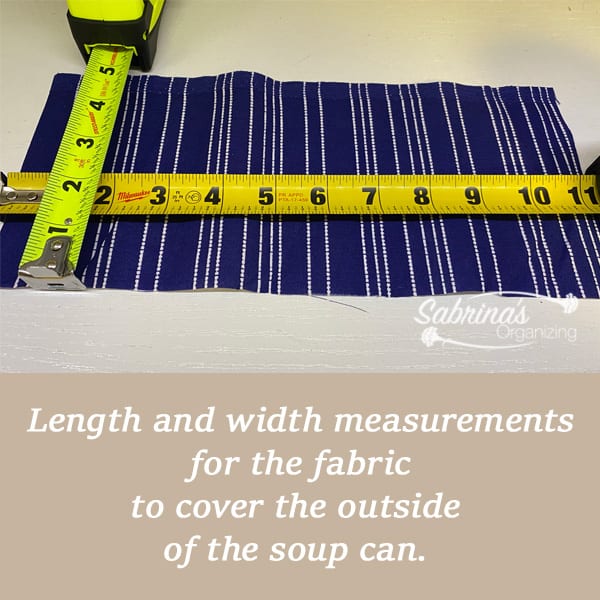
Fabric piece size 11 ¼ in long, 5 inches high
Fabric ribbon with cotton ball top size 9 ½ in.
One Can of soup 16 oz.
Rectangle card-stock paper in gray for inside size 10 in long x 4 ¼ in high
Card-stock paper circle 2 ⅜ in diameter for the bottom
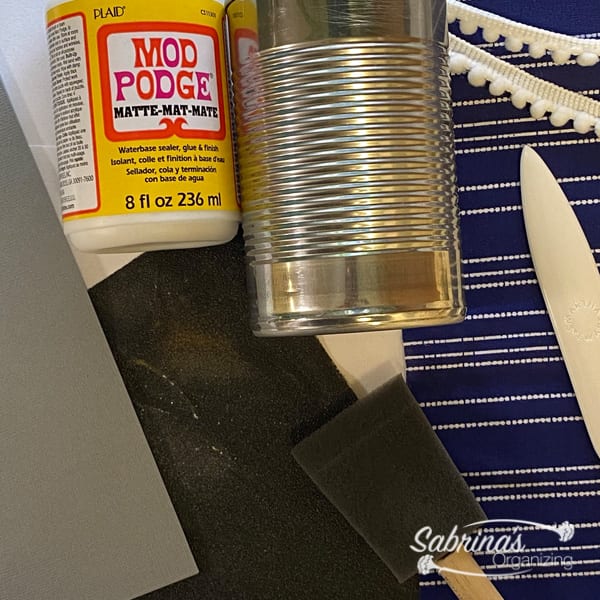
Tools needed for this DIY project:
A piece of heavy emery cloth - 80 by GatorGrit or 3M
Hot glue gun (affiliate) and glue stick (affiliate)
Mod Podge Matte Finish Water Base Glue
Cricut Explore Air 2
***The links above are from Amazon (affiliate).com(affiliate). If you click through and purchase something on Amazon (affiliate), I will receive a small commission at no additional cost.
Now that you have everything you need to make this easy and attractive makeup brush holder let's get started.
How to make this cute makeup brush holder?
Remove paper, clean, dry, and sand the inside and out of the soup can to remove bumps.
Remove the label (affiliate) around the outside of the can. Make sure you remove as much of the paper as possible. The glue still works if there is a little left on the can.
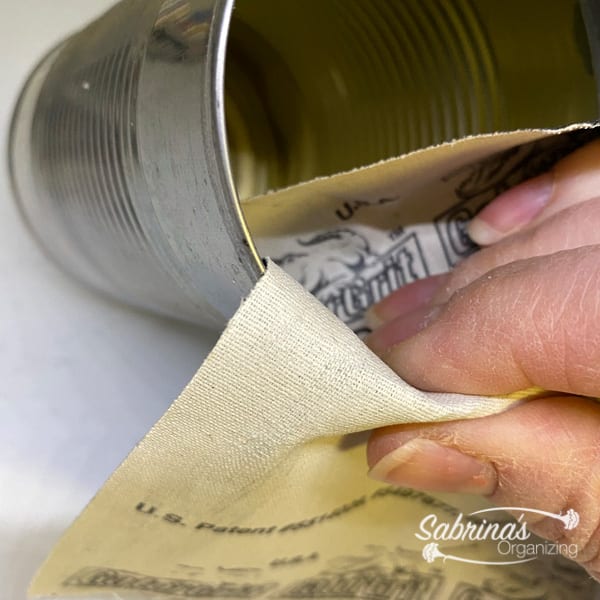
Clean the can and let it dry completely. Then, start by using a heavy-duty emery (affiliate) cloth that removes any metals inside around the edges to help smooth the bumps of the torn metal that was pulled when opened by a can opener. Rub hard and smooth out the inside edge.
Cut the Fabric and Glue it into the Soup Can.
Cut the fabric to size and add extra fabric about ¼ inch on the top and bottom so you can bend the fabric into the can's top and bottom.
Using the Mod Podge (affiliate) and a disposable brush, add the glue to the outside of the can. Make sure you allow ¼ inch into the top and ¼ inch to the bottom to glue that later. Paint the glue on the soup can and add the fabric. (See the video at the end of this post for details).
TIP: Be sure to add glue to the inside edge of the top and bottom to help fold the fabric over the edges and adhere to the inside and bottom of the can.
Place the fabric evenly on the glue. For the top and bottom, add enough glue so it will sit and lie flat inside and at the bottom of the soup can. Cut slits into the fabric to help it lay flat on the edge of the metal and will help the can stand level. Let sit for 1 hour on a raised surface.
Cut the fabric ribbon to length and adhere it to the folded blue fabric on the edge of the soup can.
The next day, cut the ribbon fabric with cotton balls to 9 ½ inches long. Using the hot glue gun (affiliate), add it to the top edge of the can over the folded blue fabric.
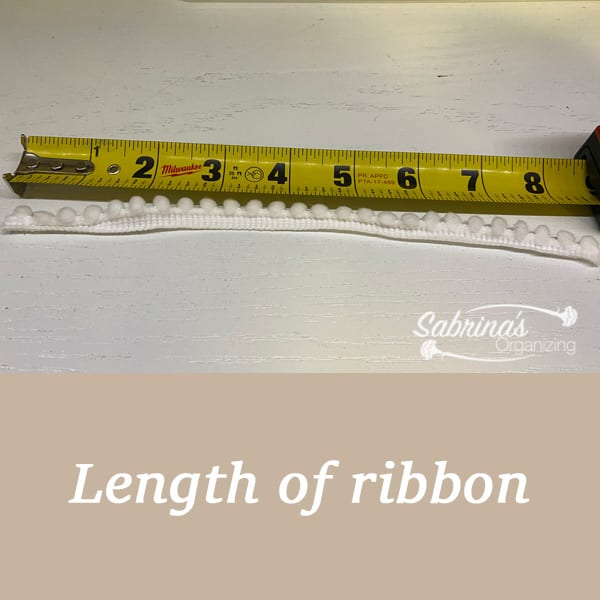
TIP: If you need to add more hot glue, do so to make sure the ribbon adheres evenly inside the can. Pull off any of the excess glue strands that may be leftover. Let dry.
Add Mod Podge to the outside of the can over the fabric and fabric ribbon and let dry.
Now add more Mod Podge (affiliate) glue to the outside of the fabric and ribbon. Fully cover it to make a fine layer over the fabric. Add a bit to the top of the ribbon inside the soup can, too, for extra support. Let sit to dry on a few sticks so it doesn't stick to the table when drying.
Cut the cardstock, glue it to the inside and bottom, and let dry.
Cut out the rectangle gray cardstock (Rectangle card-stock paper in gray for inside size 10 in long x 4 ¼ in high) and card-stock paper circle 2 ⅜ in diameter for the bottom. I used the Cricut Maker (affiliate) to do this; you can use your own method. These are for the inside and the bottom of the DIY makeup brush holder. Set aside.
Add extra Mod Podge (affiliate) with a disposable brush to the inside and bottom of the can, and add the gray cardstock rectangle and gray circle bottom. Let dry overnight.
Reveal
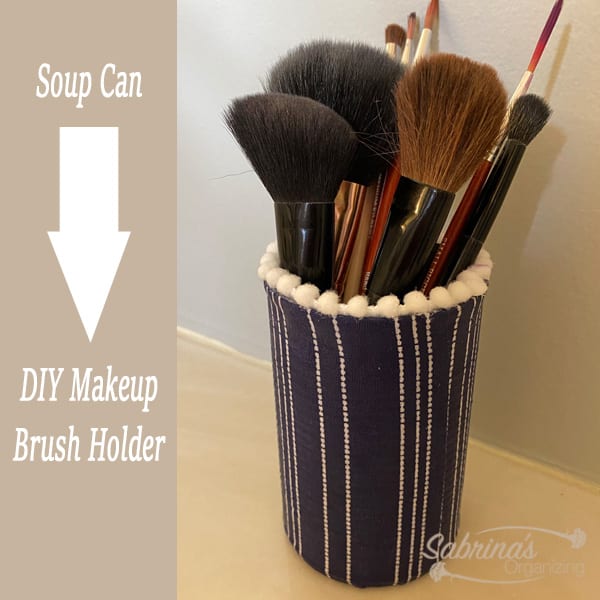
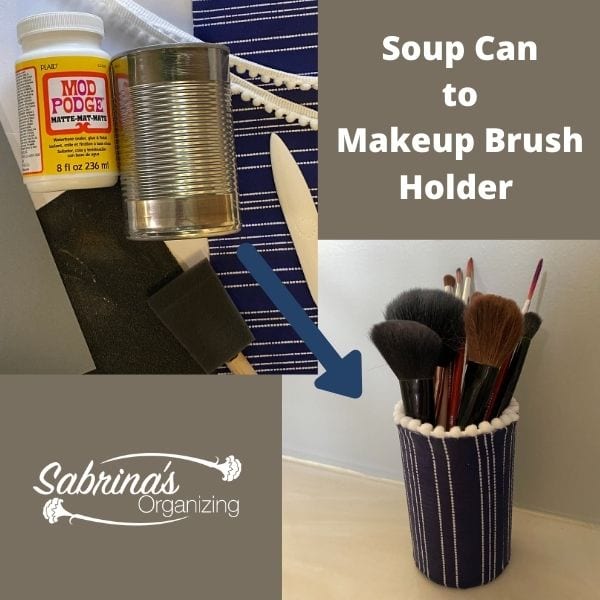
That's it! Here's the finished DIY Makeup Brush Holder. What do you think? It is very stiff, and the fabric holds up well. If you find that your makeup brushes are short in this can, you can easily add paper towels to the inside of the can, and it will prop up the brushes so you can grab them easily.
Watch the video for easy-to-understand steps!
How much did it cost to make this project?
Cost: $5.00 >> I have a lot of the supplies left and can easily make several more of these if I want to or use these items for other projects, which I will definitely do.
Visit our other bathroom organizing posts here:
BATHROOM ORGANIZING ESSENTIALS TO MAKE YOUR MORNINGS EASIER
EASY DIY TIPS TO CUSTOMIZE VANITY DRAWER
WHAT TO KEEP IN A BATHROOM VANITY
MAKEUP SHELF LIFE ORGANIZING TIPS
NAIL CARE SUPPLIES ORGANIZATION TIPS MADE EASY
HOW TO CREATE A BATHROOM WALL MASON JAR ORGANIZER




Leave a Reply