When we moved into our home, we knew our garage was small. When we parked the car inside, it was a single-car garage (affiliate) with about 18 inches of space on either side of the car. So, we had to get creative with organizing tools and supplies there. Follow along and see how I updated our Small Garage (affiliate) Organization to have easy access to everything for everyone in the family.
Jump to:
- What inspired me to do this Small Garage Organization Project?
- What supplies did I use to make this Garage Organization Project?
- How much did it cost to make this Small Garage Organization Project?
- How long will it take to set up this small garage organization project?
- The before picture of the small garage.
- BEFORE Wall Mount Shoe Organizer
- How did I make this Small Garage Organization Project?
- The Big Reveal
- Tips on making this Small Garage Organization Project
- How to organize a messy small garage?
What inspired me to do this Small Garage Organization Project?
It had become necessary to clear out the garage (affiliate) because my daughter will graduate this year from college and return to the house. The garage (affiliate) is the only place to store some extra things until she decides where to put items.
What supplies did I use to make this Garage Organization Project?
There are many things you can use to organize a garage (affiliate). None of these items are referral links unless indicated.
Supplies used:
- 1 - Husky Extra Wide Heavy Duty Welded 20-Gauge Steel 1-Drawer 2-Door Garage Cabinet in Black (32 in. W x 33 in. H x 21.5 in. D) Model # HTC1000009-EX
- 2 - Husky Heavy Duty Welded 20-Gauge Steel Wall Mounted Garage Cabinet in Black (28 in. W x 22 in. H x 14 in. D)
- 2 - Husky Extra Wide Heavy Duty Welded 20-Gauge Steel Wall Mounted Garage Cabinet in Black (32 in. W x 22 in. H x 14 in. D)
- 1 - SKÅDIS Pegboard Article Number:103.216.18 30x22 inch
- 1 - SKÅDIS Pegboard 003.208.03 22x22 inch
- 1 - SKÅDIS Container With Lid 803.359.09
- 3 - SKÅDIS Shelf 003.207.99
- 1 - SKÅDIS Hooks 203.208.02
- 1 - SKÅDIS Container 203.207.98
- 2- BLACK+DECKER 24 in. LED Warm White 2700K, Dimmable, 1-Bar Under-Cabinet Lights Kit with Hands-Free On/Off (Tool-Free Plug-in Install)
- Magnet paper towel holder (Amazon (affiliate) Affiliate)
- Power Strip with magnet back (Amazon (affiliate) Affiliate)
- 6 Bins for cabinets, plus already used bins
- Label Maker (affiliate) and labels (affiliate)
How much did it cost to make this Small Garage Organization Project?
We had to buy the right size and wanted closed cabinet doors, so we spent more money on these options to organize our garage. The cost of the cabinets was the bulk of the garage organizing cost. We spent about $1,800.00.
How long will it take to set up this small garage organization project?
This project took us about 6 hours to declutter the old cabinets and add the cabinets to the wall and about 2 more hours to set up the bins and label (affiliate) things in the cabinet. So it took us about 8 hours to do it all.
The before picture of the small garage.
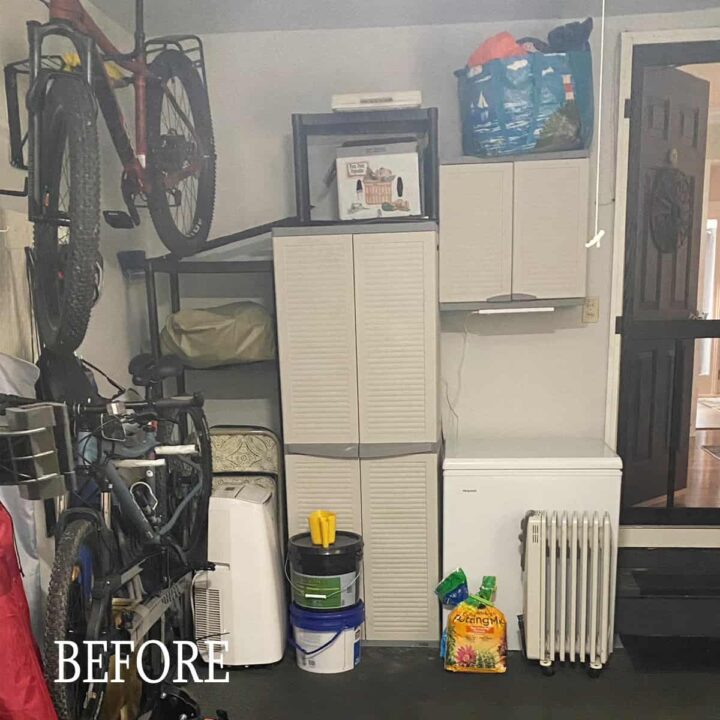
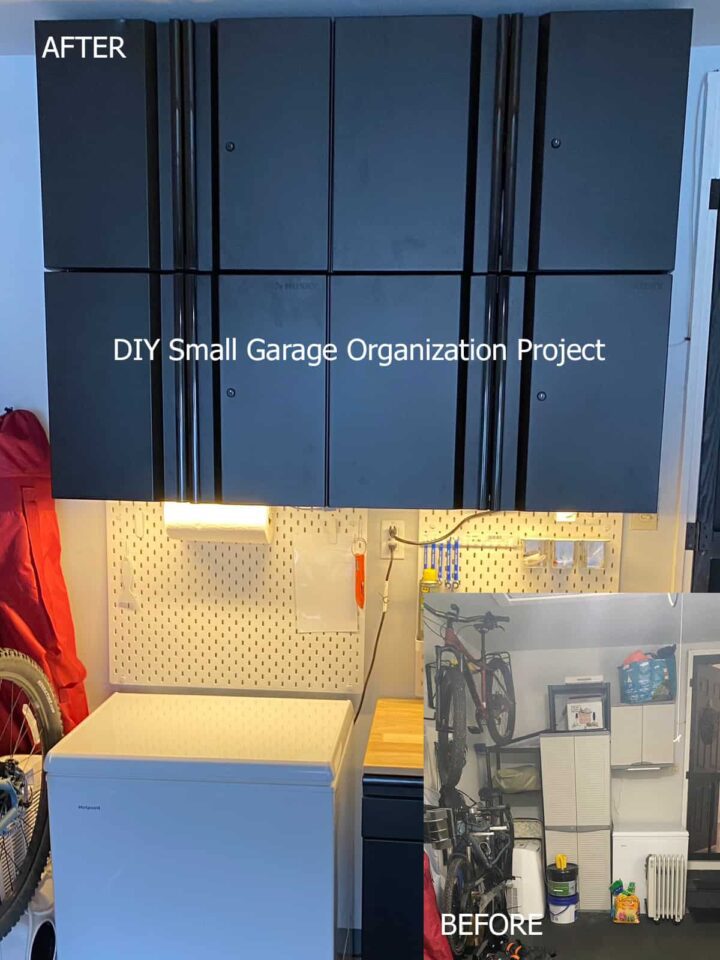
As you can see, we have a lot of wasted space above and on the side. The shelving (affiliate) above the cabinet was my way to utilize this area. It didn't work too well. The far left corner was also a problem area because we had our folding chairs and needed to store other things to maximize the space above them.
Our portable AC unit and Electric heater were also in the space for use in case of emergencies, but they were constantly blocking the cabinet doors and did not allow us to have access to the things inside. Ugh.
The bikes would need to stay exactly where it was because it was the only space that would not interfere with parking in the car inside the garage.
BEFORE Wall Mount Shoe Organizer
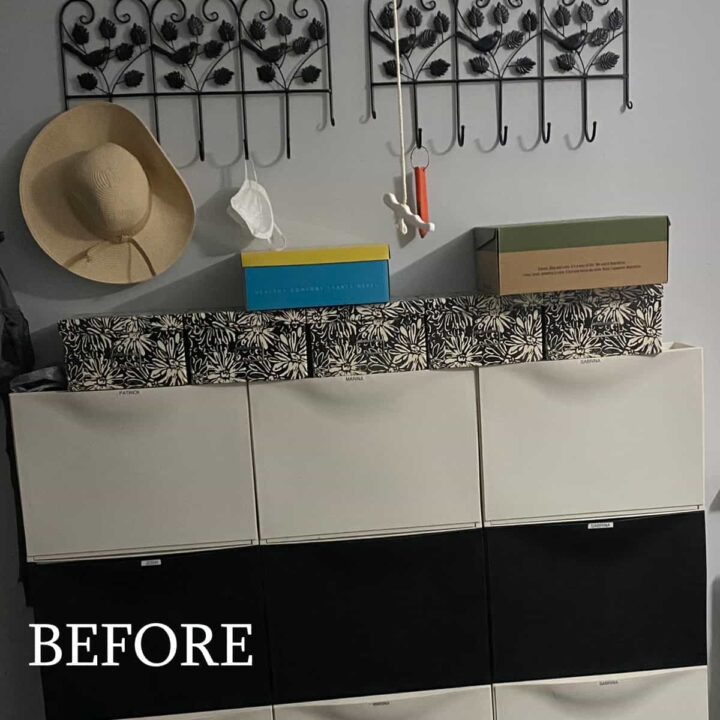
We also had to modify the shoe organizer mounted to the wall. You can see how we did these posts by clicking here.
We needed to get the folding chairs out of the corner; see the rest of this transformation below.
How did I make this Small Garage Organization Project?
First, we cleared out the space and removed the chairs and shelving (affiliate). Each item was removed, dismantled, and thrown away or recycled. We removed the wall-mounted cabinet as well.
Removed a row of wall-mounted shoe organizers.
I also created a series of bins mounted to the garage wall to store the shoes (affiliate) for my entire family. See the post about how I organized these shoes (affiliate) here. While my kids are older now, we didn't need all the bins, so we removed three to make room for the party chair (affiliate) hooks.
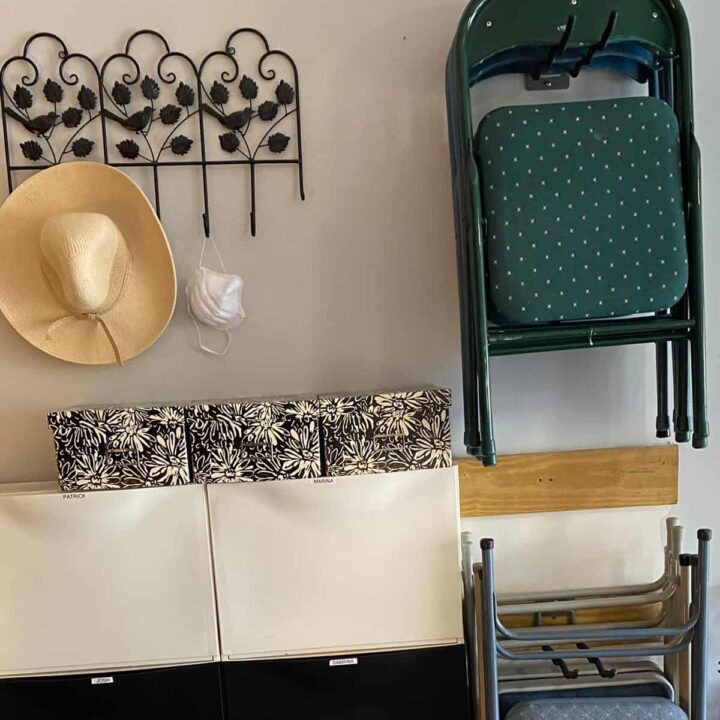
By removing this row we were not using, we could place chair (affiliate) hooks to hold the folding chairs on them. Here is the after picture below. I was able to use the existing wood slats for the chair (affiliate) hooks.
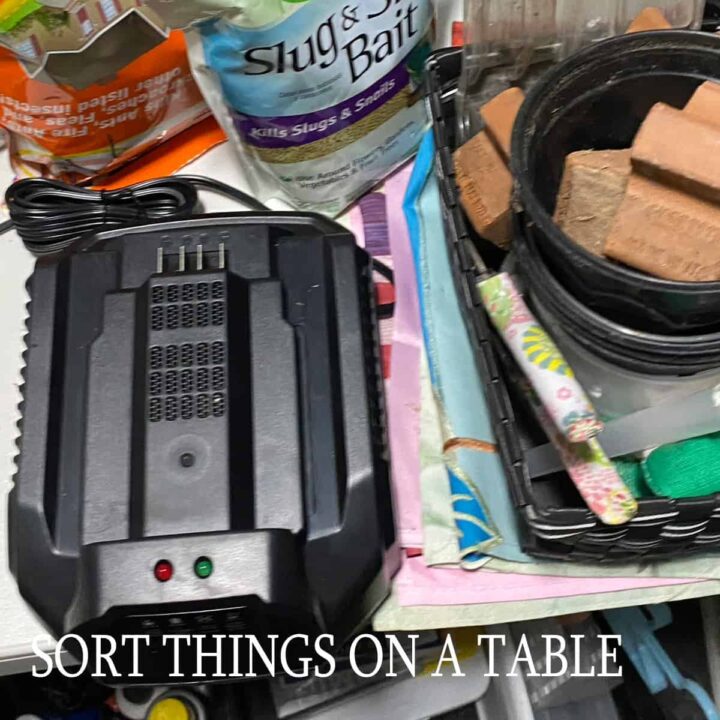
While removing the things in the cabinets, I opened the folding table and started storing the items we wanted to keep. Some categories were bike supplies, flags, landscape lighting, salt & winter supplies, bungee cords, car cleaning supplies, rags, brushes, trash bags (affiliate), fountain (affiliate) pumps, AC unit pieces, pesticides, and gardening tools (affiliate)/window box things.
Now, we determined which items go on top and which go to the bottom. The heavy things would be stored at the bottom of the cabinet we bought.
We also marked where the other cabinet was hanging so we would remember.
Add the cabinets to the wall.
After we removed all the things from the wall, we found the studs on the wall and marked them. Then we marked from the bottom of the other cabinet's mark to the first set of cabinets with the height measurement from the first set of cabinets. We added an extra ½ inch to allocate lifting onto the French cleat.
Then we marked from there to the next set of cabinets using the height recommended in the manual.
We then added the French Cleats to the top of the line and mounted them to the wall. There were two cabinets, so we had two cleats to mount next to each other.
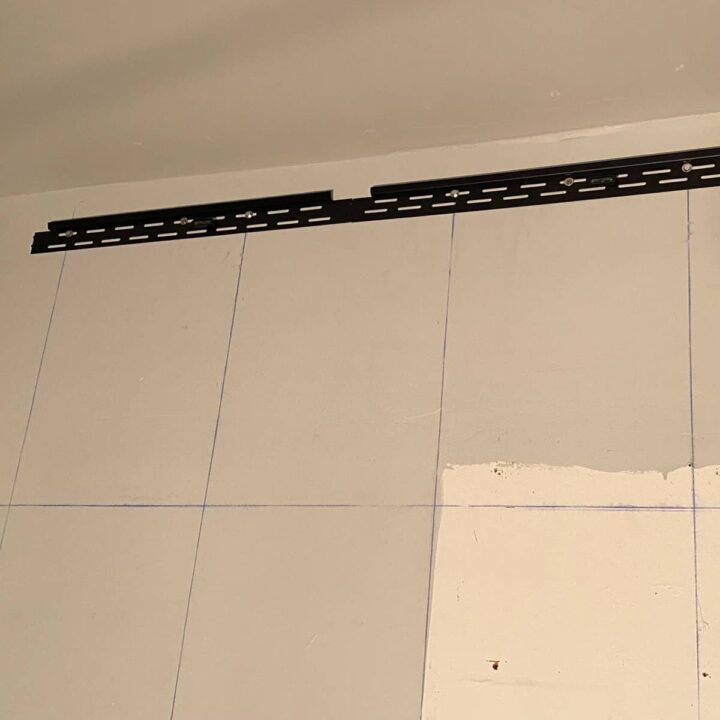
Next, we did the lower row of cleats. Making sure to screw them into the studs. That was it. This took time because we needed to be precise.
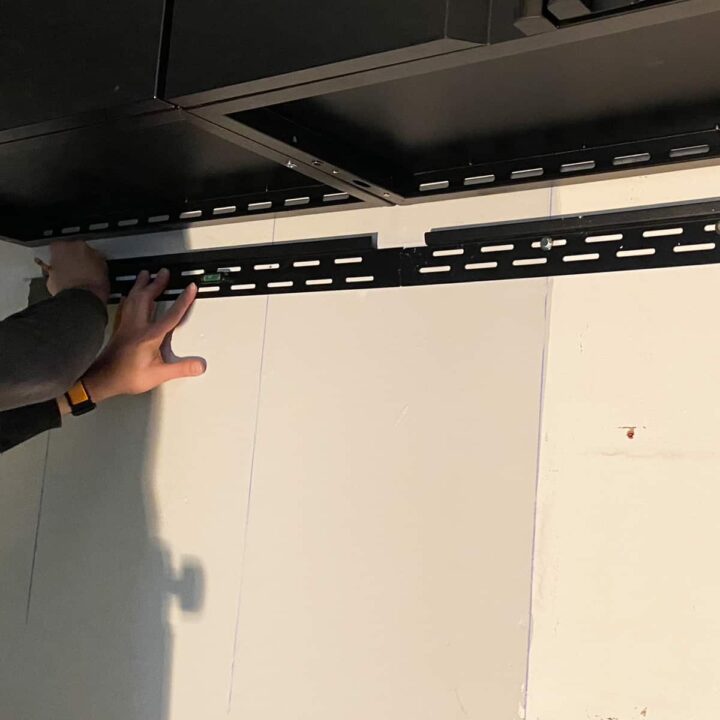
Then, I added the extra bins to the new storage items that didn't have a home—and added them to the cabinet. My husband worked on the bike supplies and tools (affiliate).
Add the Ikea Pegboards
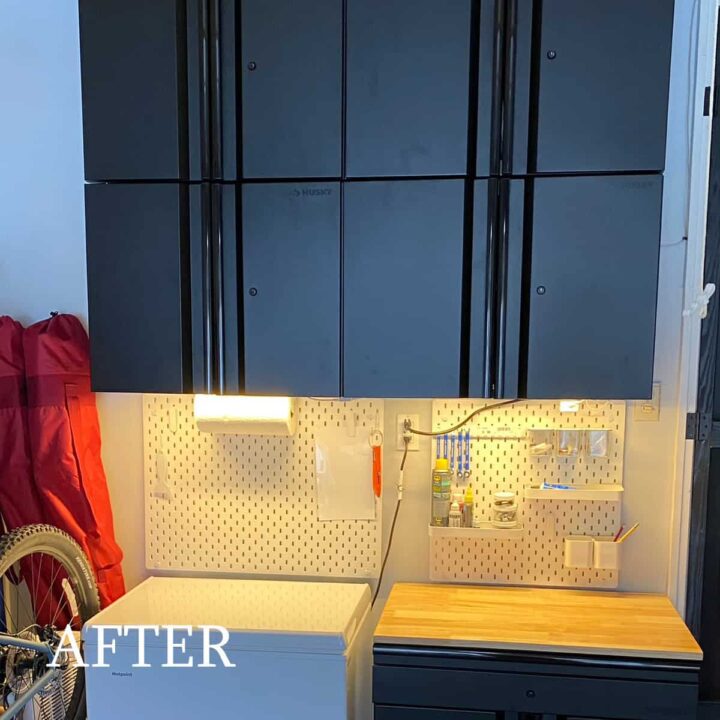
Now, we added the Ikea pegboards to the wall as per instructions. I considered the outlet and the light switch when we bought it. The 22-inch wide pegboard worked best for this area. Then, we added the accessories to the pegboards.
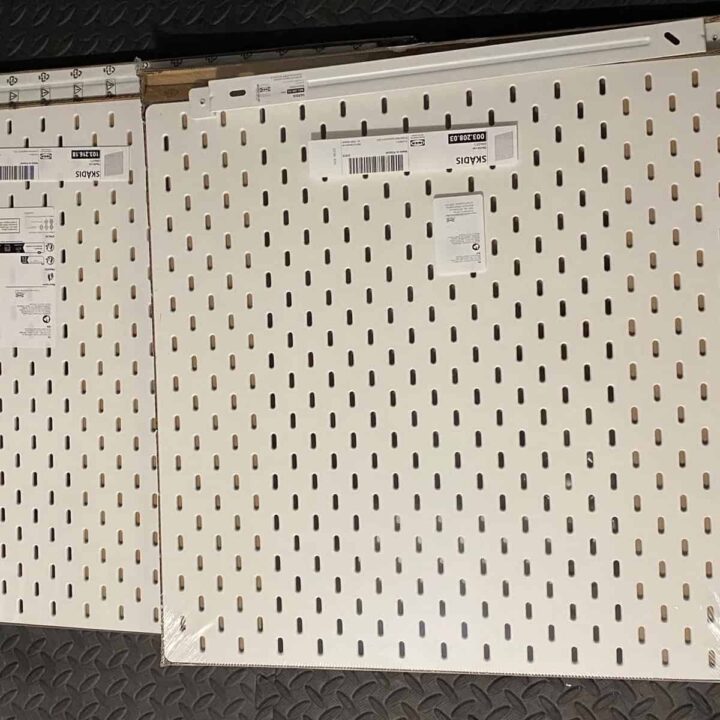
I bought a magnet paper towel holder and an electrical strip with a magnet on the back and placed it on the underside of the bottom cabinet. We also added lights to both under cabinets since that area is pretty dark.
The Big Reveal
And here is the final picture with everything in its place. Yay! We are so happy with the result. There is a gap between the freezer and the cabinet because the freezer has a fan.
Below are the other areas we organized in our small garage.
The bike supplies storage.
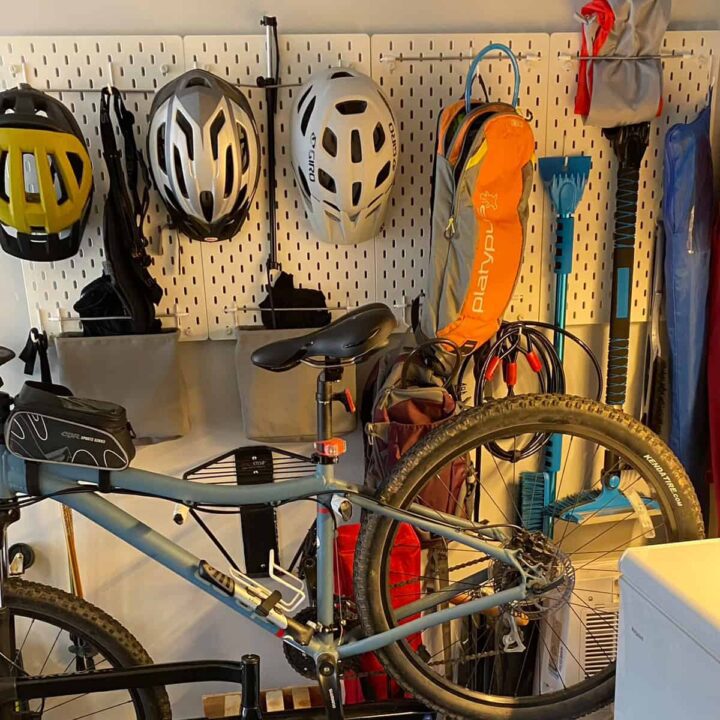
The bike storage area was organized but needed some added additions. We added an additional Ikea pegboard to spread out the other items I was storing near the storage cabinet above.
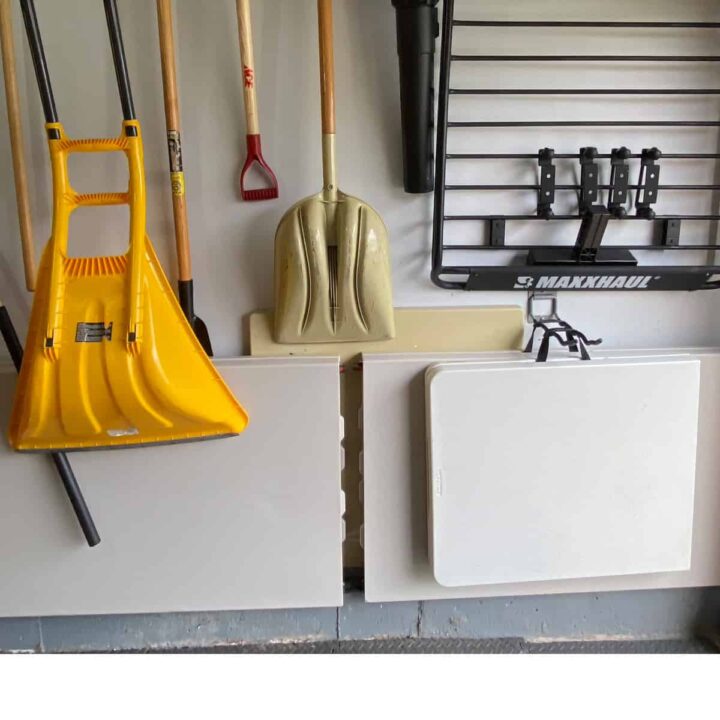
Keep all the tools and tables on the same wall.
The next area was the tables and tools (affiliate) wall. This wall content was moved around so we could place all the tables together to make room for the ladders on all one wall.
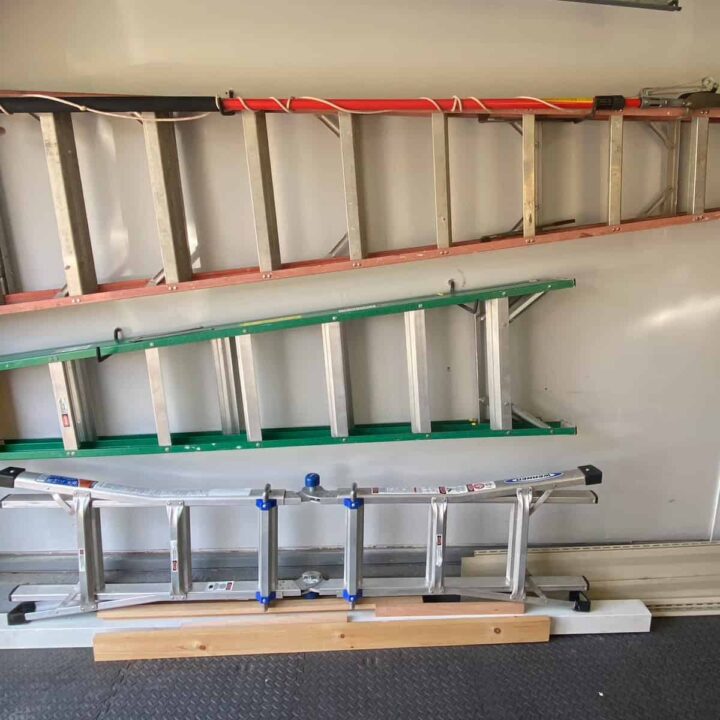
Store Ladders on the wall.
We added the ladders to the wall and the floor from most used on the floor to least used at the top. We also stored the tree trimmer on the least used ladder.
Tips on making this Small Garage Organization Project
Below are some Small Garage Organization tips for updating your small garage.
- Check the weight of your hooks. Get a scale and weigh the chairs and cabinets. Make sure the hooks and anchors you use can support the weight.
- Screw and mount your wall-mounted things into a stud as often as possible. This will help you ensure that the things in the cabinets or shelves (affiliate) will likely stay on the wall and not fall and hurt someone.
- Move things around if you need to reorganize your wall. It is OK to reorganize and remove hooks and brackets on the walls. You can always patch the holes up later.
- Measure the inside of the cabinet before buying bins. The inside of these cabinets had a pegboard option, so it was not as deep as you would think.
How to organize a messy small garage?
There are several tips on organizing a messy small garage. Below are the most important ones.
Go vertical
To utilize the storage area, you must go as high as possible on the wall. Not doing this will significantly reduce the storage space in your small garage.
Use cabinets with doors.
I found it too cluttered, with all the open shelving (affiliate) and small things placed randomly on it.
Organize the small things by 'use' or 'type'
Gather all the items and sort them on a table or floor. When you find that your things are getting out of hand, you must organize them by use or type of item. Use could be things to use for bike repairs or gardening. Organizing by Type could be organizing things by a particular type of tool. Then, organize them in a labeled bin or mount them on a pegboard.
Organize Sports Equipment into zones.
When you play many sports, organize the equipment in the garage. For more tips, see ORGANIZING SMALL SPORTS EQUIPMENT FOR KIDS.
Hang bikes on the wall.
There are various ways to hang bikes. I particularly like the ones where you can place them on the hooks using the center bar, but there are many other options. You can purchase a variety of bike racks on Amazon (affiliate) to organize your space.
Pegboards work nicely to organize things into groups or types.
We have pegboards between our bikes to hold helmets, gloves, and other items for our bike trips. We purchased our pegboards at Ikea, but there are many others. I used some on my post for my tool closet, but you can also find some on Amazon (affiliate). Feel free to check them out here.
Check the depth of all your hanging things.
We have chairs and tables that are neatly organized on hooks on the walls. Each table is secured by a hook to ensure it doesn't fall on anyone. We used the lip of the foundation and laid it up against the garage wall.
Our chairs were placed on hooks that were 9 inches deep. See the image below for how it looks now. Doing this allowed us to separate the number of chairs and place them higher on the wall to maximize the space we didn't use.
Label the bins.
This can't be said enough: label (affiliate) the bins, even if they are see-through. Labeling not only helps other people know where things are but also helps you remember the things in them and what is or is not included in the bin. The label (affiliate) must be specific enough to remind you what is in the bin but not too broad that it will be the catch-all bin for all your things.
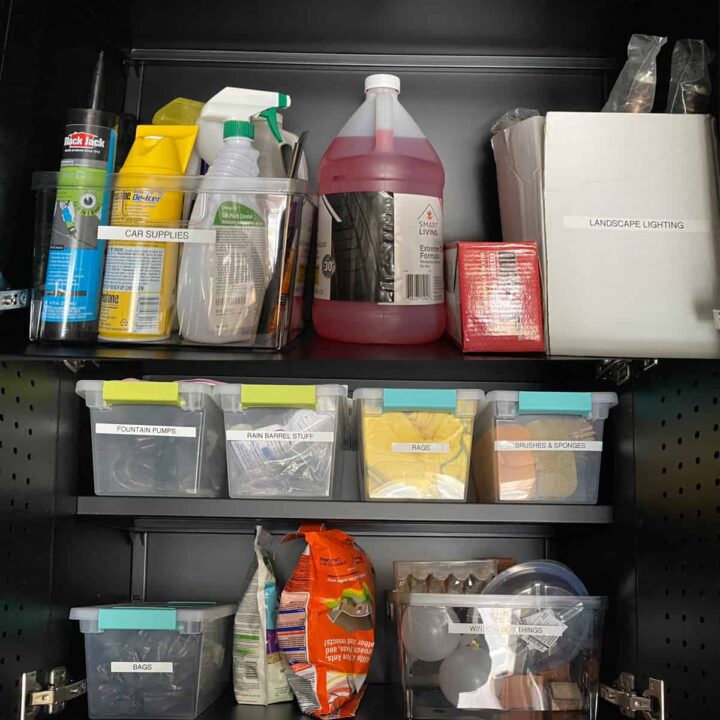
Keep clutter at bay.
Don't forget to keep the clutter at bay. Cleaning regularly and removing trash that may have built up will significantly improve your small garage.
Patch up and paint the walls.
A fresh coat of paint will make the space brighter and look larger than it is. Taking things down and caring for the walls will make the room more inviting.
Keep the hazardous items behind locked cabinets.
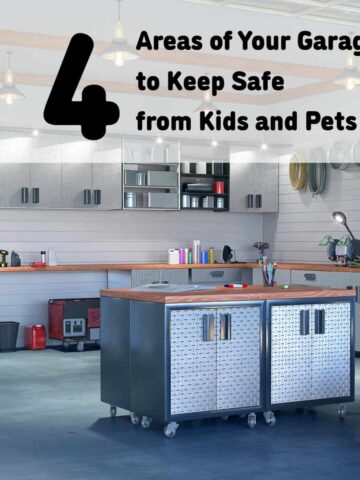
If you have pets or kids using your small garage, any toxic items should be stored behind locked cabinets to protect them from ingesting or spilling them. Visit our post 4 AREAS OF YOUR GARAGE TO KEEP SAFE AND ORGANIZED for more tips.
I hope this post inspires you to get your small garage organization project in order and makes you happy when you update this room. Please share your tips when organizing your small garage below. I would love to hear from you.
Visit our other Garage Attic and Basement posts below for more inspiration!


Julie Bestry says
You always do such a great job explaining the step-by-step approach for your DIY projects. I don't "do" garages; too much dirty stuff (and spiders!). But I appreciate the care and creativity — and measuring/hanging/drilling skill you brought to this project. But I have to ask — where did you put the other bike in the refreshed garage? I can see one on the right side, but not the one that had been hanging. Is it just out of view?
Sabrina Quairoli says
I know, not the cleanest area to organize. The other bike is still above the bike in the picture. Yes, I was focusing on the pegboard, and we couldn't see it when I zoomed out. Thanks for stopping by and commenting.
Seana Turner says
I love the "step by step" here, Sabrina. Lots of people have small garages (around me, many have no garages at all - even harder!).
It is nice to have a combination of open pegboard hooks and concealed storage. Garages tend to be pretty dusty, so having a few doors is a beautiful thing, especially in a small space where many items will need to be squeezed in.
Pegboard is such an affordable and versatile option. I'd love some of that in my garage. We have open shelving, but the whole space is definitely in need of a declutter. Plus, my husband is pursuing a new hobby, and I just know we are going to need to free up some space to store his new supplies.
Sabrina Quairoli says
Thanks, Seana! It's a wonderful feeling to go into the garage and know where everything is and what is in there. Thanks for stopping by and commenting, Seana!
Linda Samuels says
This was so fun reading about your garage makeover! I loved the photos too. I bet you keep walking in there to see how great it looks (and functions!)
We recently did some work in our garage. Still more to do, but it made such a difference. Letting go of things we didn't need and upgrading the cabinets were two huge wins.
Sabrina Quairoli says
Thanks, it was a profound makeover, and we are using the garage so much more now. I'm glad I forced my husband to reorganize it. Now, he has a place for his new hobby, making bikes. I hope it doesn't get too messy when my daughter brings her stuff home. We shall see. Thanks for stopping by and checking out my project, Linda.